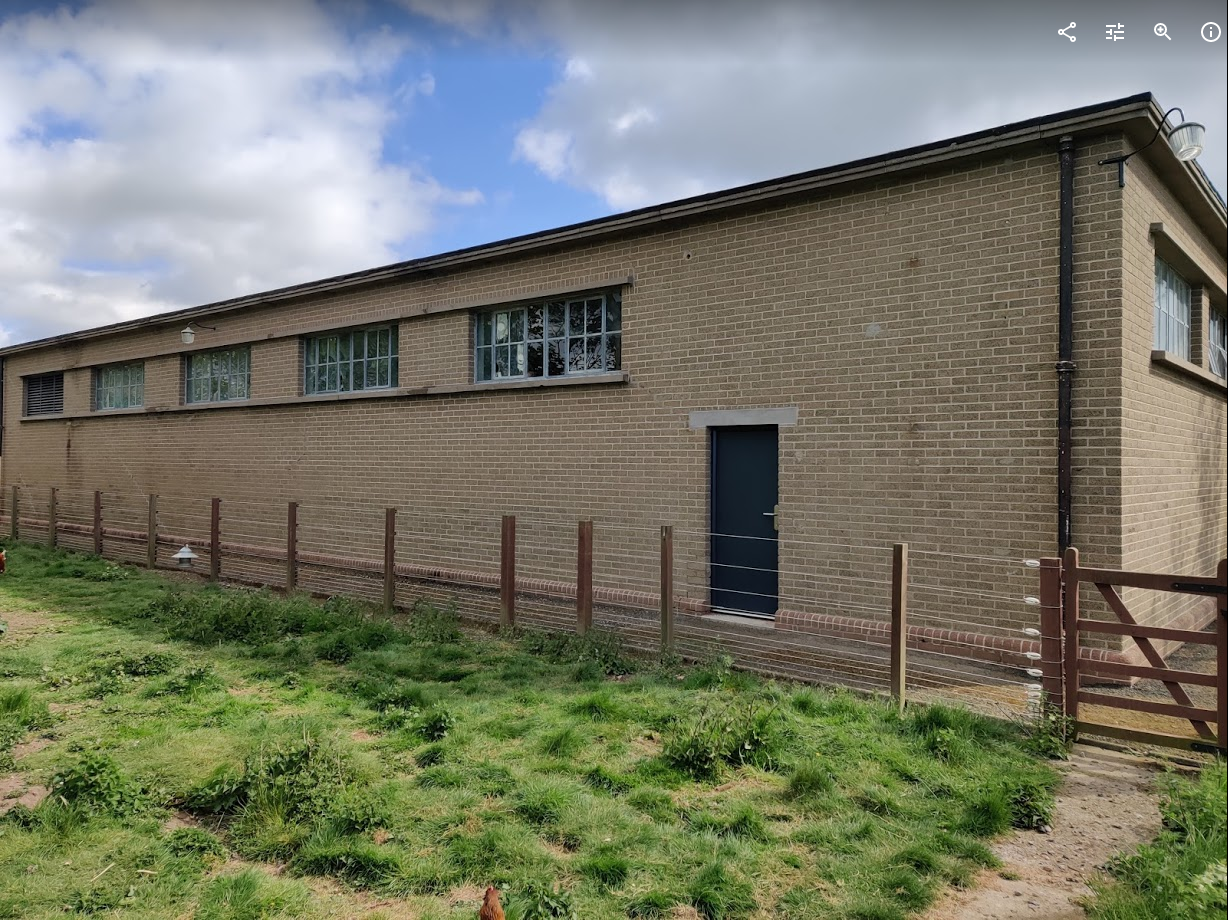
Repairing the Old Windows in the Engineers Garage
We sourced a modern putty substitute designed for steel casement windows to renovate the windows in the engineer’s garage
We’ve paused plaster removal works in the main build whilst we await the delivery of 100 more rubble sacks. Although Fife Council are opening their recycling centres from Monday we’re unclear as to when we’ll be permitted to dispose of our plaster and rubble.
There’s always plenty to be busy with here though and it’s given us the opportunity to tackle a job that’s been on our to-do list for years.
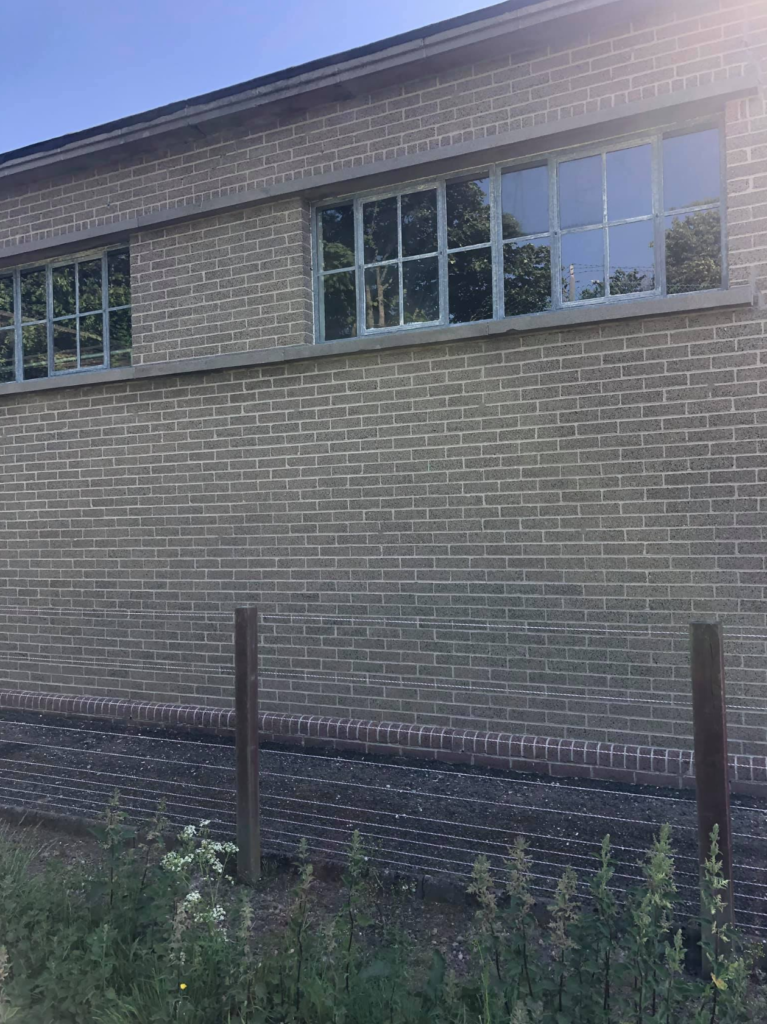
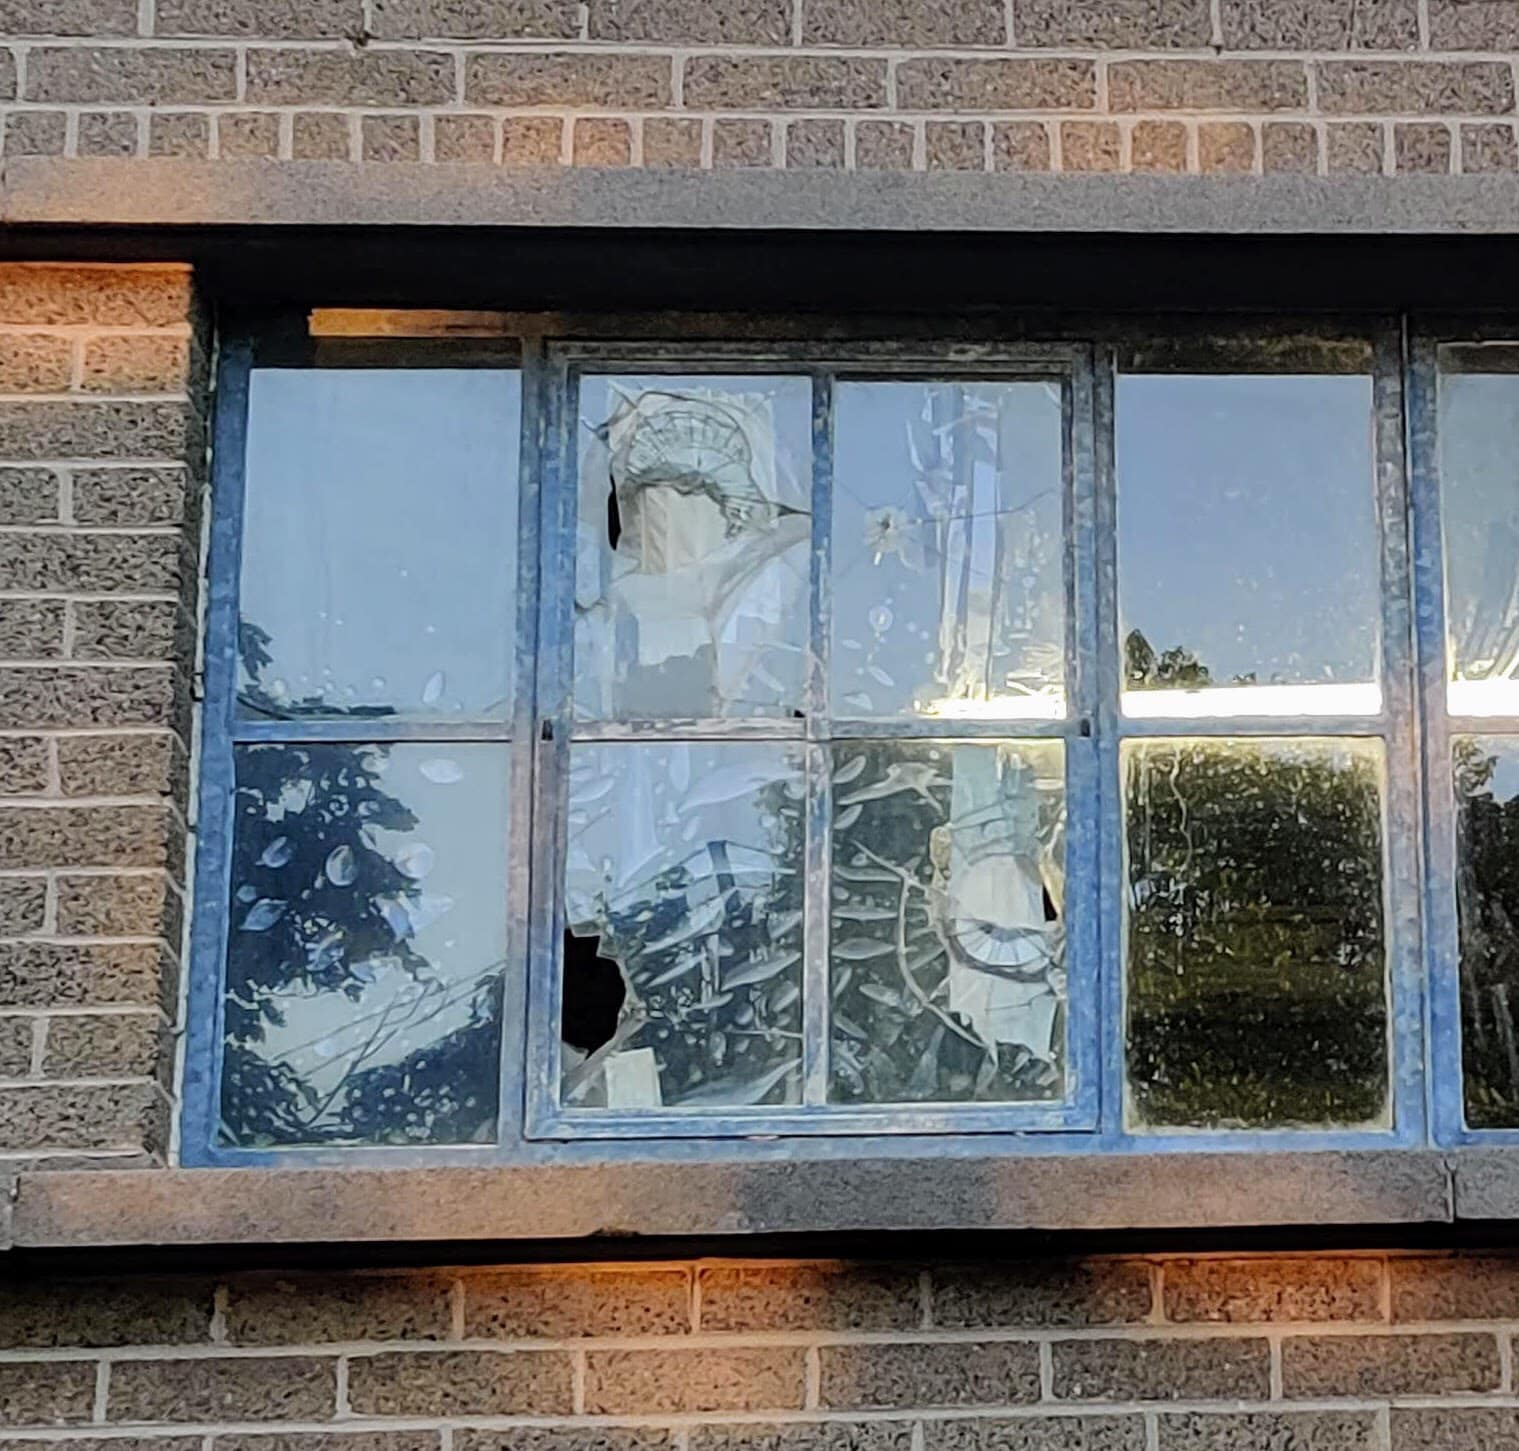
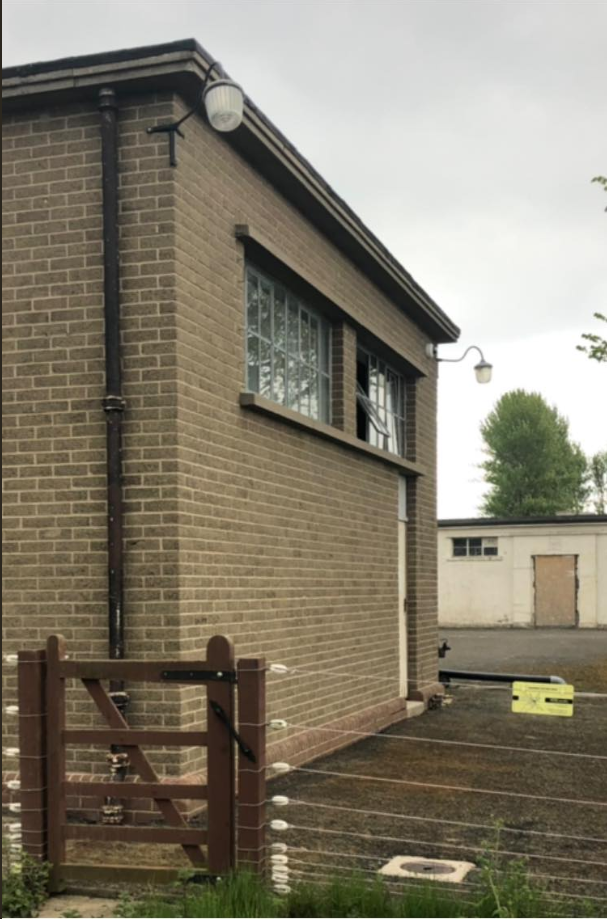
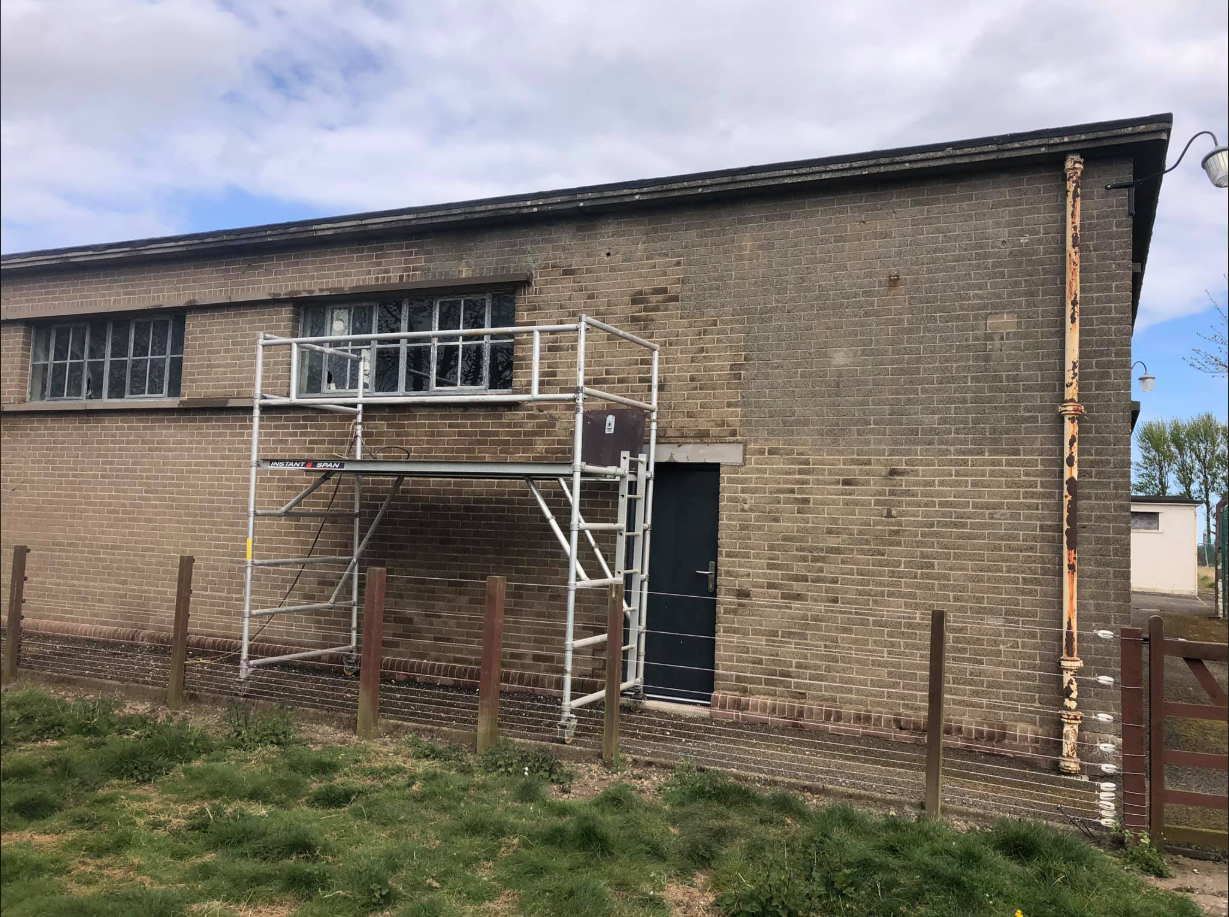
Late last night we finally finished removing the old blast film and fixing broken panes in the Engineer’s garage 😀 A sizeable number of windows on the west elevation were broken when we bought the site, many as a result of a ? pellet gun.
Putty Replacement
We had good intentions years ago when we ordered the replacement panes from Leuchars Glazing. After some fairly disastrous attempts to replace the glass using traditional putty we sourced a modern hybrid polymer-based cartridge applied Heritage putty from Hodgson Sealants that is compatible with steel framed windows. It’s fairly expensive, with one tube used for every two panes replaced, but George has found it easy to apply and work.
The blast film removal wasn’t a particularly pleasant task .The film appears to have been applied with vinegar. Removing the film, with razors, released the most horrible stale vinegary stench 🤢. The sticky residue left behind was removed with Zep Sticky Stuff Remover, razors and a fair bit of kitchen roll.
We’ve been keen to retain our original metal framed Crittal windows. It’s a personal view, but I feel too many metal windows have been lost to make way for rather unsympathetic plastic ones. Whilst I understand the real problem of condensation encountered with metal framed windows in our unheated garage space that won’t be a problem.
The Scottish Crittal supplier in Helensburgh has dated our galvanised Crittal windows, in the Engineer’s garage, to the 1960’s. They are in great condition for their age unlike some of the non galvanised ones in the main build which are rusted and no longer close effectively.
The main build replacement Crittal windows will be double glazed units which comply with required U values. The double glazing will remove some of the condensation concerns although the frames aren’t thermally broken and so sensible ventilation will still be required. The modern replacements have dummy projecting hinges which retain the characteristic original look and feel of the originals but with the security of multipoint locking.
Next job will be priming the galvanised frames then painting Anthracite Grey (RAL 7016) to match the new Crittal specified for the main build.
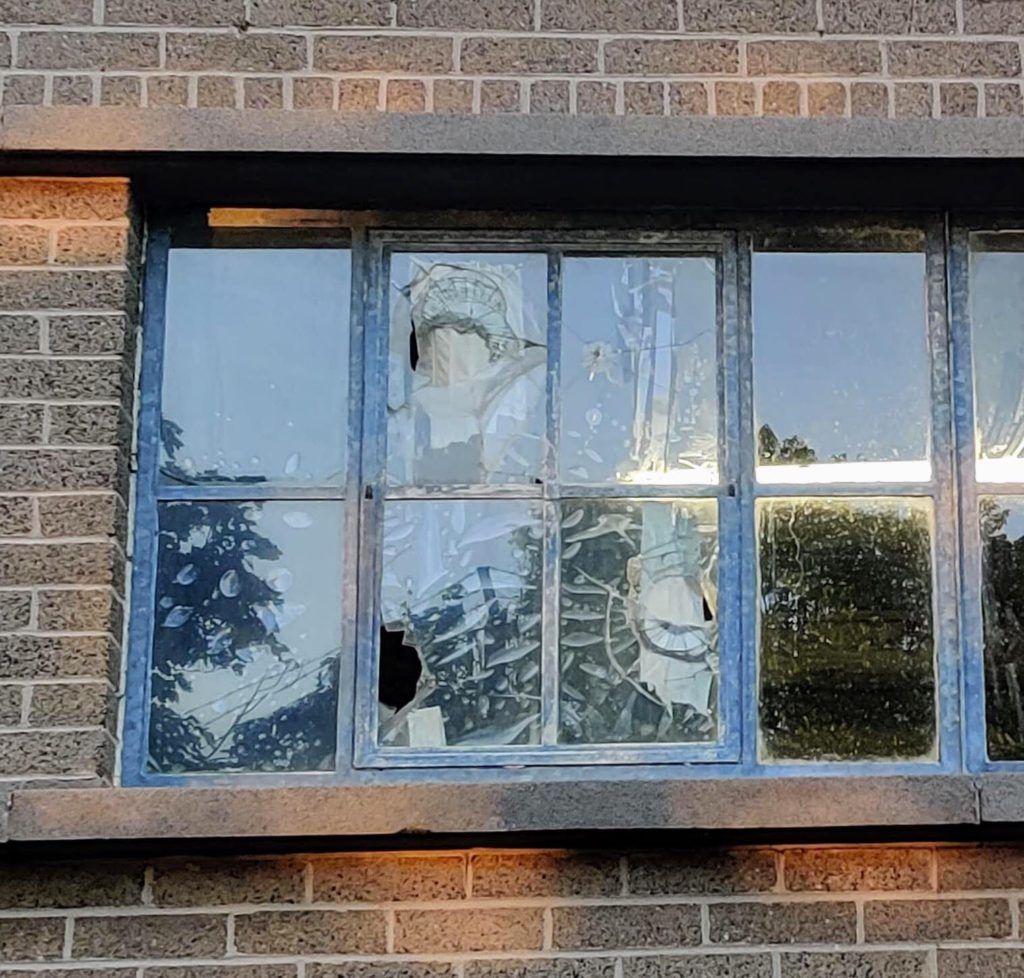
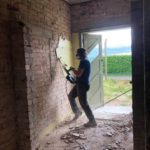
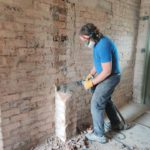
Broken windows 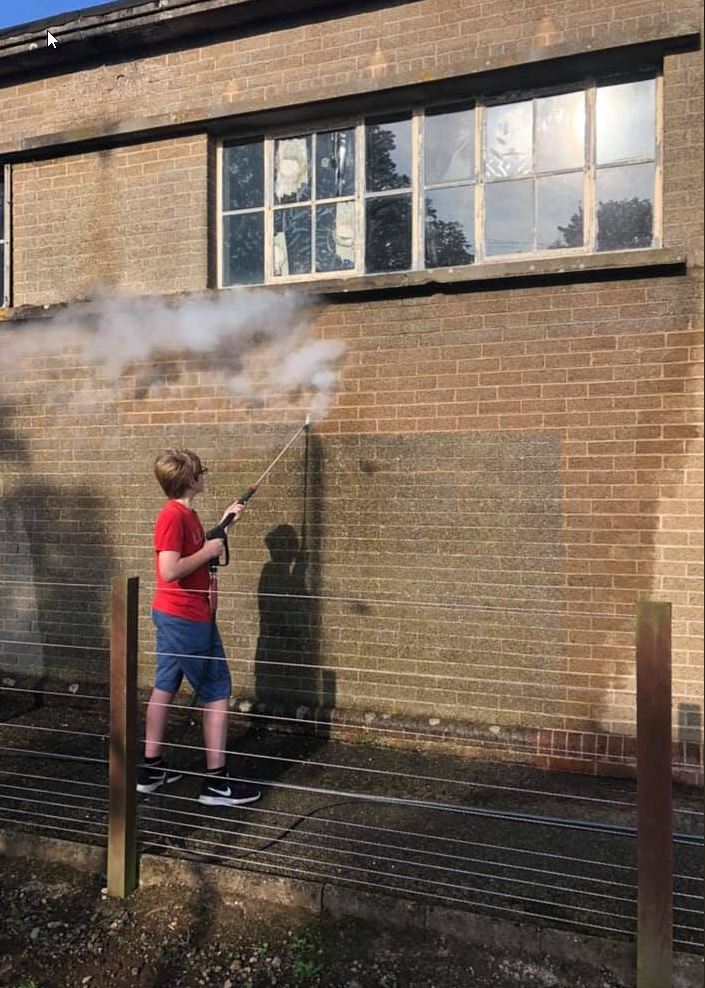
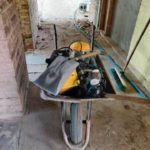
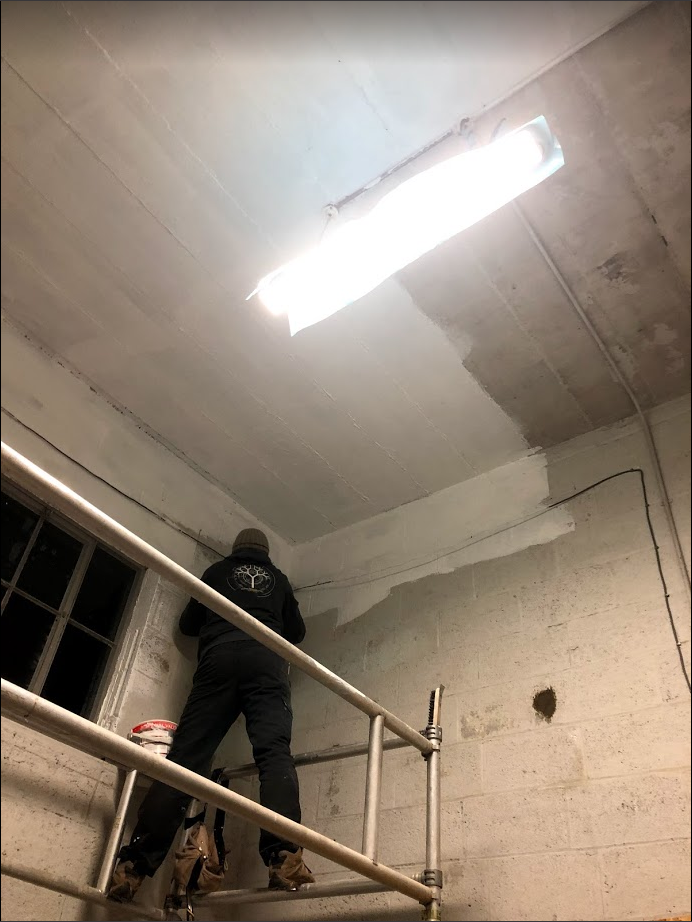
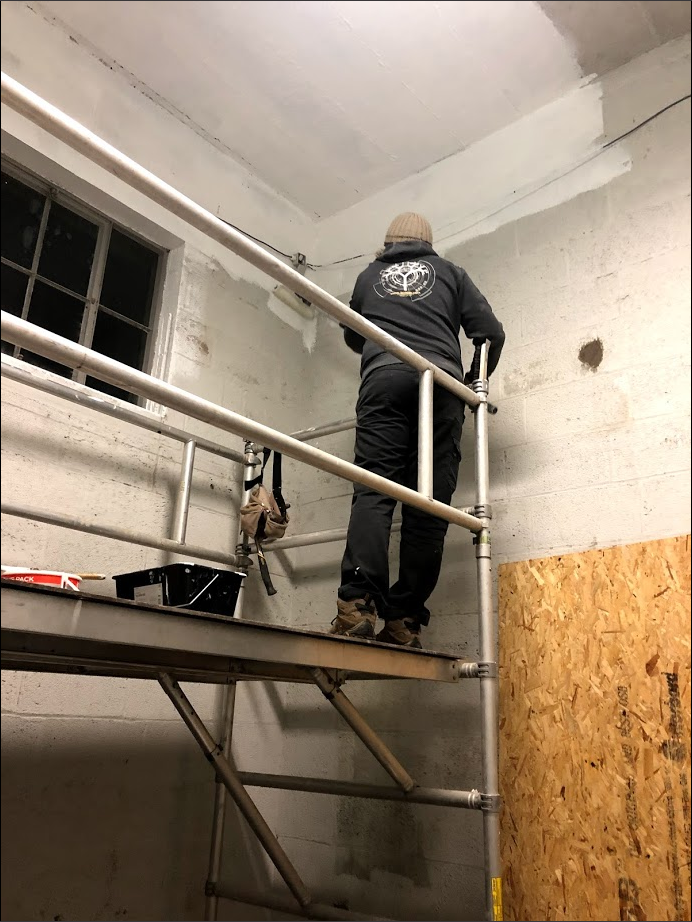
Super heated steam cleaning the brickwork and window casements 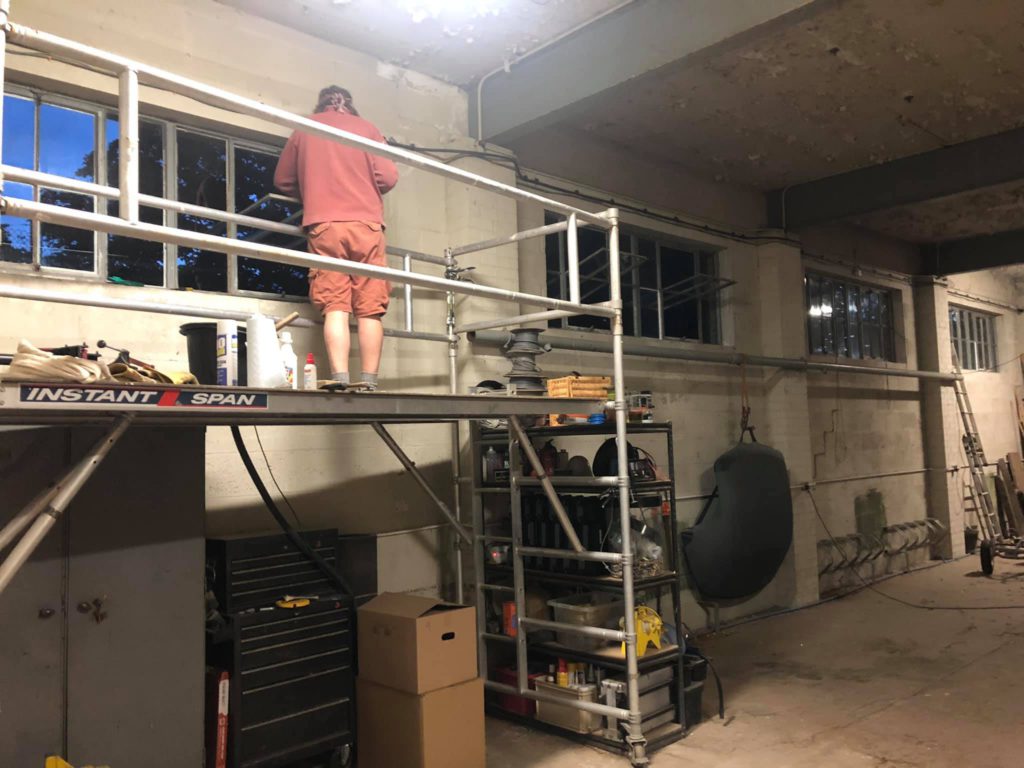
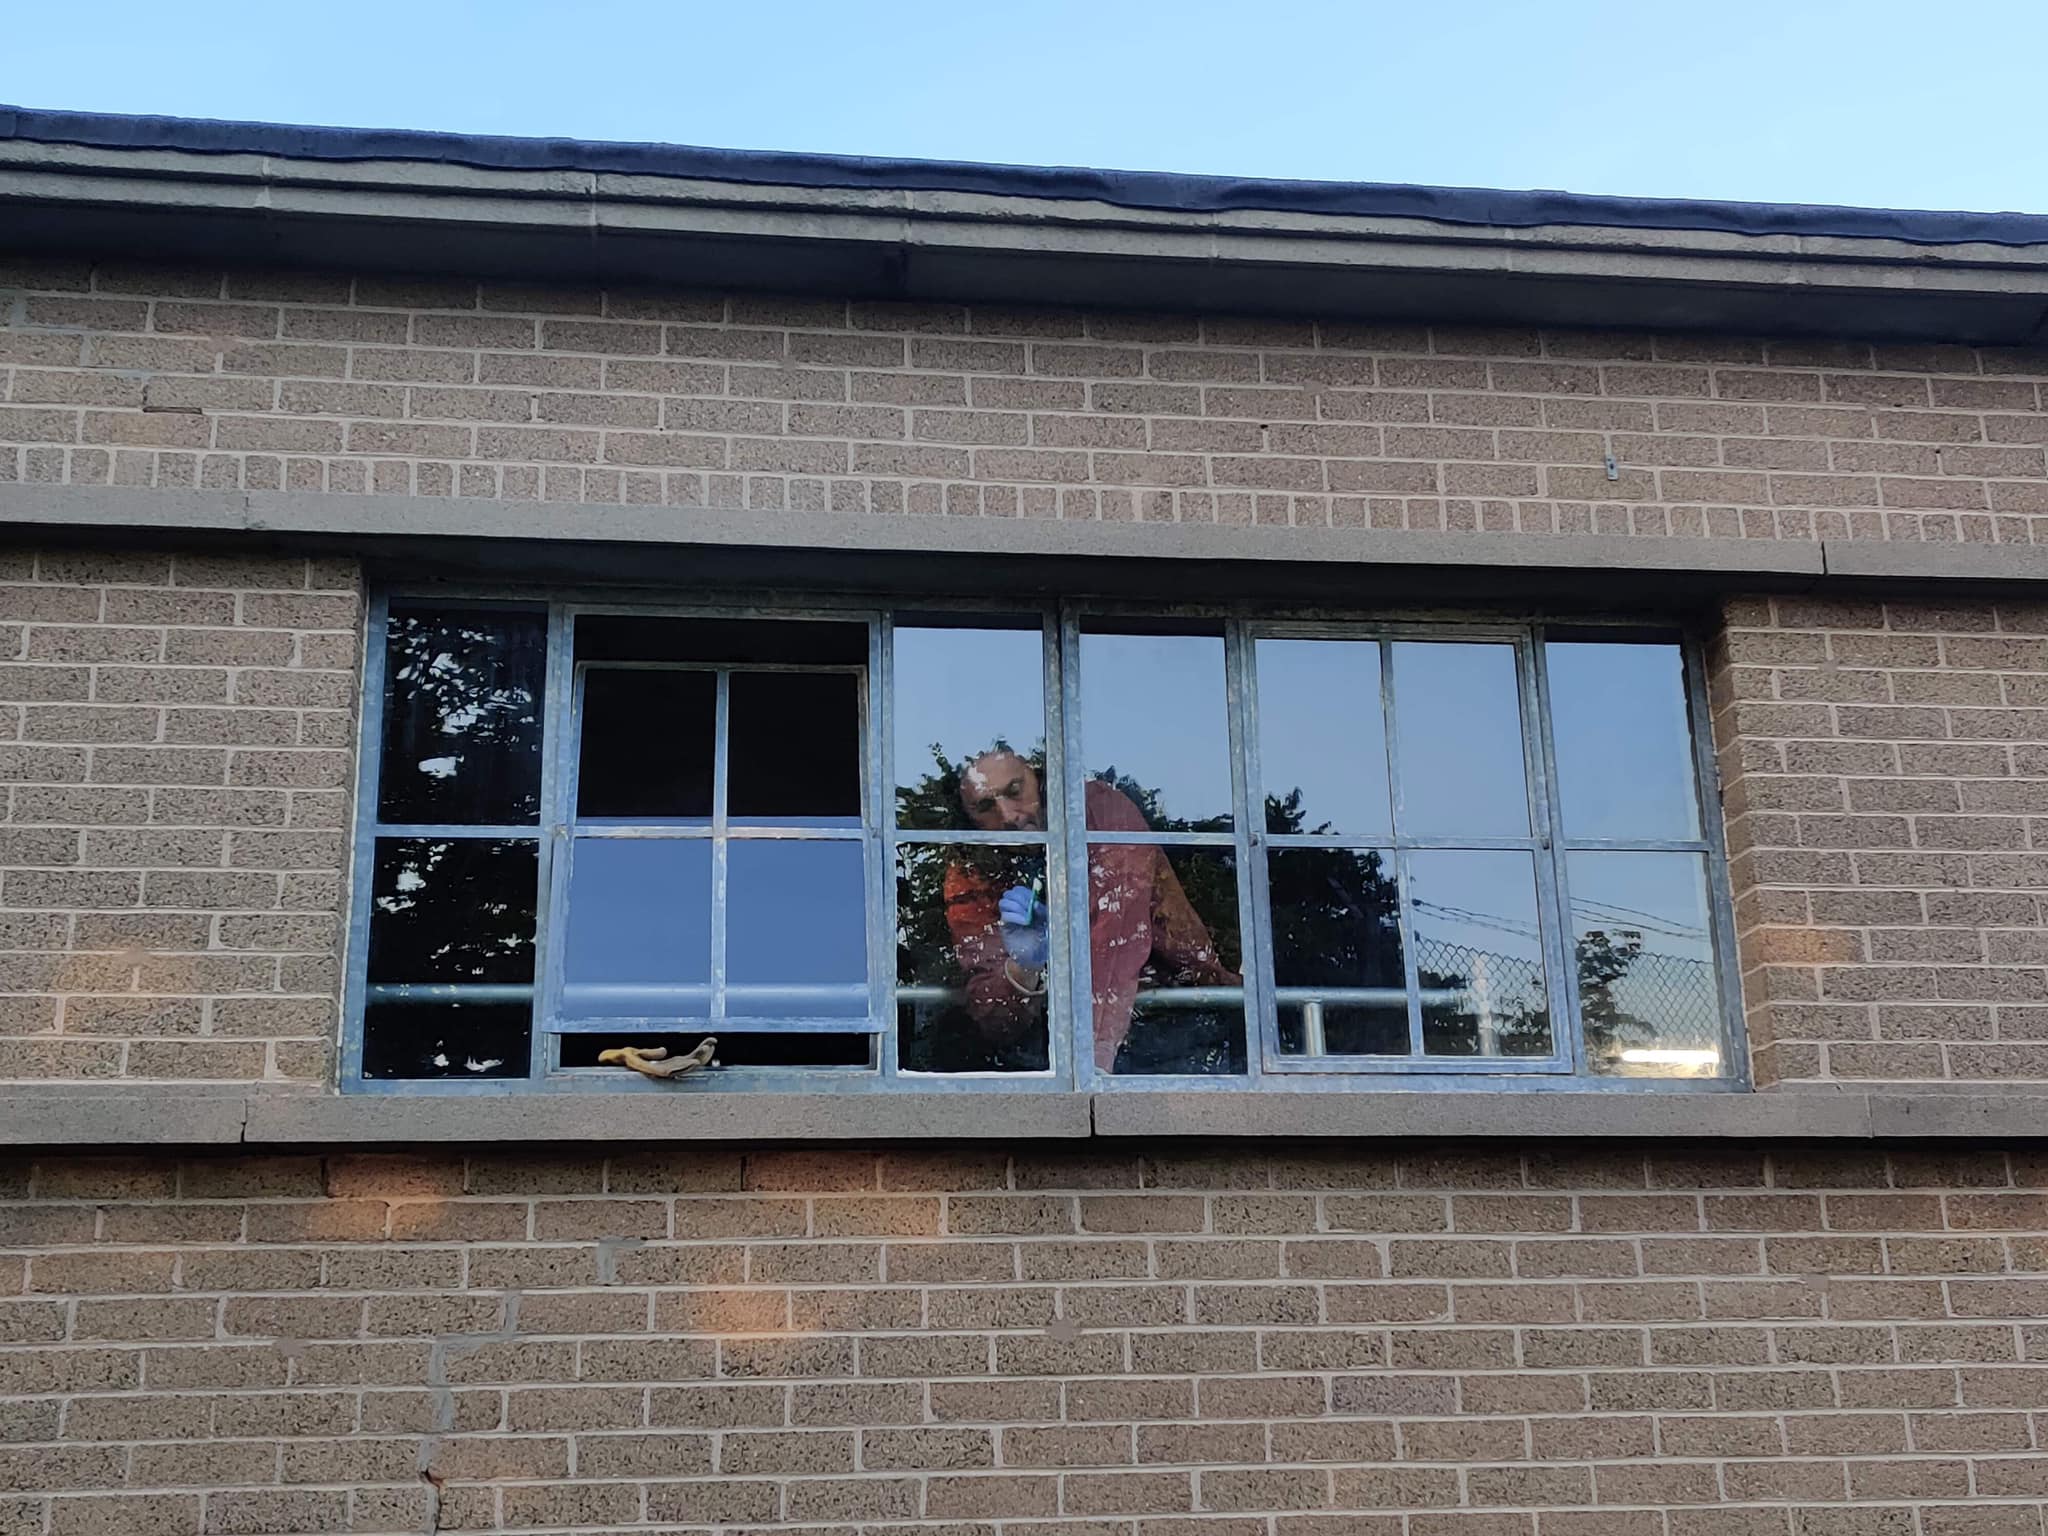
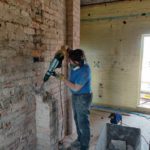
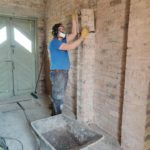
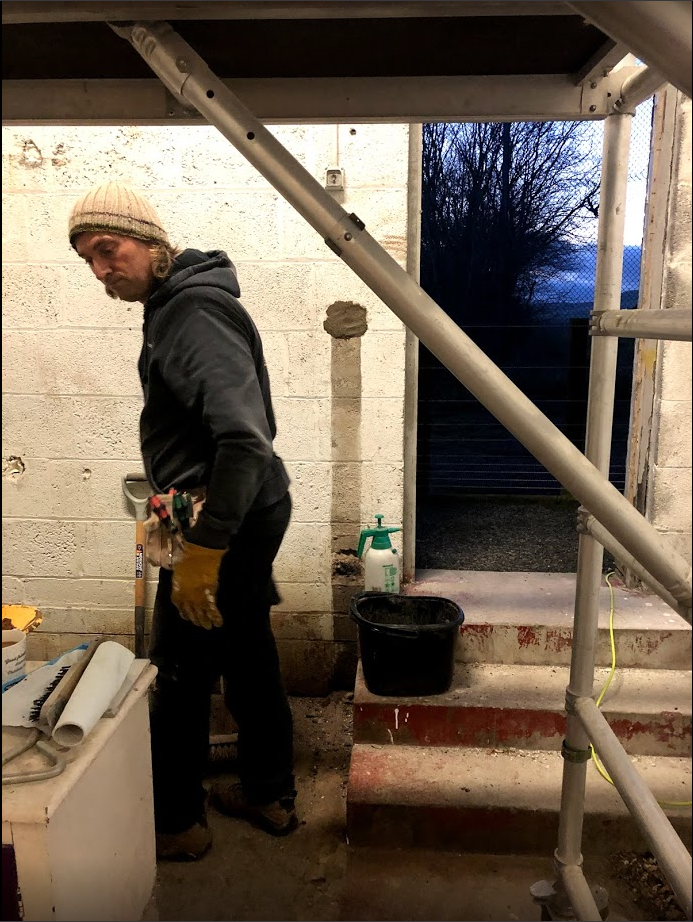
Window replacement in progress 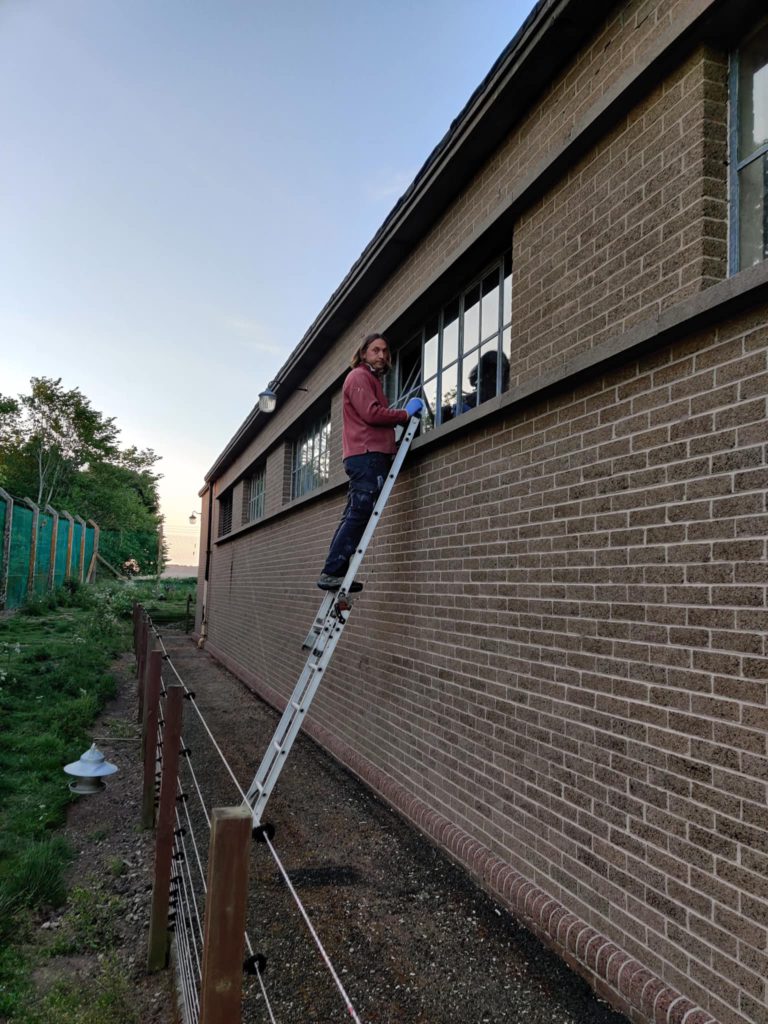
Window replacement in progress 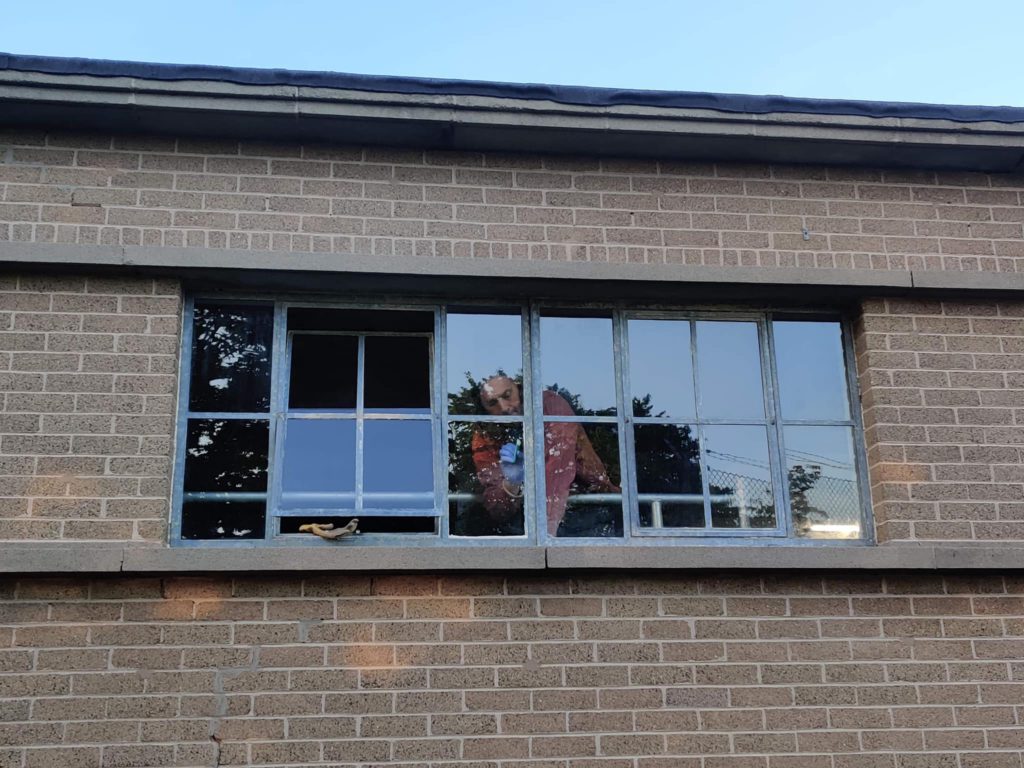
Applying putty 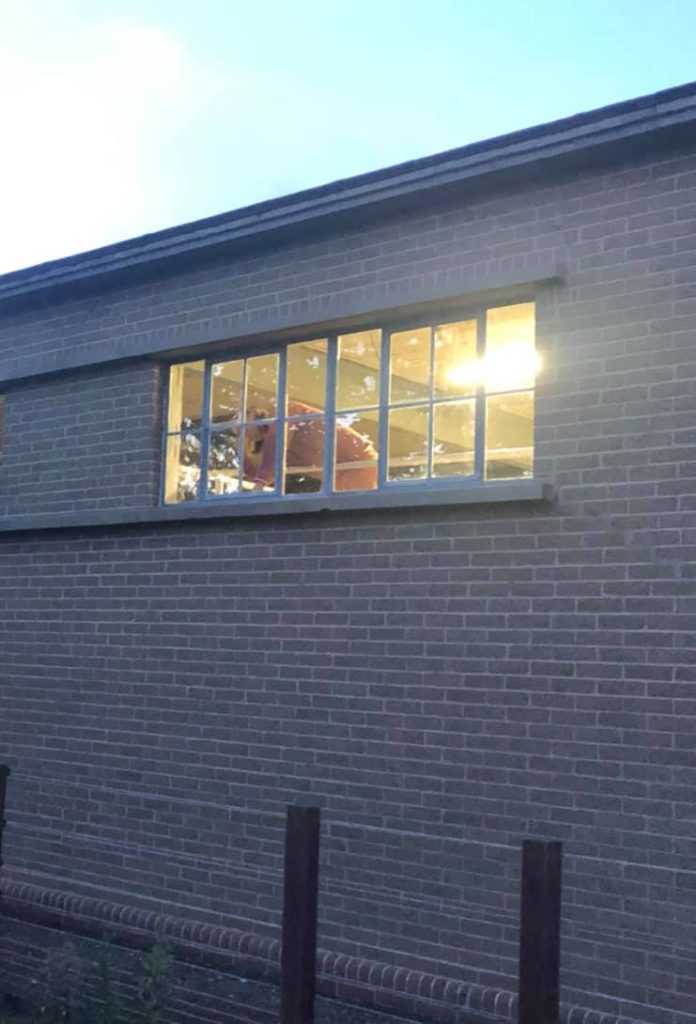
Shaping the putty 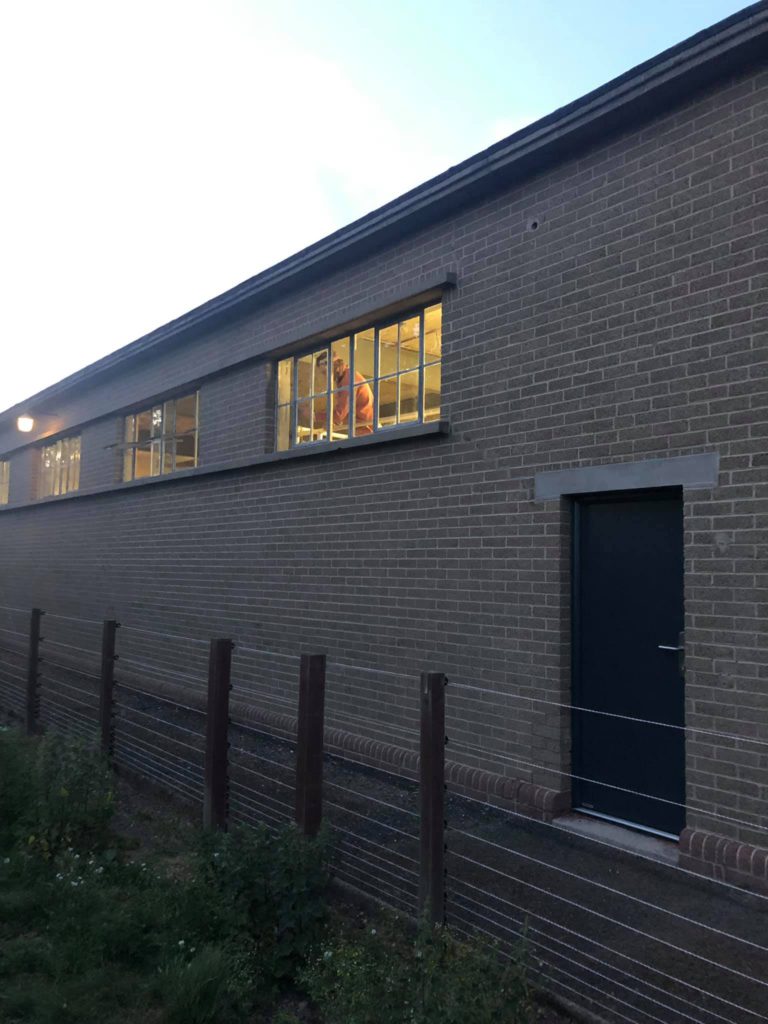
Shaping the putty 
The fixed windows 
The completed repair


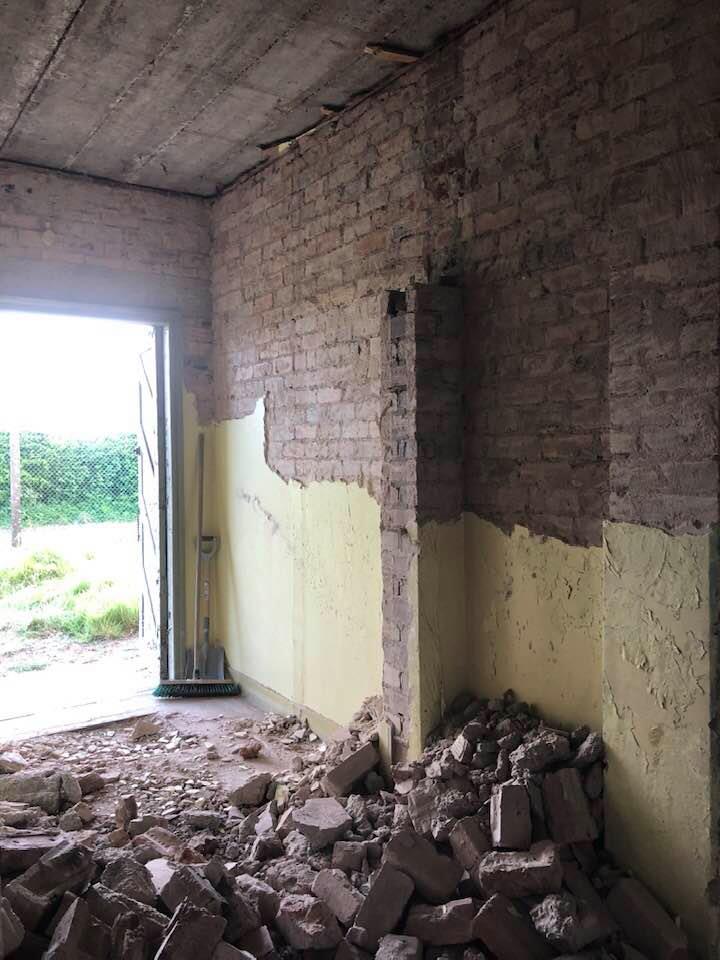
Stripping Back the Vestibule – Part 2
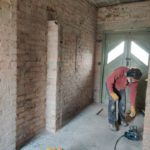
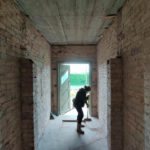
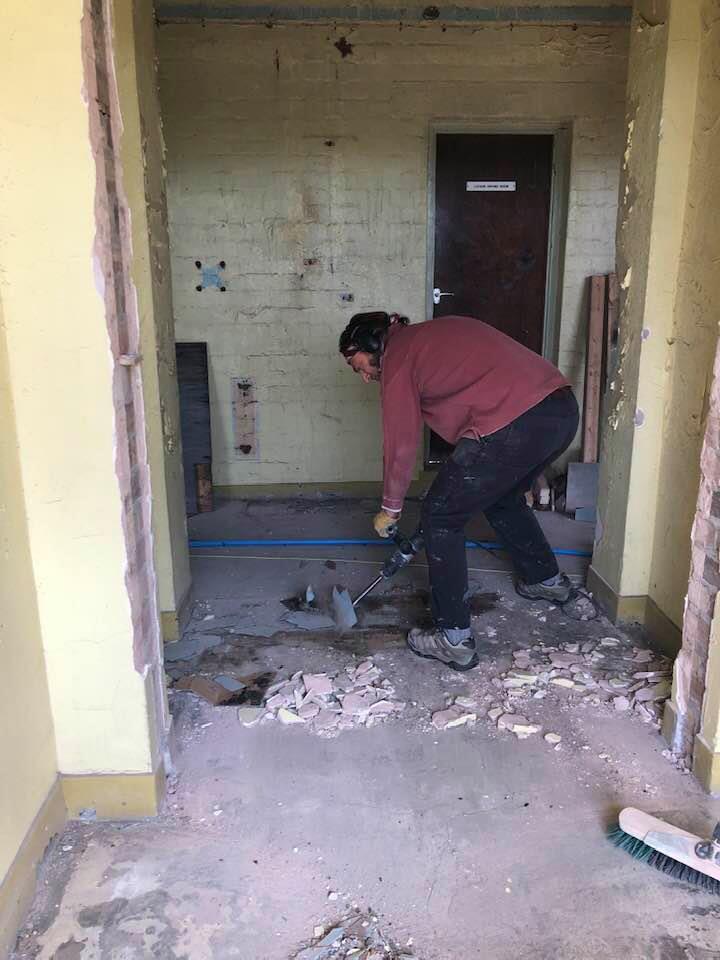
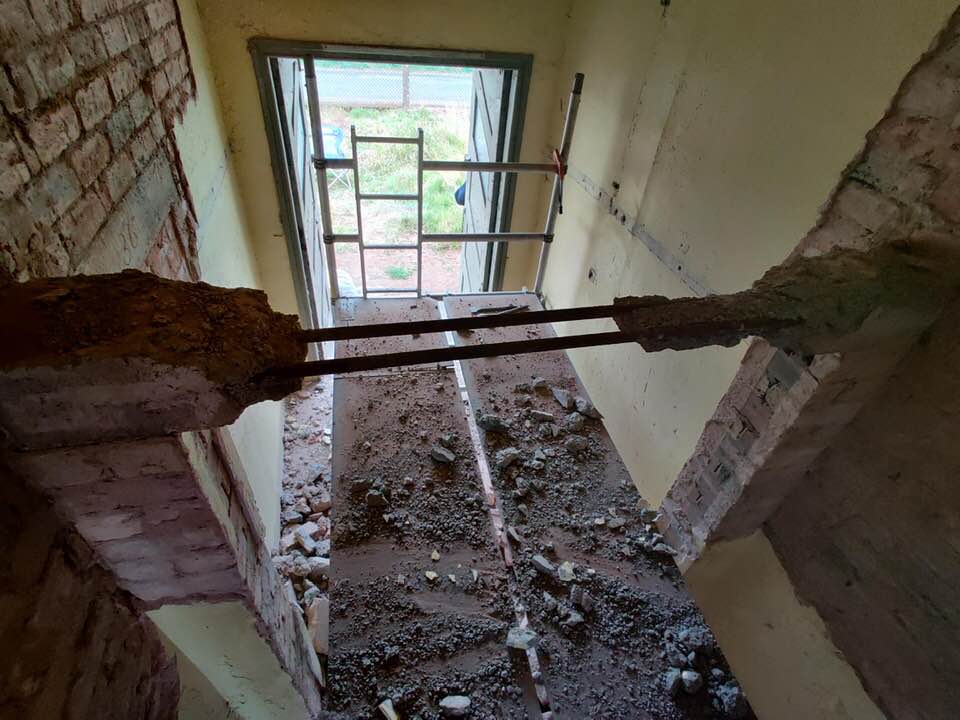
We spent a second day stripping out the old vestibule.
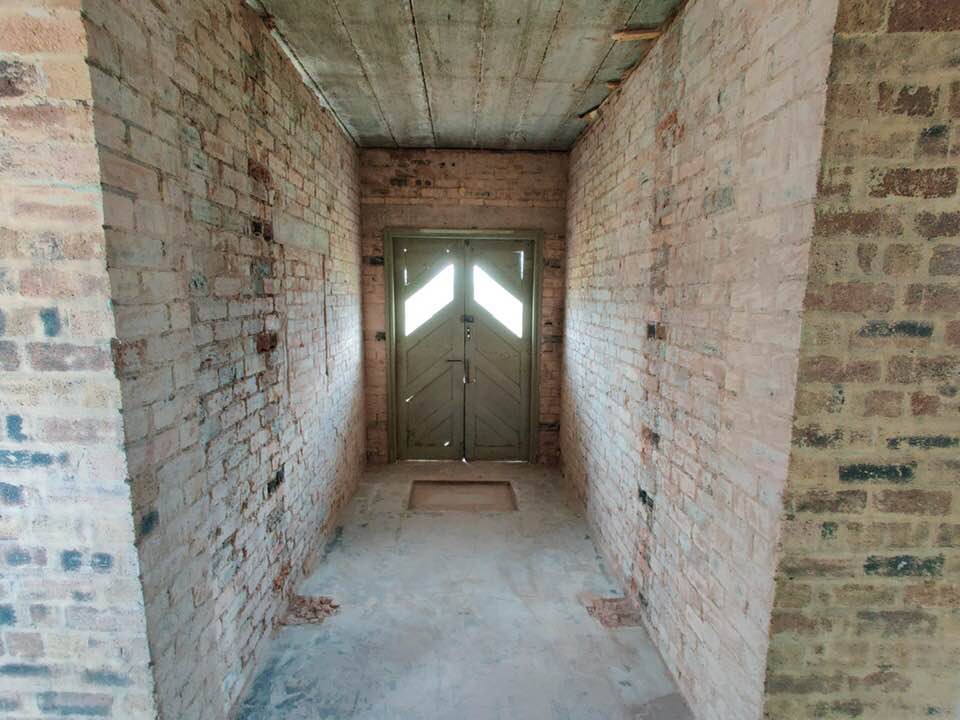
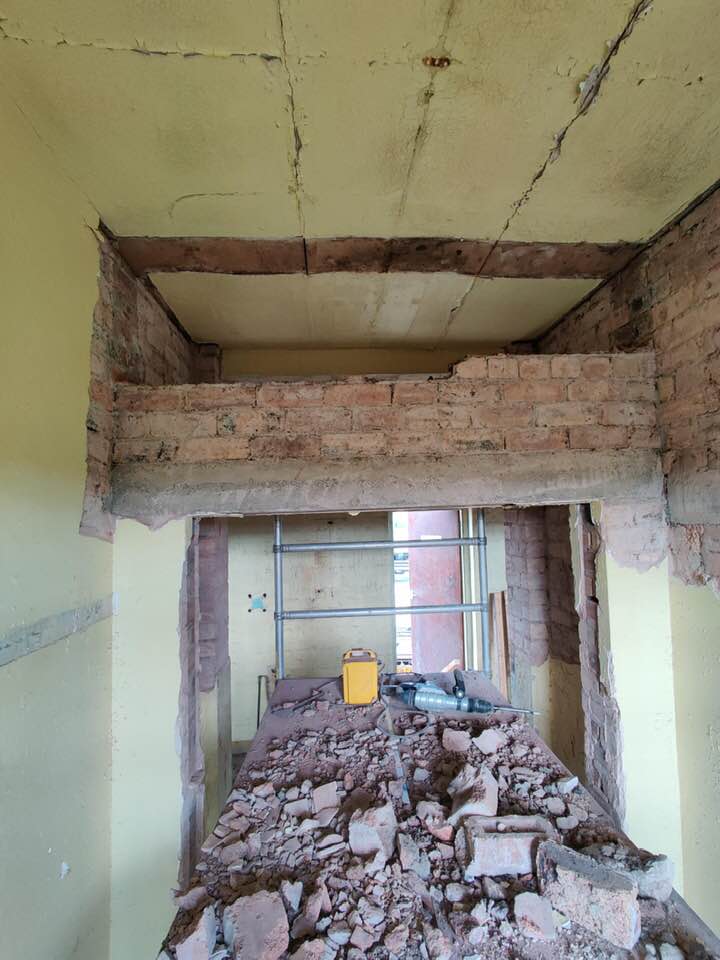
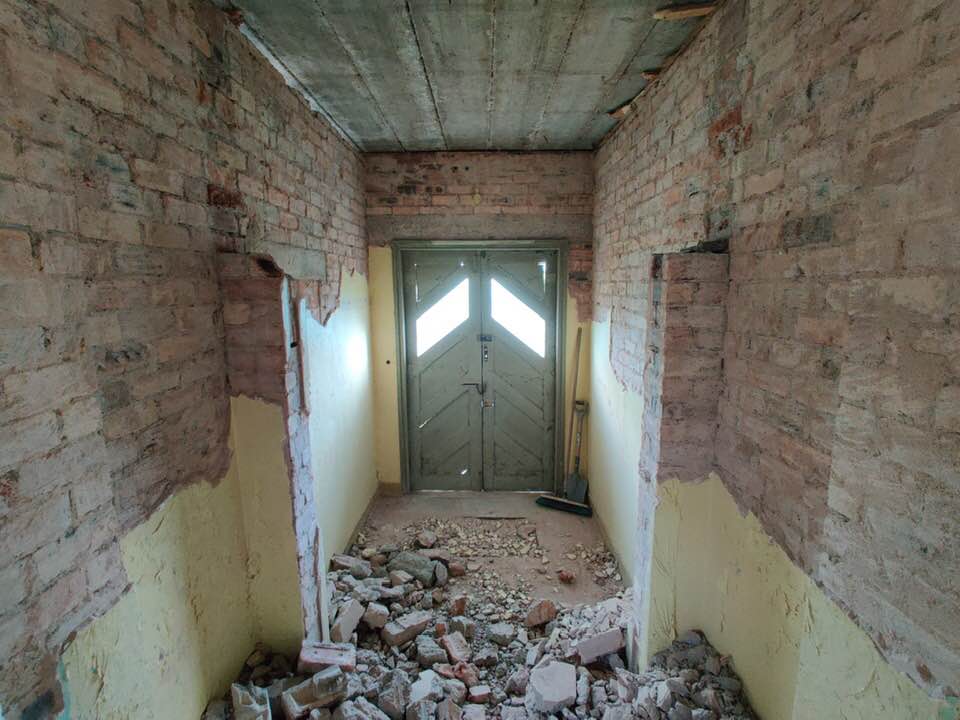
The vestibule is finished, another 5 hours spent removing the remaining plaster and demolishing the brickwork. We’re not long back from a trip to the Co-op for some well earned beer and pizza. George had cracked open his first can of Innes & Gunn before we’d even left the carpark 😀
Yesterday I remembered we had lots of rubble sacks and so we were able to bag the plaster. 40 fairly heavy bags of the stuff are now sitting waiting in what will be Harry’s bathroom/ bedroom until the recycling centre reopens. The bricks George has dumped to the rear of the building for now. It’s not ideal double handling such heavy materials but needs must and at least we have the space to store it without hindering further works.
We’re missing our trips to the recycling centre. Strange as that sounds the 30 minutes there and back allows you a well earned rest and the weight off your feet.
Stretch Targets
Each day we start with a goal and what George likes to call a stretch target. We don’t always achieve our stretch target but today we did. Stretch targets are often a result of my inability to know when to stop and most often reluctantly agreed. Today George humoured me, the stretch target was to lift enough linoleum tiles to fill the space left in our landfill bin which is being collected tomorrow.
We’re on a rural bin collection schedule and have no brown bin. Our landfill bin is collected every two weeks and without fail it’s full to the brim. George will agree I’ve moved mountains of mixed waste over the years filling our blue bin fortnightly. Simple pleasures 😆
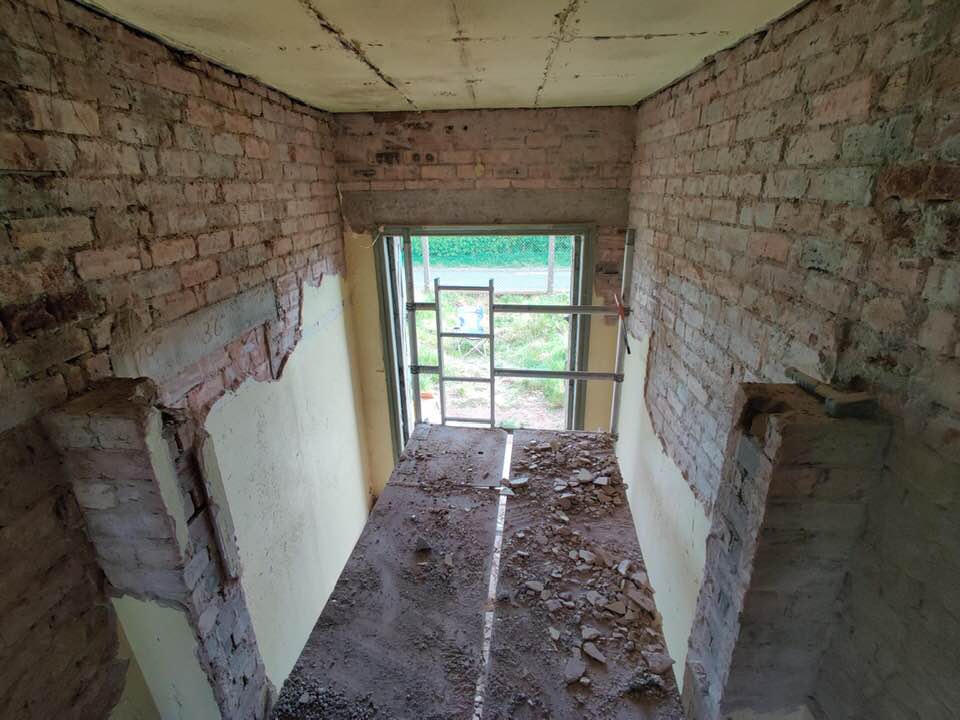
Raising the Floor Level
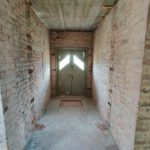
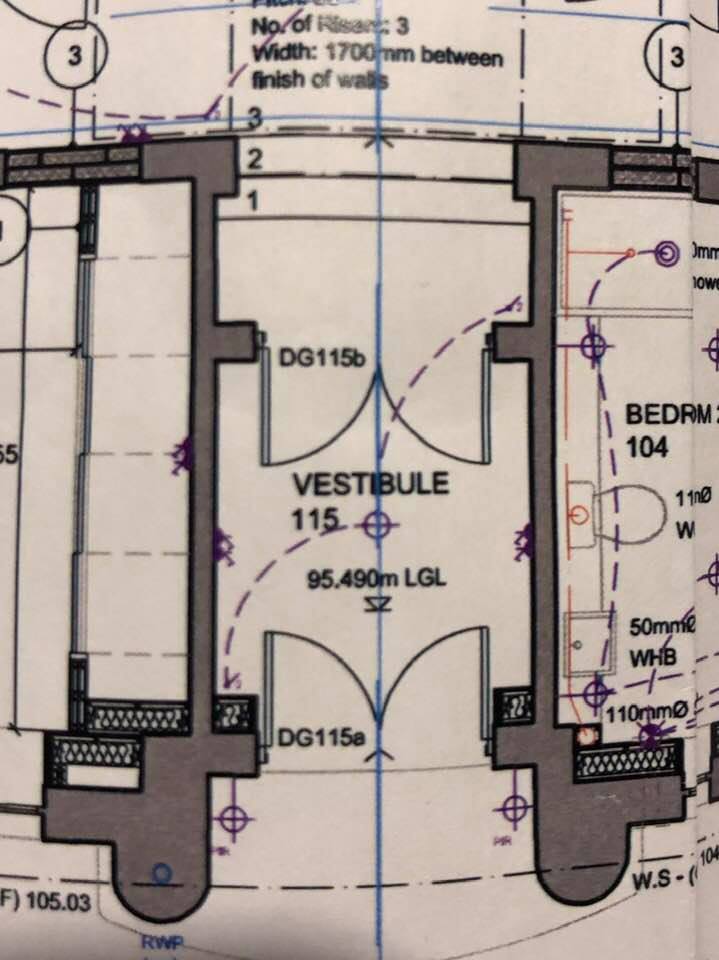
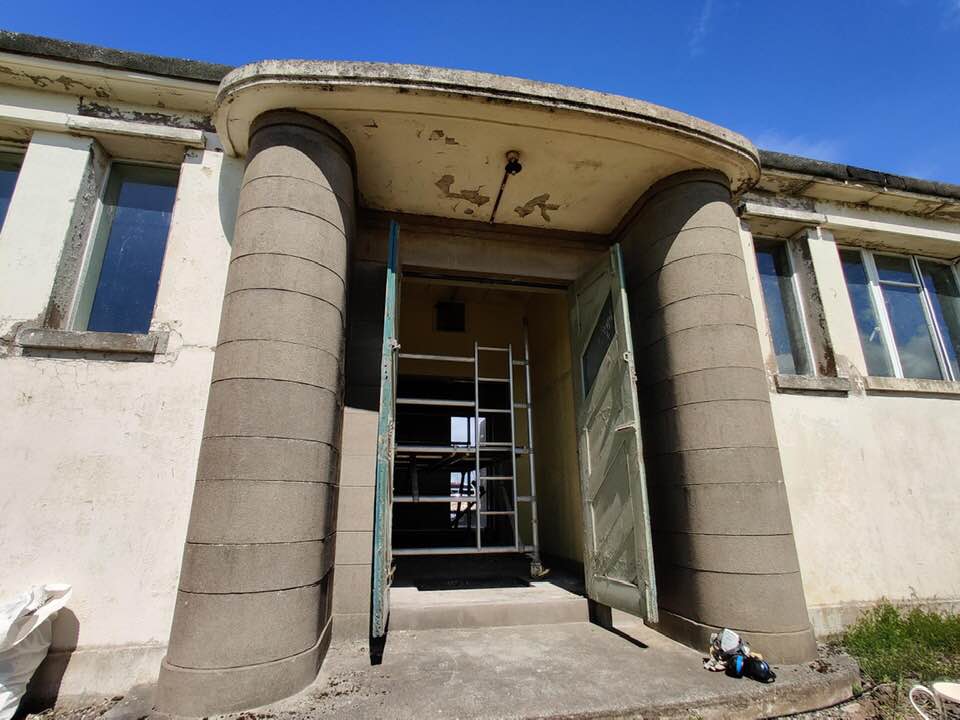
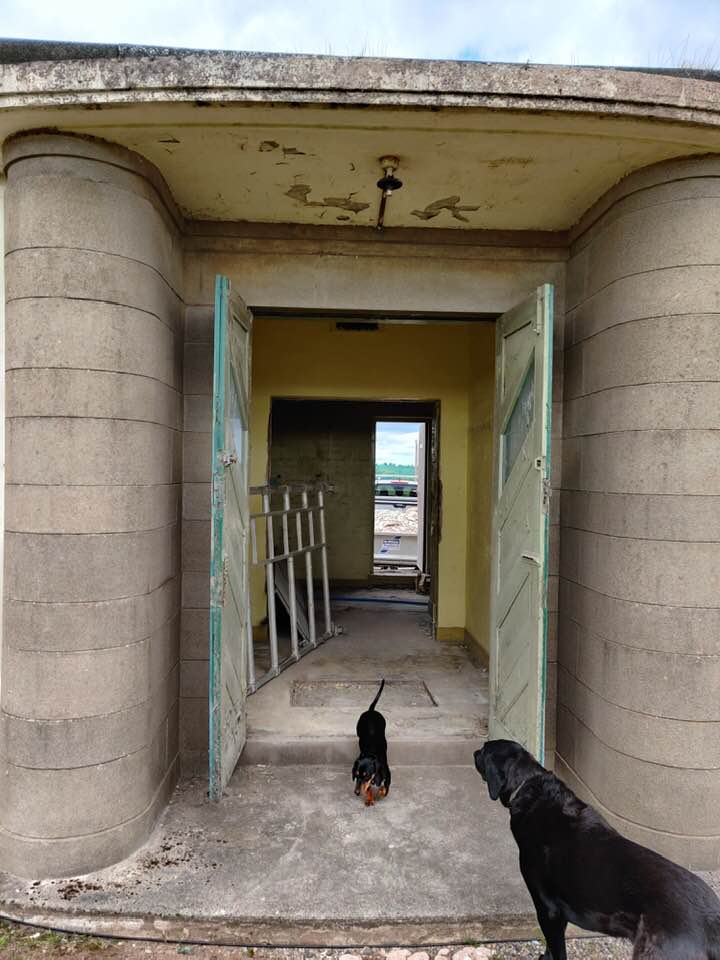
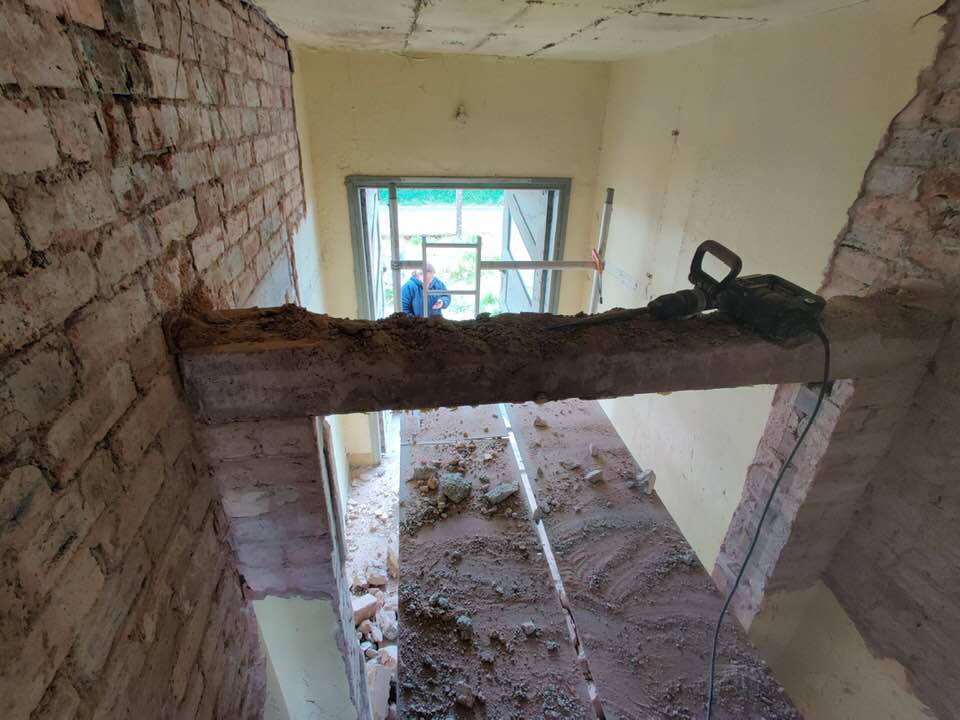
The Listening Station windows are set quite high in the wall, presumably for privacy. Unfortunately that means, with the current floor level, I can’t see out although the boys can see just fine ! We’ve got a fair bit of room height and so it was decided we raise the entire floor level by 39cm. This level change requires steps in the vestibule and also steps to our new back door.
The beauty of removing the wall in the vestibule is that we can now ask the architects to update their drawings and move the position of the steps closer to the front door and away from the main corridor. We can also widen the treads which, we think, will look better.
I’ll email Bill shortly, he’s the very able architect tasked with our detailed production drawings, and share our weekend handiwork. Poor Bill probably opens emails from me with some trepidation when they arrive on a Monday morning 😂.
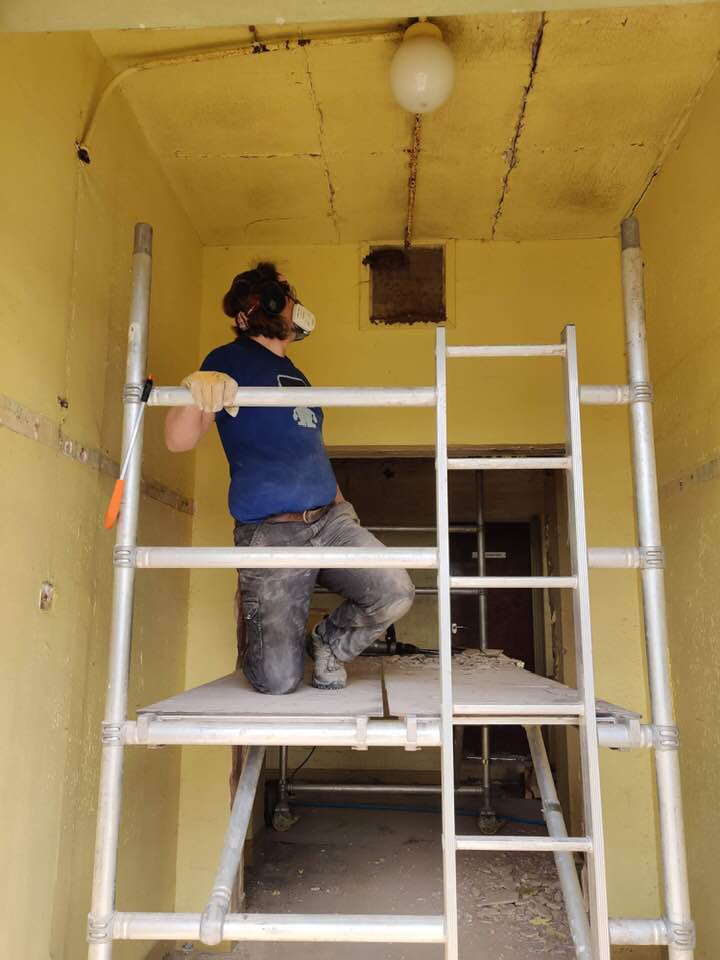
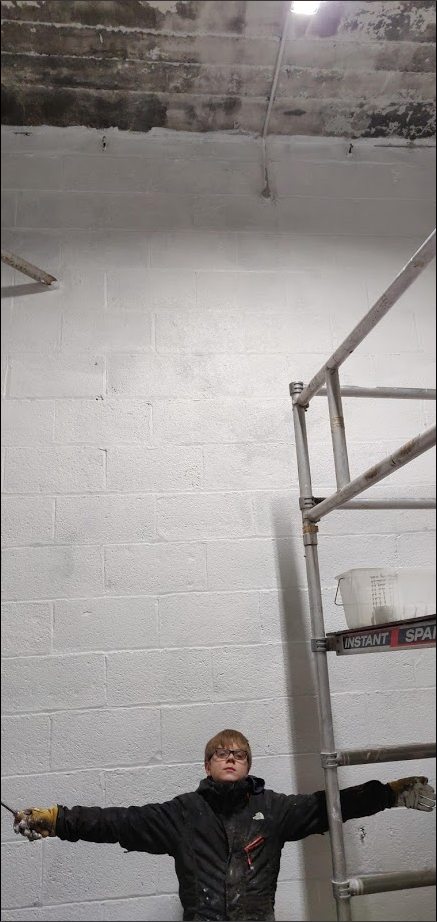
Tomorrow sees George back to his day job. I’ll be up the newly moved scaffolding tower continuing my steam cleaning of the garage brickwork.


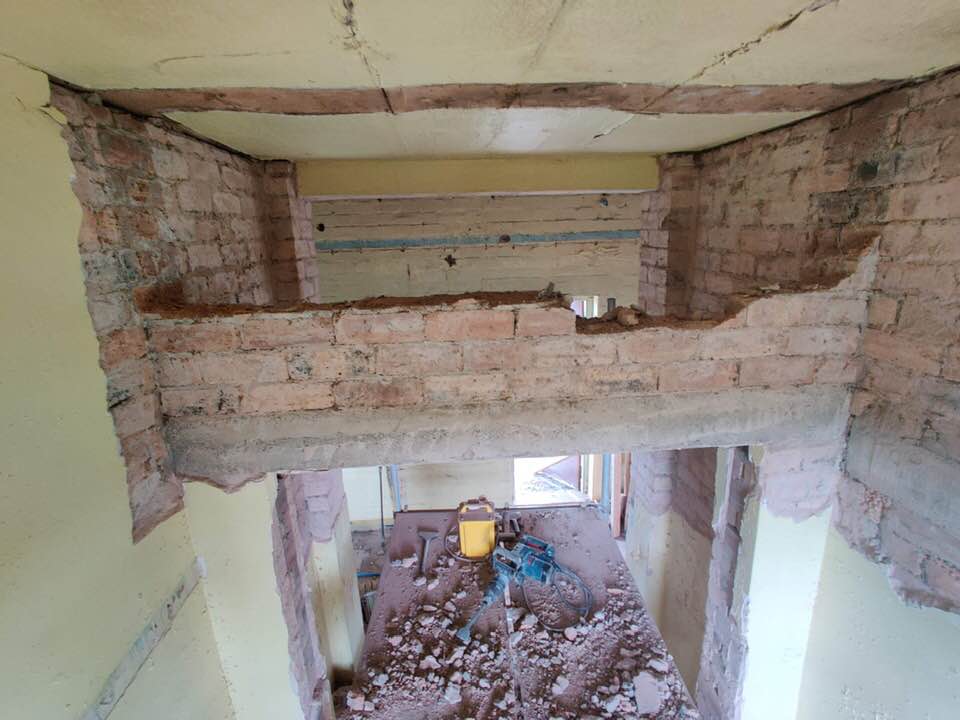
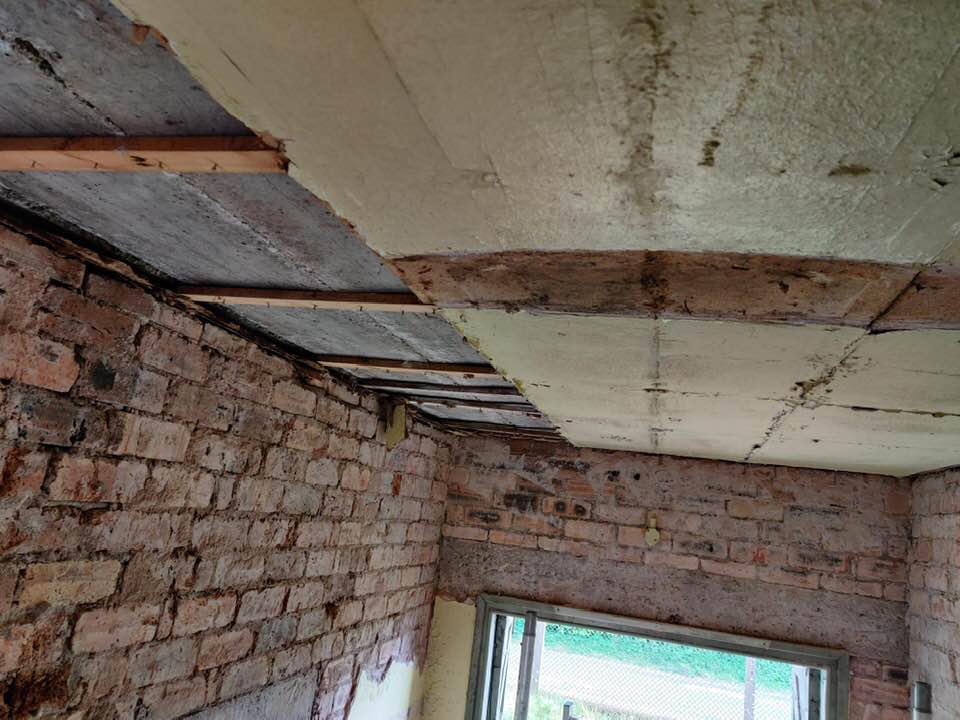
Stripping back the Vestibule – Part 1
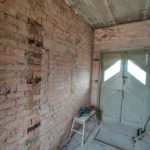
We spent this weekend stripping the original vestibule back to the brick ready for redevelopment into the formal entrance at Hawklaw.
Pretty pleased with progress in the vestibule yesterday. Seven hours in and the job is over half way there.
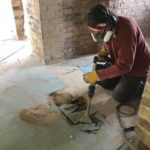
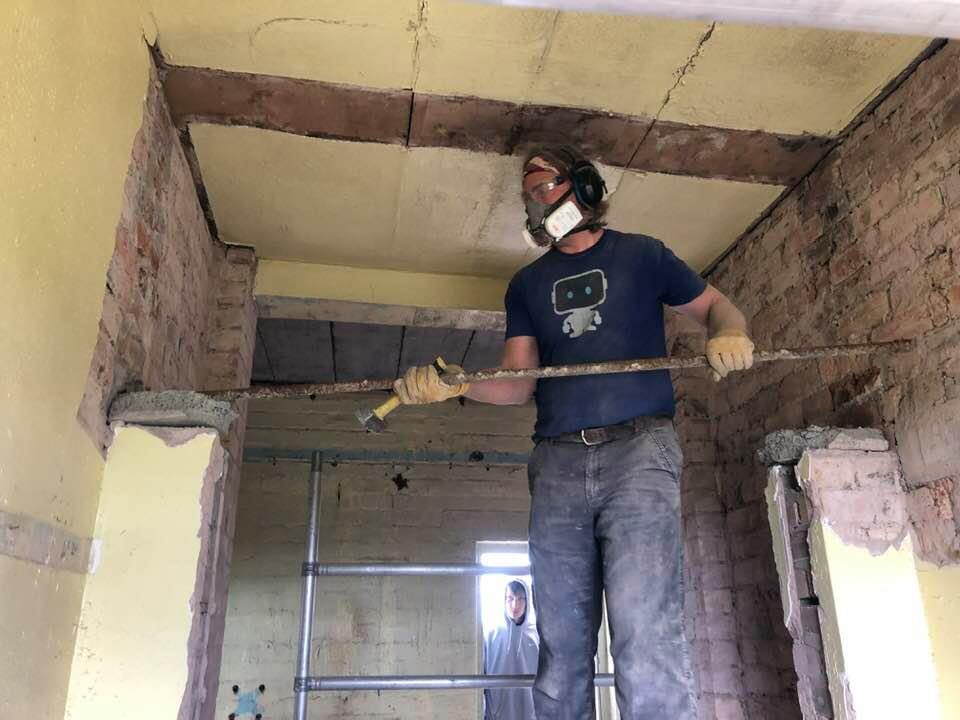
The double skinned wall took quite a bit of effort to demolish, especially the header bonded courses ( where the ends of the bricks are on show). George used the demolition hammer for most of the day. A wide chisel bit lifted the linoleum tiles and removed plaster. A point chisel bit broke the cement bonds between bricks and the concrete lintel into small chunks.
Asbestos
It’s worth mentioning asbestos at this point. Asbestos was widely used in 1940’s construction, our building being no exception. Owners of buildings such as ours have a legal obligation to ensure any building undergoing extensive refurbishment or demolition has all forms of asbestos identified by means of a destructive demolition asbestos survey.
Our demolition asbestos survey identified many obvious and some surprising asbestos containing materials (ACM’s).

Linoleum tiles and their adhesive can often contain asbestos, so too can toilet seats and sink pads ( the pad under your stainless steel sink that acts as sound deadening).
Tens of samples were taken throughout the building and black crosses were marked on the areas sent for analysis. I spotted one of the black crosses today on the linoleum tiles we were lifting in the vestibule. The tiles and adhesive tested negative for ACM.
Linoleum tiles and adhesive tested in the girls toilets and locker drying room tested positive for ACM’s. Those tiles were safely removed and the adhesive painstakingly scraped away by specialist contractors back in 2016 ahead of the administration block demolition.
Asbestos cement is one form of asbestos that we’ve found can reasonably be removed by householders. Thoroughly soaking the cement, being careful not to damage or break the sheets and using well fitting masks are sensible precautions even although the risk of fibre release, for undamaged asbestos cement, is fairly low.
We’ve literally disposed of tonnes of asbestos cement from the site over the years (a sheet of corrugated asbestos is surprisingly heavy). The double garage and both incinerator buildings demolished had asbestos cement roofs and some of the more modern extensions to the rear had asbestos cement guttering and downpipes.
We were fortunate that until a few years ago our local recycling centre accepted double wrapped asbestos cement for disposal. A form detailing the type and quantity, its origin and the person disposing of it were recorded by the council which was subsequently audited by SEPA.
More recently we’ve paid £300/ tonne to dispose of our asbestos cement and a further £25 for the required SEPA certificate. Little wonder asbestos is found fly tipped.
Asbestos has been one of the many, many things we’ve had to learn about over the years we’ve owned Hawklaw. Every day is a learning day with a self build project.
Hoping to finish in the vestibule later today, update and photos to follow
Super Heated Steam Cleaning Hawklaw
Over the past weeks we’ve been using super heated steam to gently cleanse the brickwork at Hawklaw
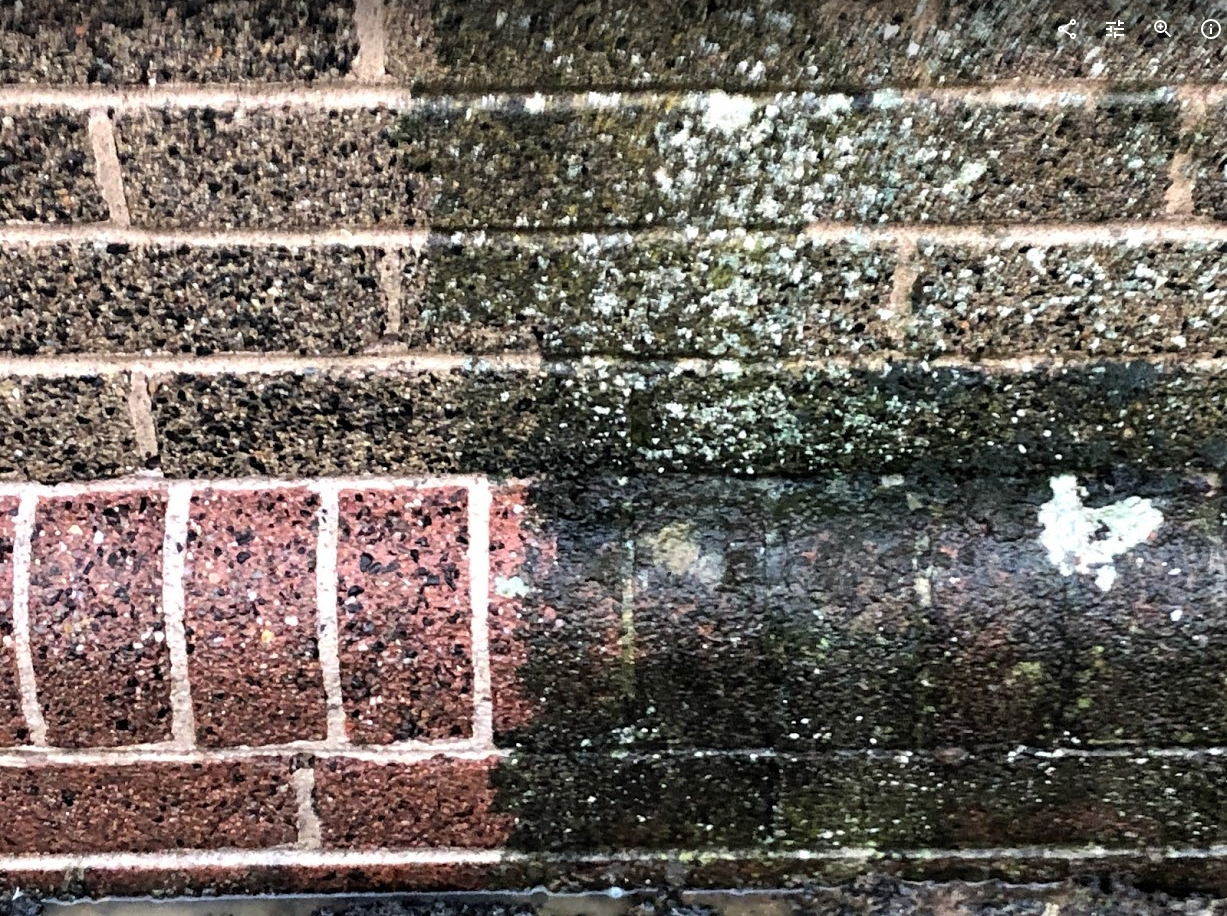
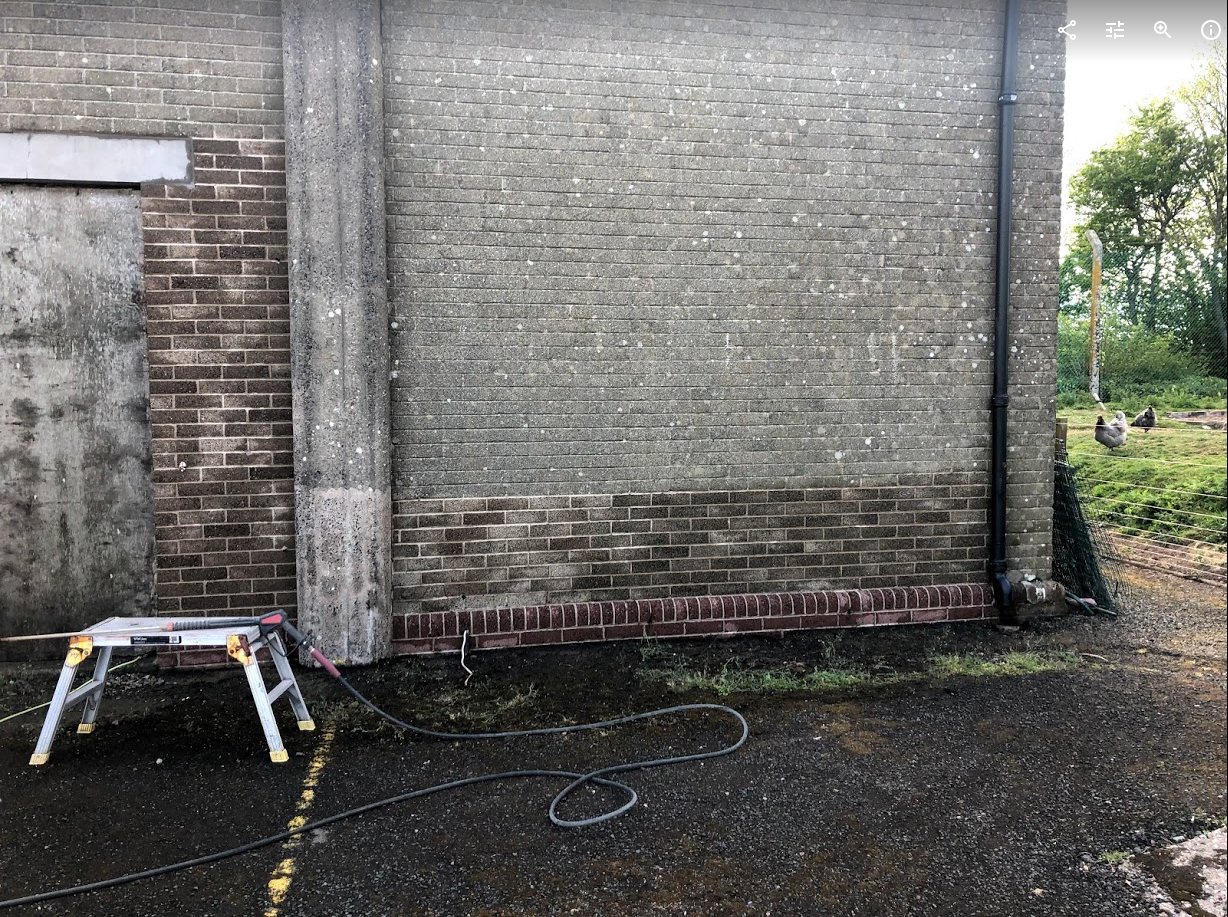
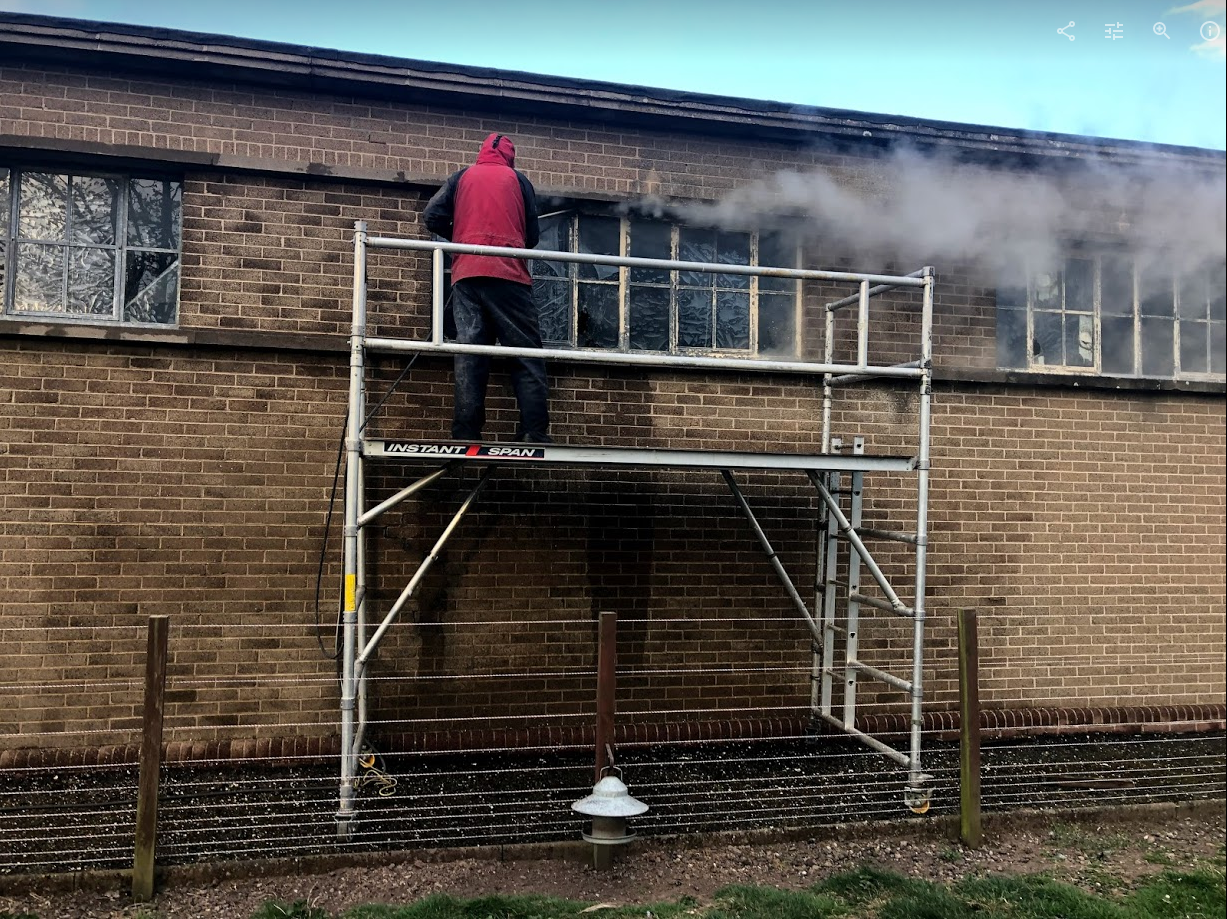
We’ve spent in excess of 50 hours, these past few weeks, cleaning the west and south elevation brickwork of our garage with a DOFF machine.
We stumbled upon the DOFF when we had contractors blast clean some of the main build internal brickwork last year. With large areas of render and brickwork to clean, and costly quotes to undertake the work, we took the plunge and purchased a machine for ourselves.
Stonehealth, who manufacture the DOFF, ordinarily sell to specialist stone cleaning contractors and stately homes. Despite being a rather unusual customer they gamely helped train all four of us in its safe, effective use. Eg discharging the steam lance down your brother’s rigger boots is a definite no-no!
The machine runs on kerosene, using around 20l per day. It can clean at varying temperatures, up to 150 degrees C , and pressures. The garage brickwork we’ve tackled at 140 degrees as it’s heavily covered in algae. The high temperature kills the algae, moss and any spores ensuring the brickwork stays clean for longer. Low pressure ensures no saturation or damage to the brickwork.
We estimate another 30 hours should finish the remaining accessible garage brickwork – our caravan is blocking a good part of the east wall!
We have two further jobs lined up for our DOFF in the next few weeks.
- remove plaster residue from the internal brickwork.
- remove flaking paint from the main build render ready for repairs and repainting.
Can’t say I’m looking forward to that job, the south elevation alone is 65m long!
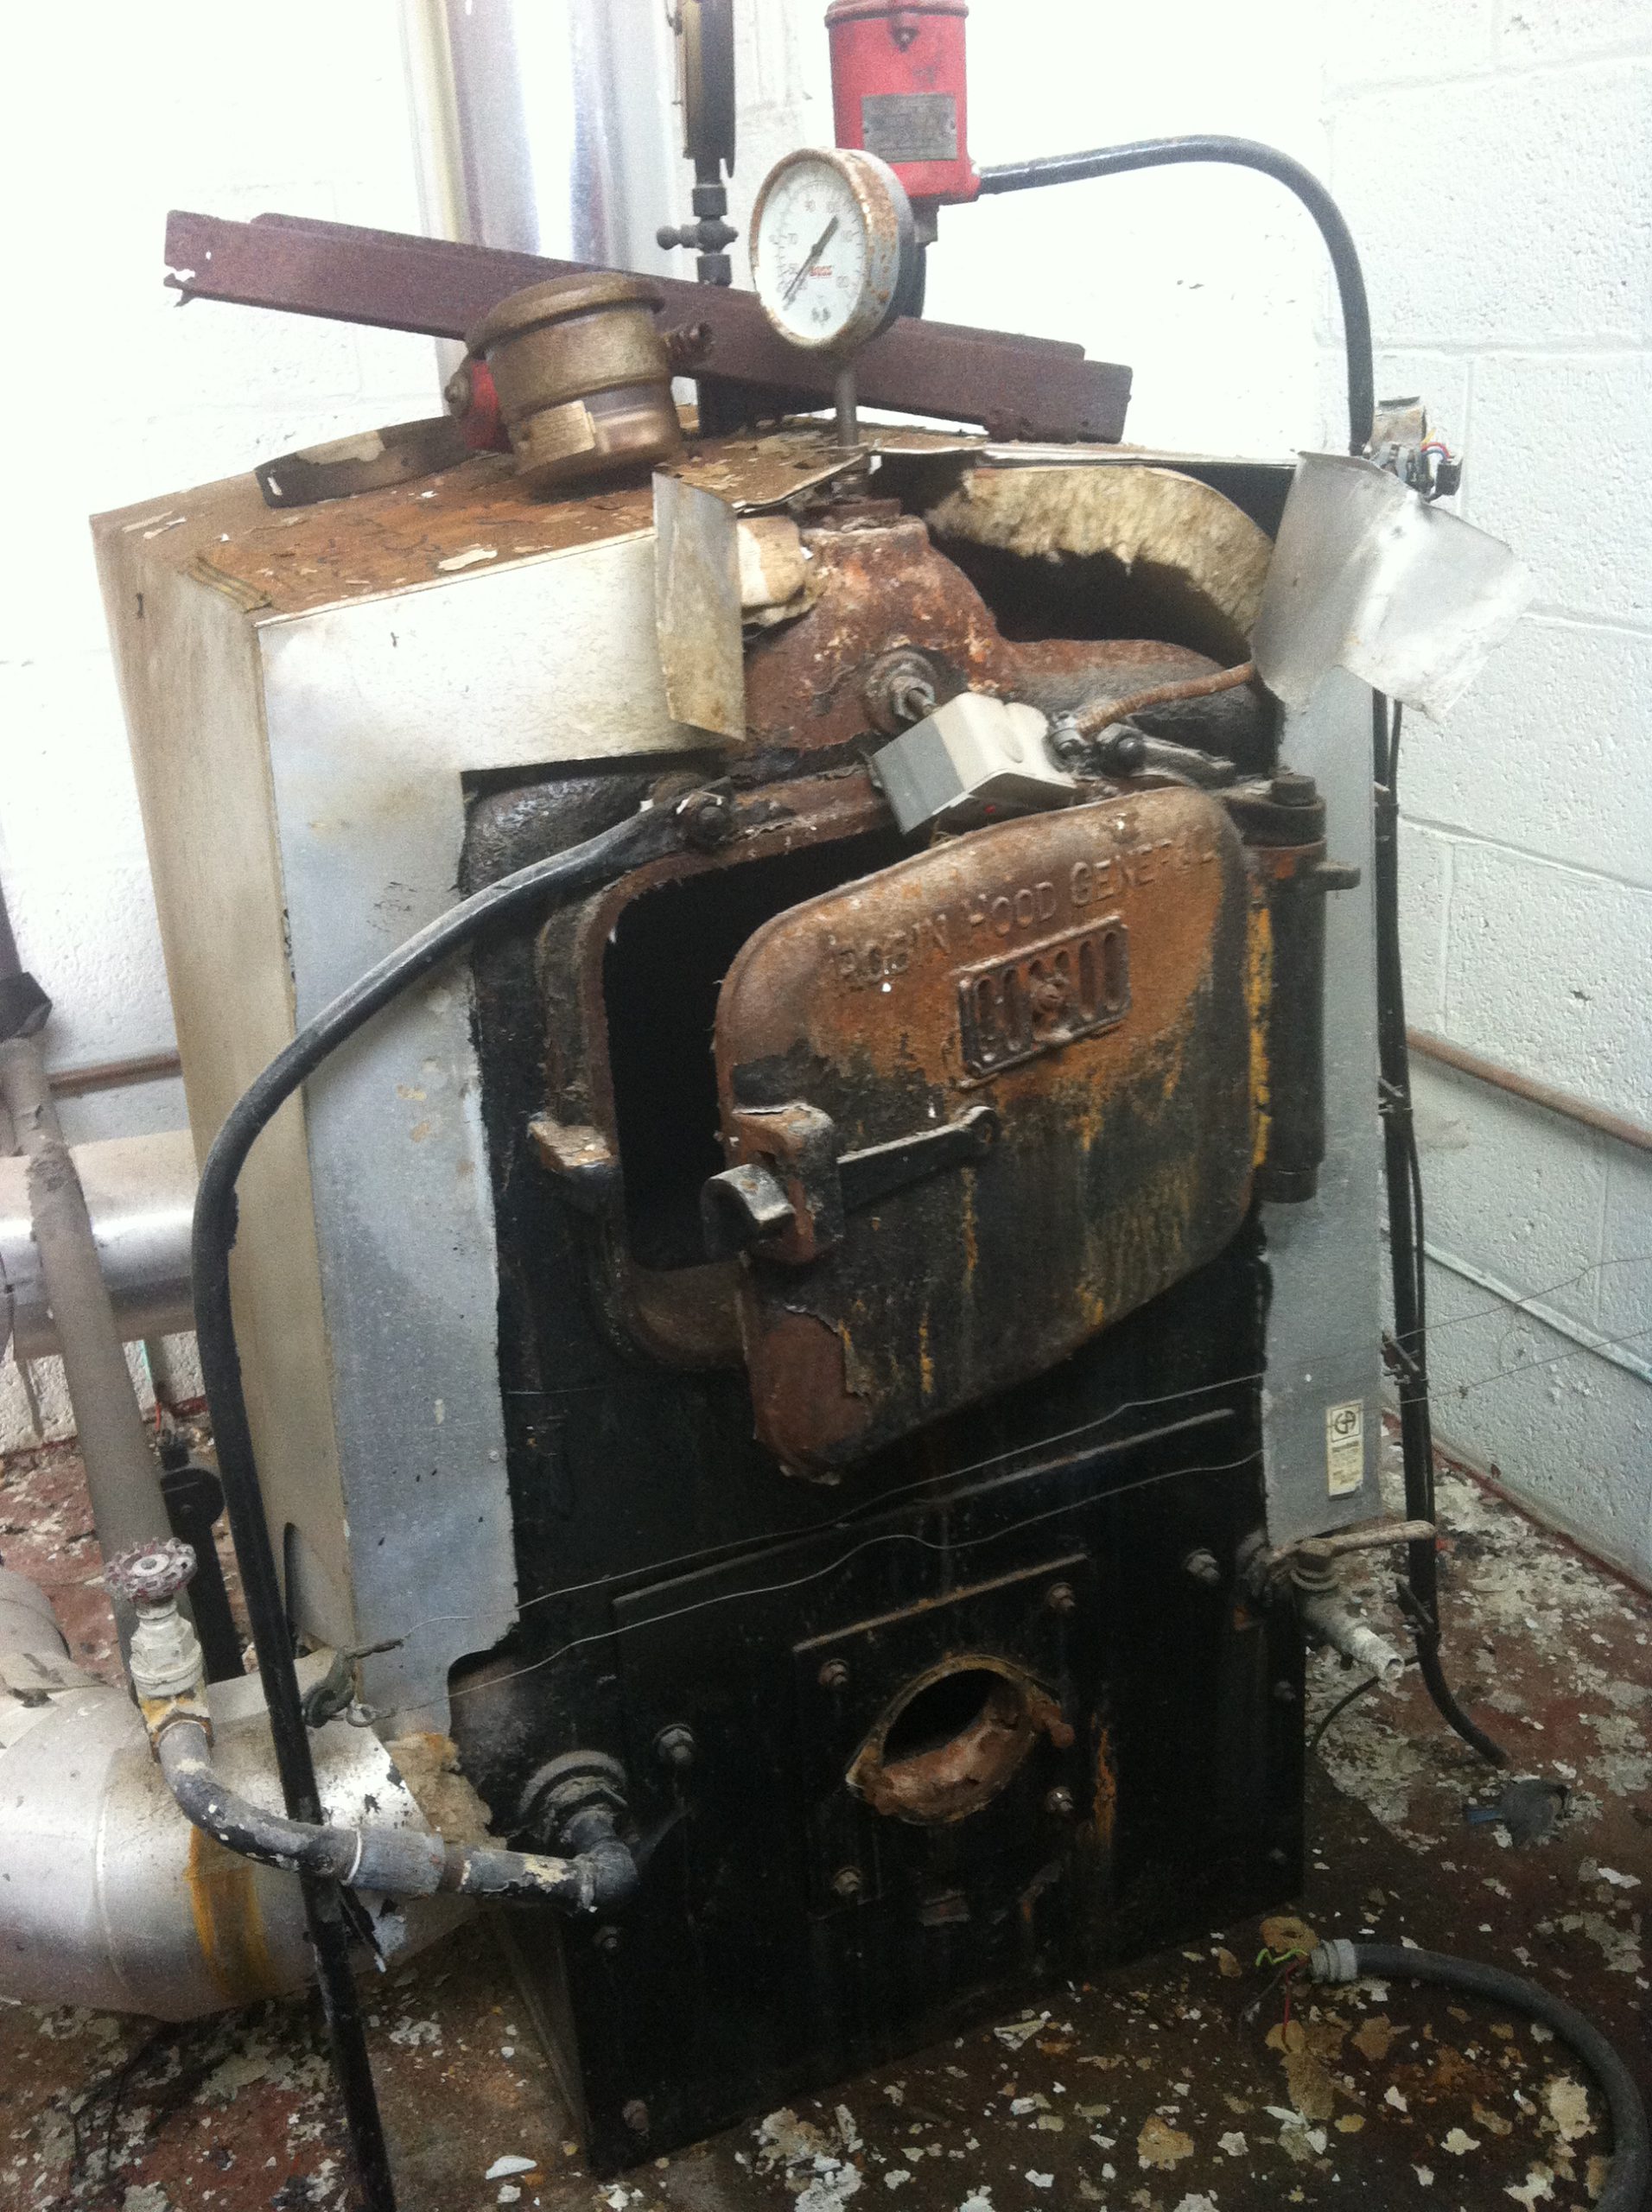
Renovating the Robin Hood Room
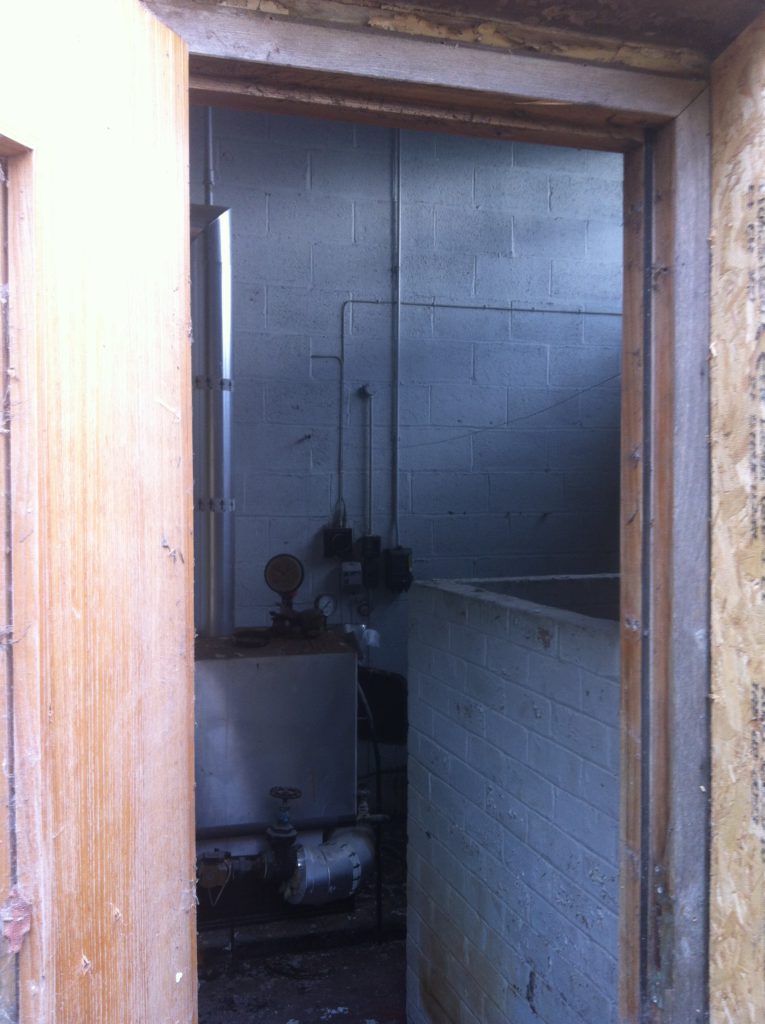
During the winter of 2018-19 we converted the boiler room in the Engineer’s Garage into a secure storage room.
History
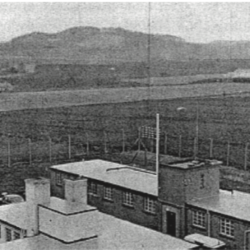
We believe the engineer’s garage was built in the early 1960’s as a place to store and maintain the vehicles that were used by the engineers responsible for the upkeep of the aerial network above Cupar. The building also housed a diesel back up generator and an 11KW electricity sub station. There were 4 giant roller doors for vehicle access. The building was eventually converted into a heated store room with 3 out of the 4 roller door openings being bricked up.
The boiler room housed a Robin Hood General boiler that had been converted to run on kerosene. There is no evidence that the boiler ever ran on coal.
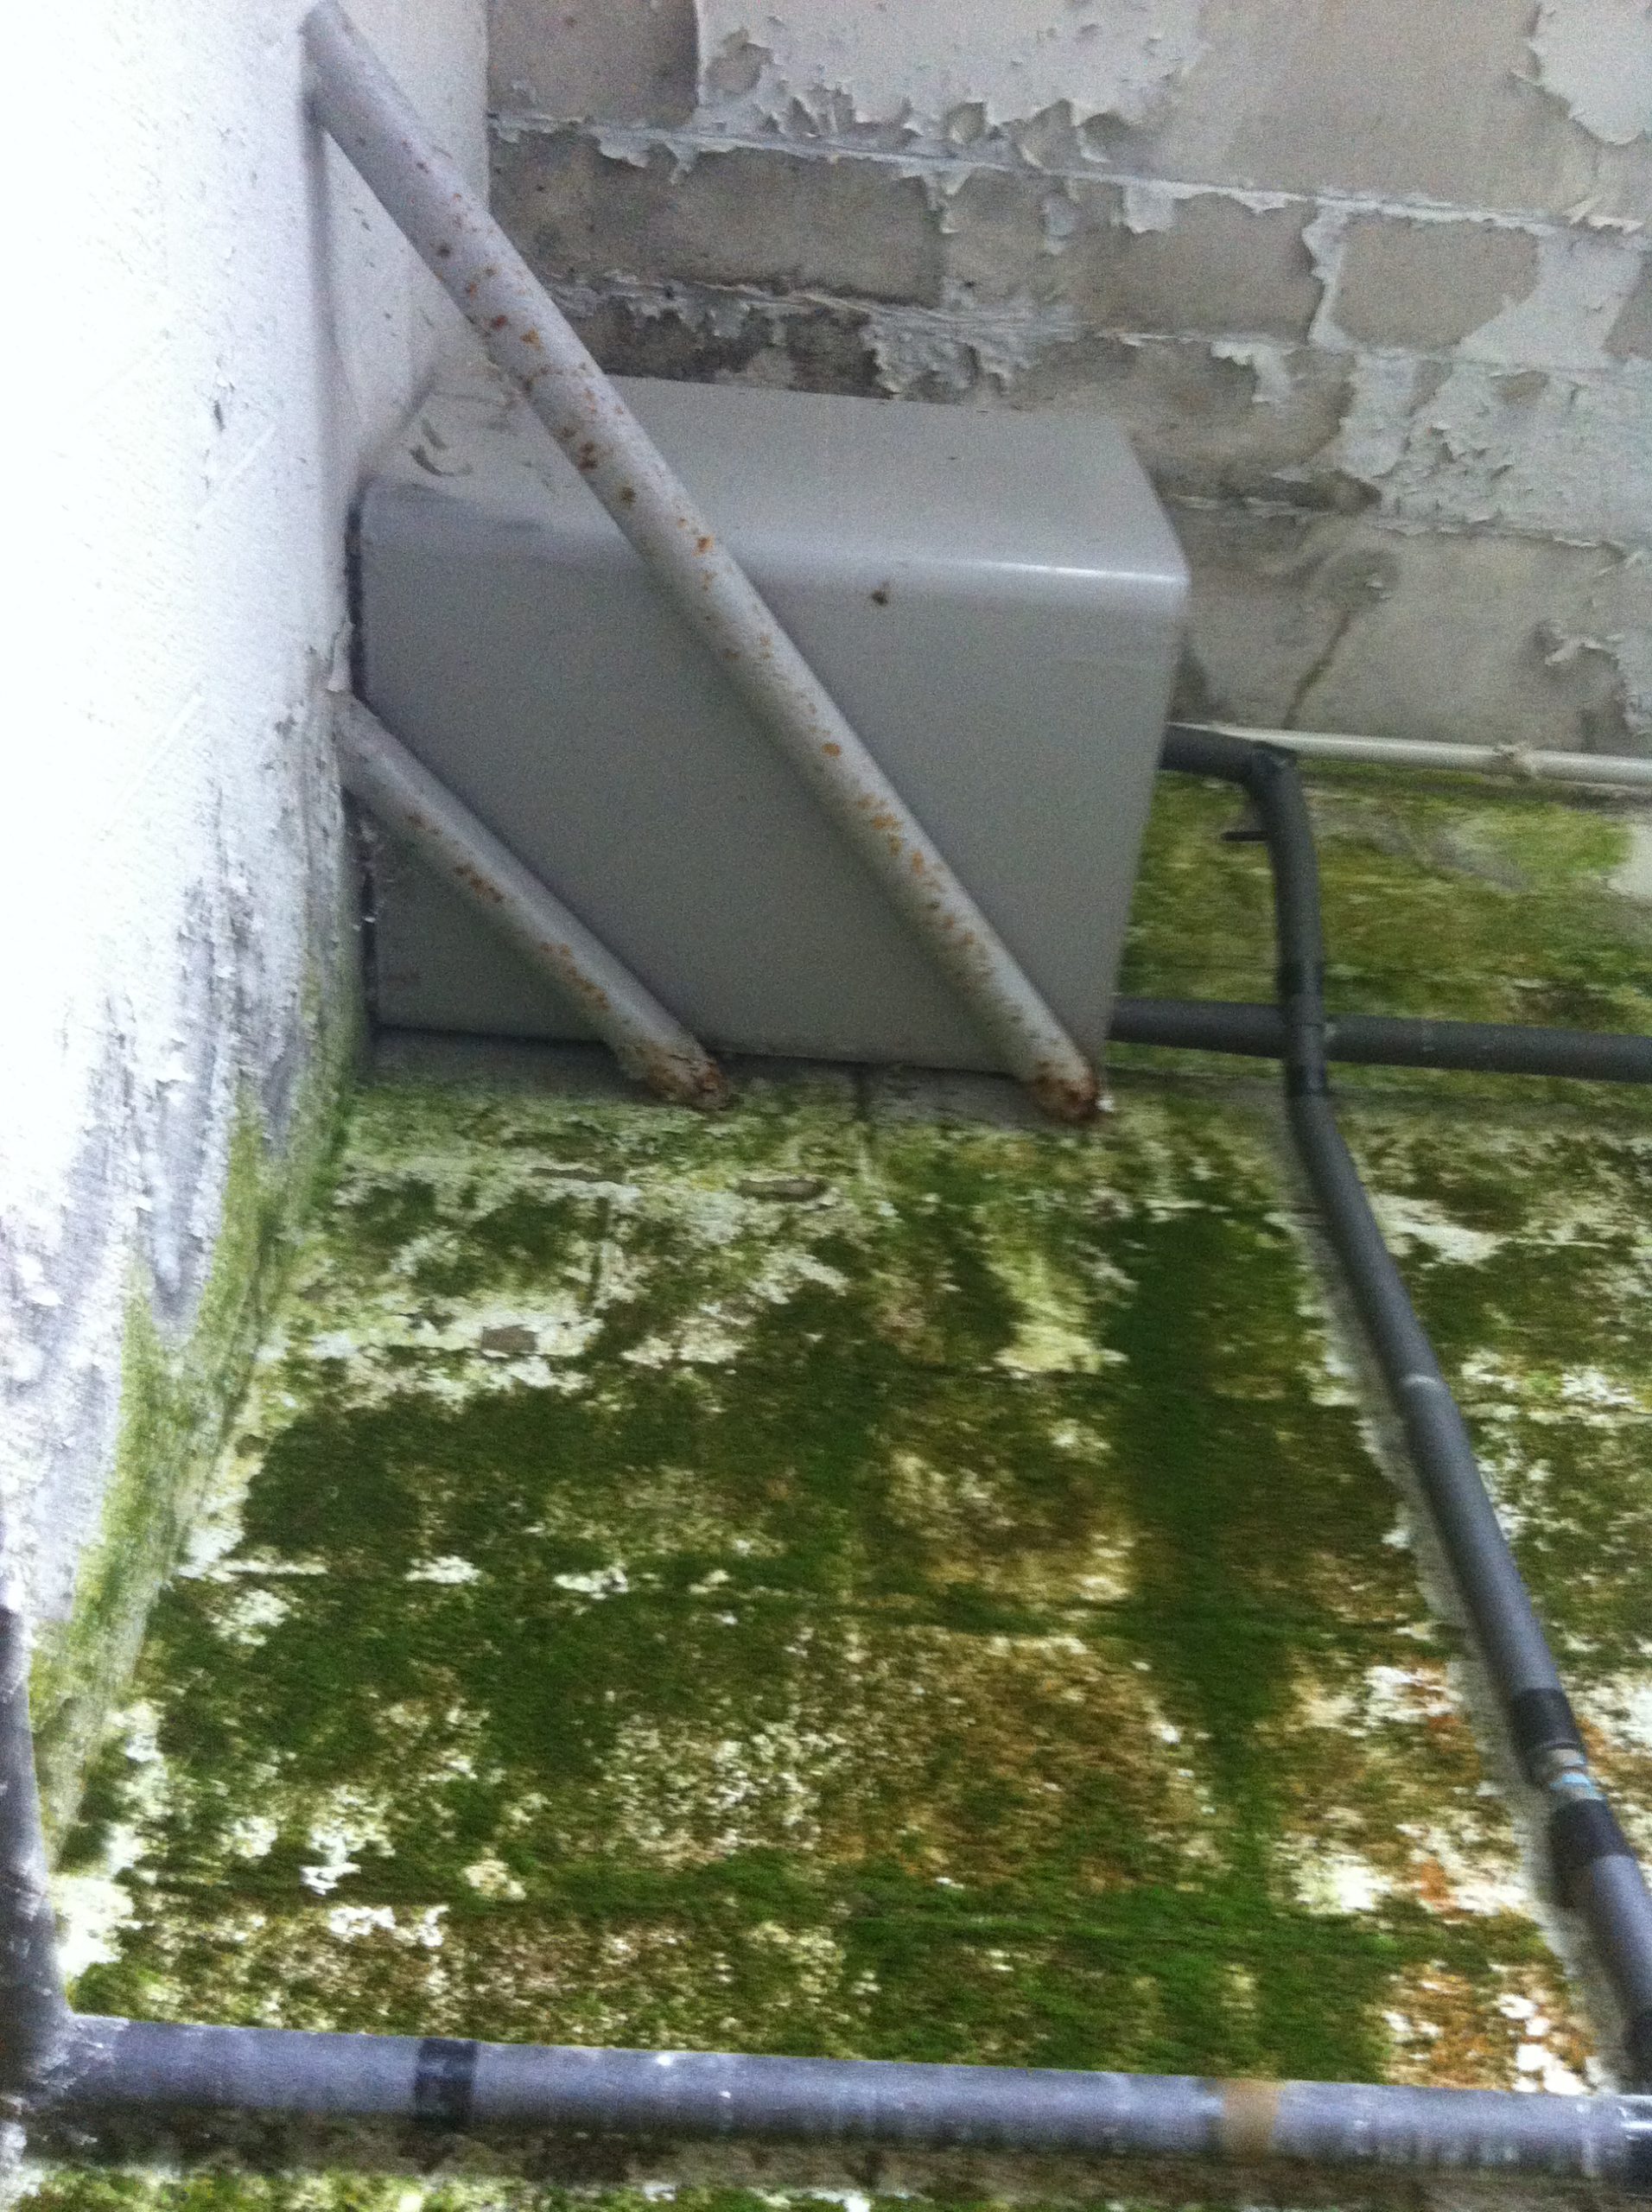
The room itself was in a dire state when we bought the site in 2012. The north wall was covered in green moss, paint was flaking off the walls and the place smelled heavily of kerosene. The door into the room was broken and had been boarded up by the previous owners.
Stripping Out
Our asbestos survey had picked up that the boiler contained asbestos rope, asbestos cement and possible asbestos insulation. For those reasons, the Robin Hood boiler itself was removed and disposed of by our specialist asbestos contractors. I’d have dearly loved to keep it but I have no idea what I would have done with it.
The kerosene tank was removed by another set of specialist contractors who were able to provide safe disposal certificates so we could achieve our site decontamination certificate. The rest of the pipework, electrical fittings and metal were stripped out by me over a couple of weekends.
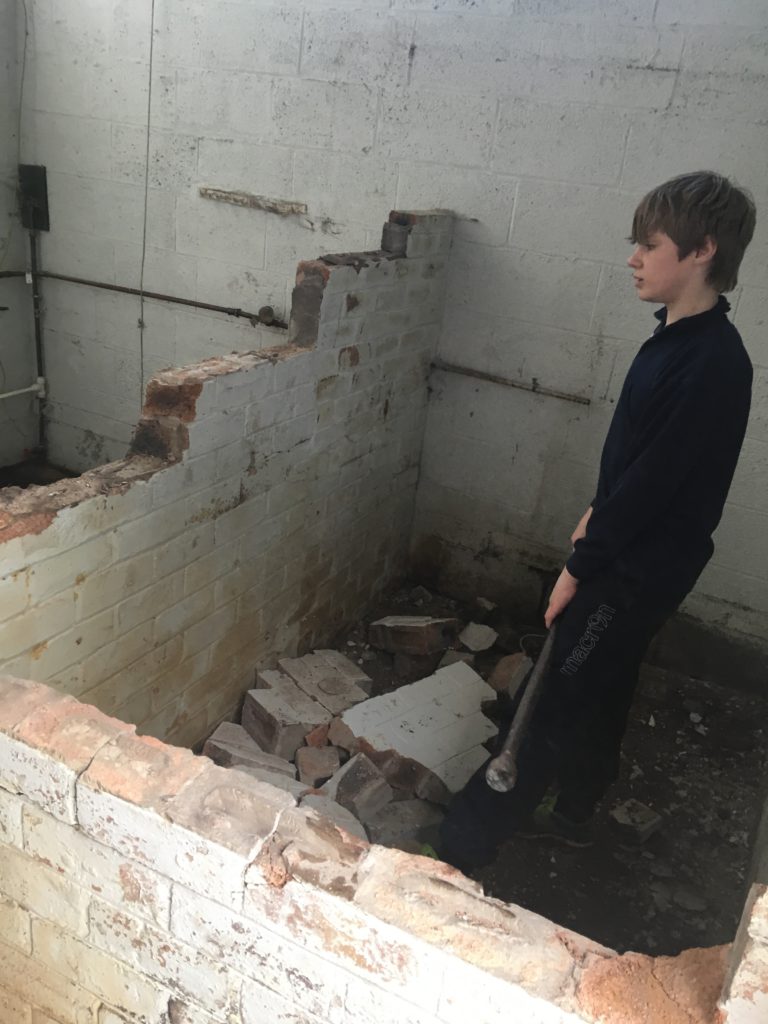
The brick wall acting as a bund for the kerosene tank was removed by my eldest son who is most happy when swinging a 10lb sledgehammer!
We also removed the lighting, wiring, plumbing and residual pipe and metalwork from the room.
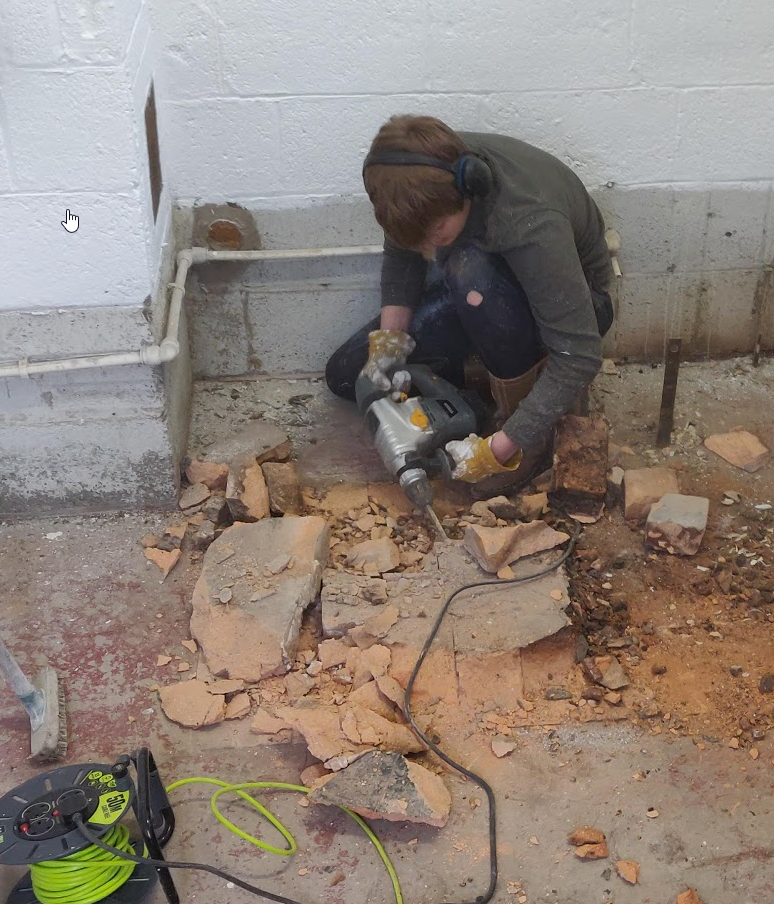
The firebrick plinth that the boiler was sitting on came up relatively easily using a demolition hammer with a broad chisel head, leaving a completely bare room ready for rewiring, filing and painting.
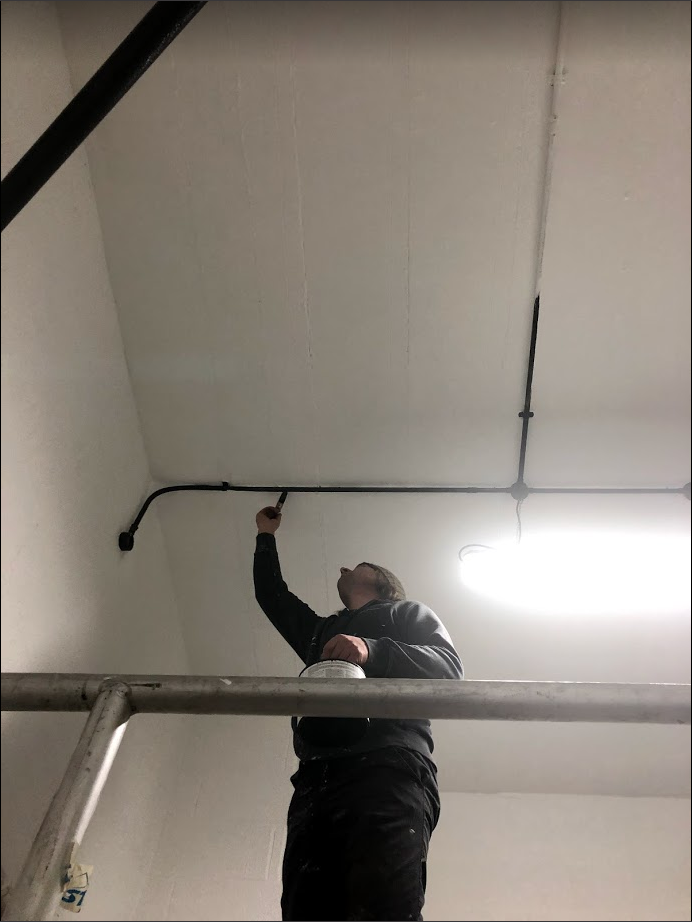
Rewiring
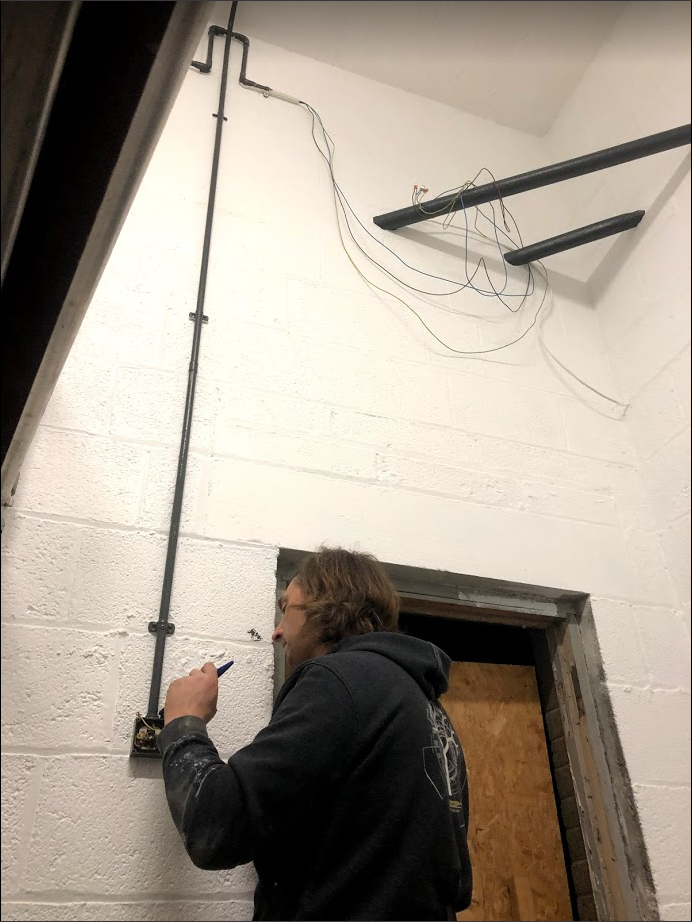
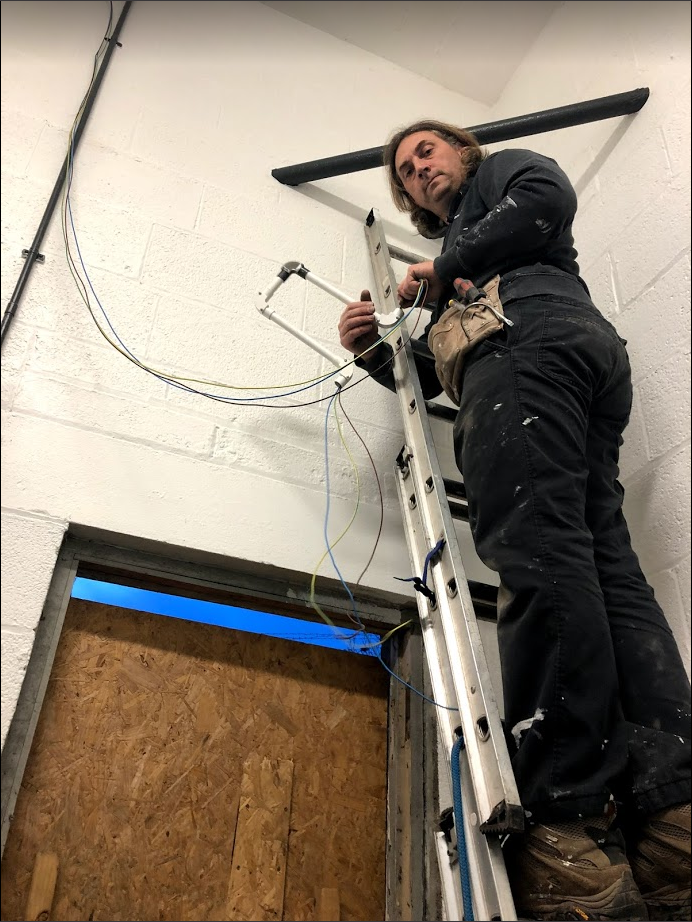
Since we bought Hawklaw in 2012 we have steadily replaced and upgraded the wiring over the entire site. The new garage lighting circuit was waiting just to be brought into the room and the existing external corner lights just needed to be put into conduit and routed around the top of the room.
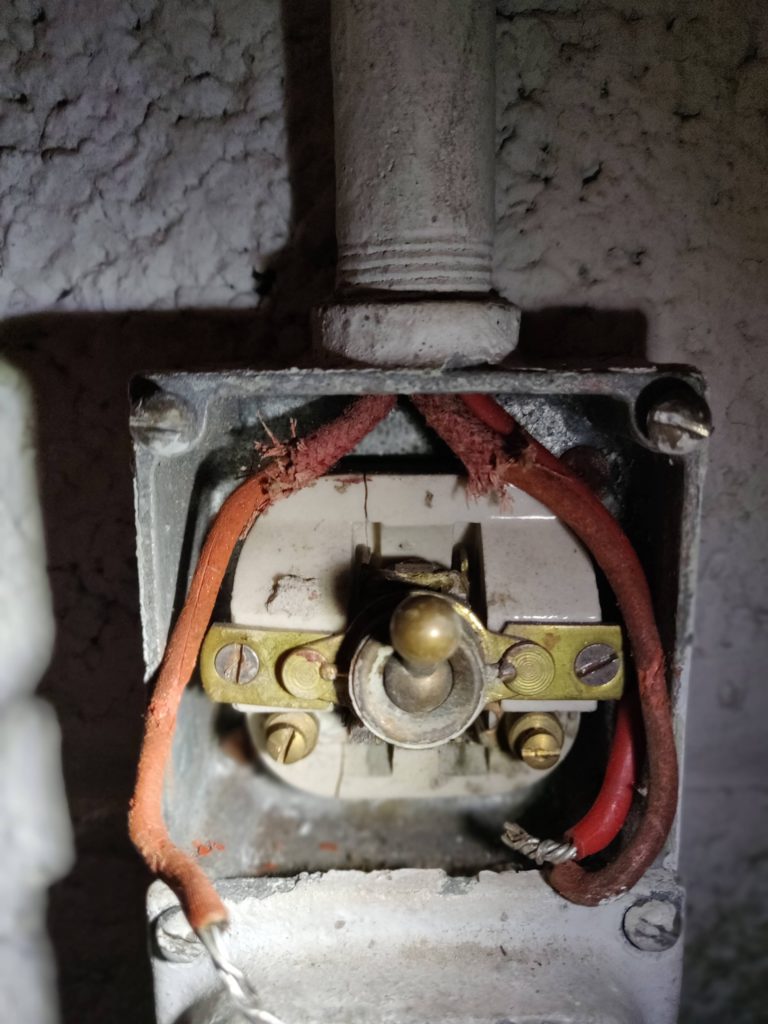

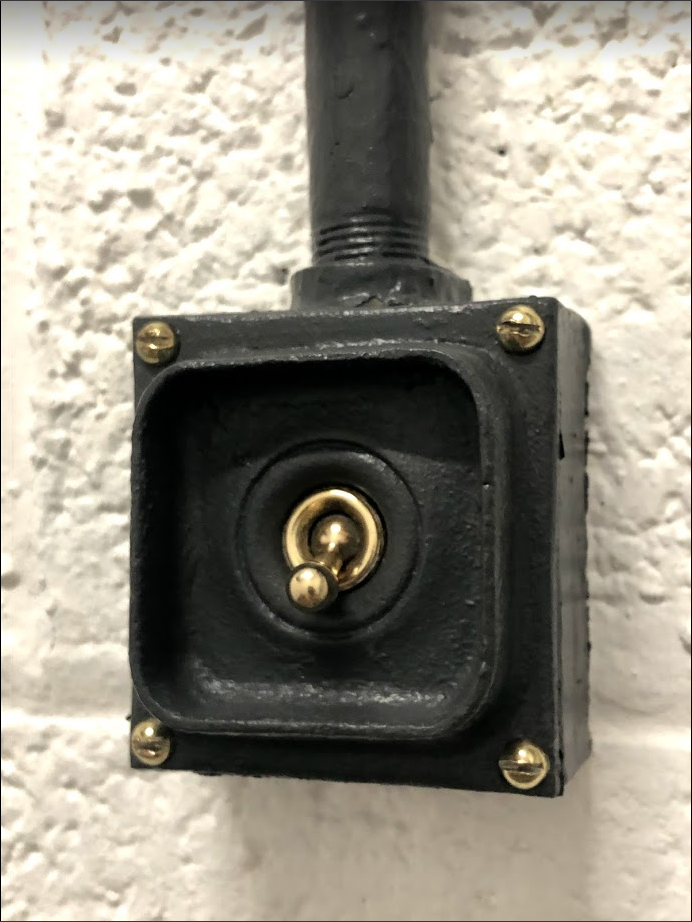
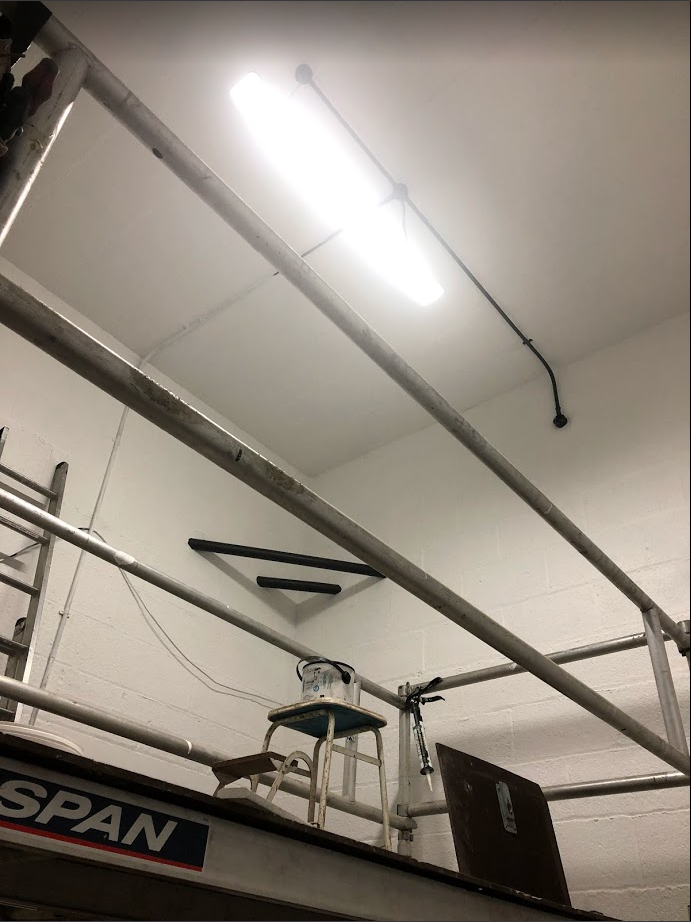
The new light in the room is a low wattage LED light that responds to both light levels and movement. Technically, the Crabtree toggle switch is redundant, but it’s nice to have something original still in the room.
Decorating
Before we could decorate, the room needed the holes in the block work filled (eg, where the heating and oil pipes entered and exited the room). I brushed the room, including the ceiling with a stiff brush to remove loose paint then hosed the entire room with water. The entire floor slopes gently to a drain so washing the room caused no water issues.
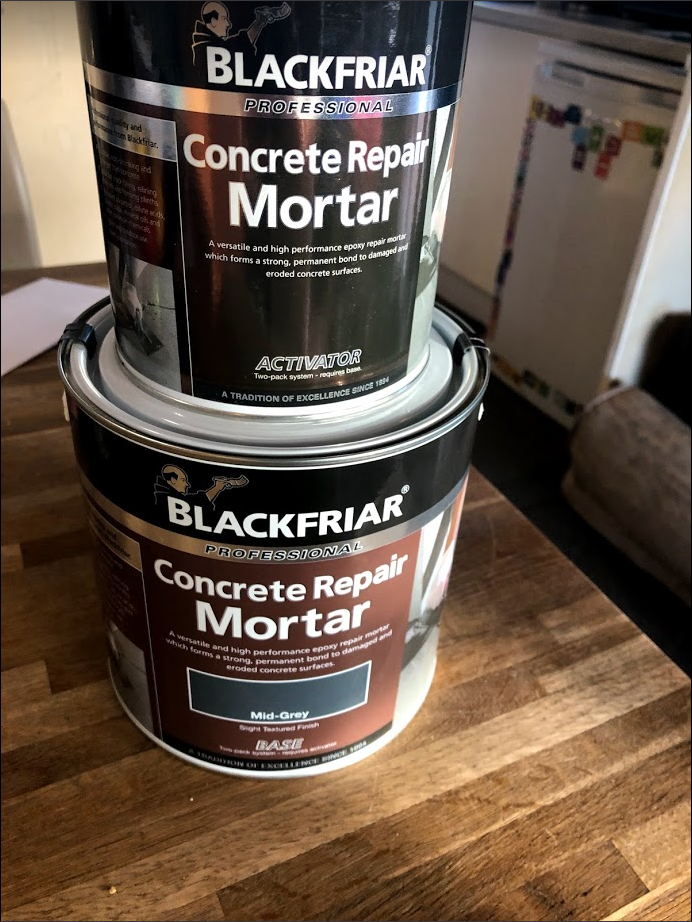
In all, the room took 4 coats of Dulux Weathershield exterior masonry paint. Exterior metal fittings were painted first with red oxide paint before we painted them over with our trademark ‘Hawklaw Grey’ colour. The concrete floor was filled where required with Blackfriar’s concrete repair mortar and lastly, I painted the floor with two coats of Leyland heavy duty floor paint.
The last thing to do was to find a new door for the room.
Selecting a New Door
As we’ll eventually be living on the East side of the site and this room is the furthest away building we have to the West of the site we wanted to select a secure door for this room. This building also gets the brunt of the Westerly winds so a good quality door with multi point locking and excellent seals was essential. After much searching, we selected a Hormann KSi steel security door
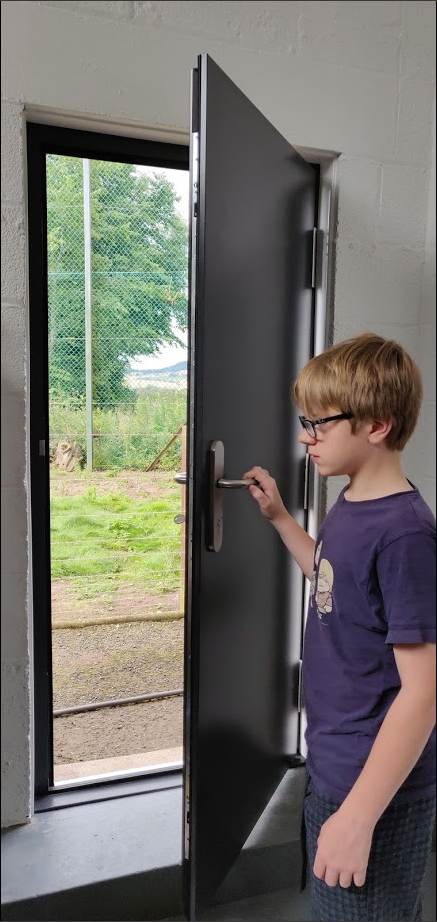
Initially, we thought we wanted an outward opening door as we thought it made sense to have the West wind blow the door against its seal, rather than away from it. We got excellent advice from our door supplier (Oliphant Garage Doors, Cupar, Fife) who assured us that this door would not have any issues with leaking and so far, we’ve been more than happy with it.
The room was without an effective door for nearly eight years so we were very happy to have this fitted and have a functional room once again.
Finishing and Furnishing

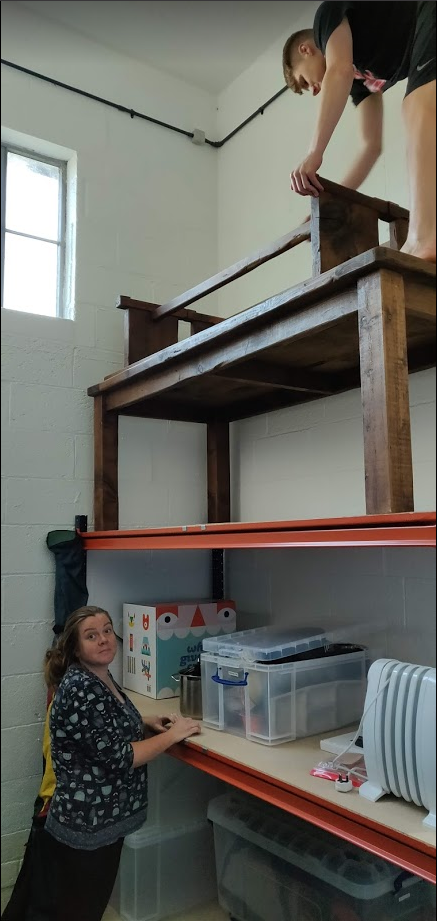
We finished the renovation in late January 2019, but didn’t actually get the door fitted until August 2019. It wasn’t long before we’d fully furnished the room with the neatly catalogued contents of our attic.
In all, the renovations cost in the region of £2,500 (including the door) and took me most of my 2018/19 Christmas holidays and a few additional weekends to complete.
Progress Report
We were granted full planning permission for the site in October 2016. Since then, Claire has been spending her time working on the preparations to get building under way. The expectation was that we could begin the redevelopment around March 2017. Realistically, we are likely to start in March 2017. As of today’s date (7th September 2017) we are still waiting for written confirmation from Scottish Water that we can connect in to the sewer (although we have been given verbal permission). Following that, we still need sign off from building control. We would expect tenders for the groundworks and replacement fence to go out late 2017, early 2018. Fingers crossed the first phase of the development (the erection of the chalet on the east side) will be complete around September 2018.
For anyone interested, here is a link to our design statement, which gives more information on the building, at the bottom of this post.
George and Claire

New Proposed Plans Published
19 May 2020 Note this information is now out of date. An updated post on the plans can be found here:
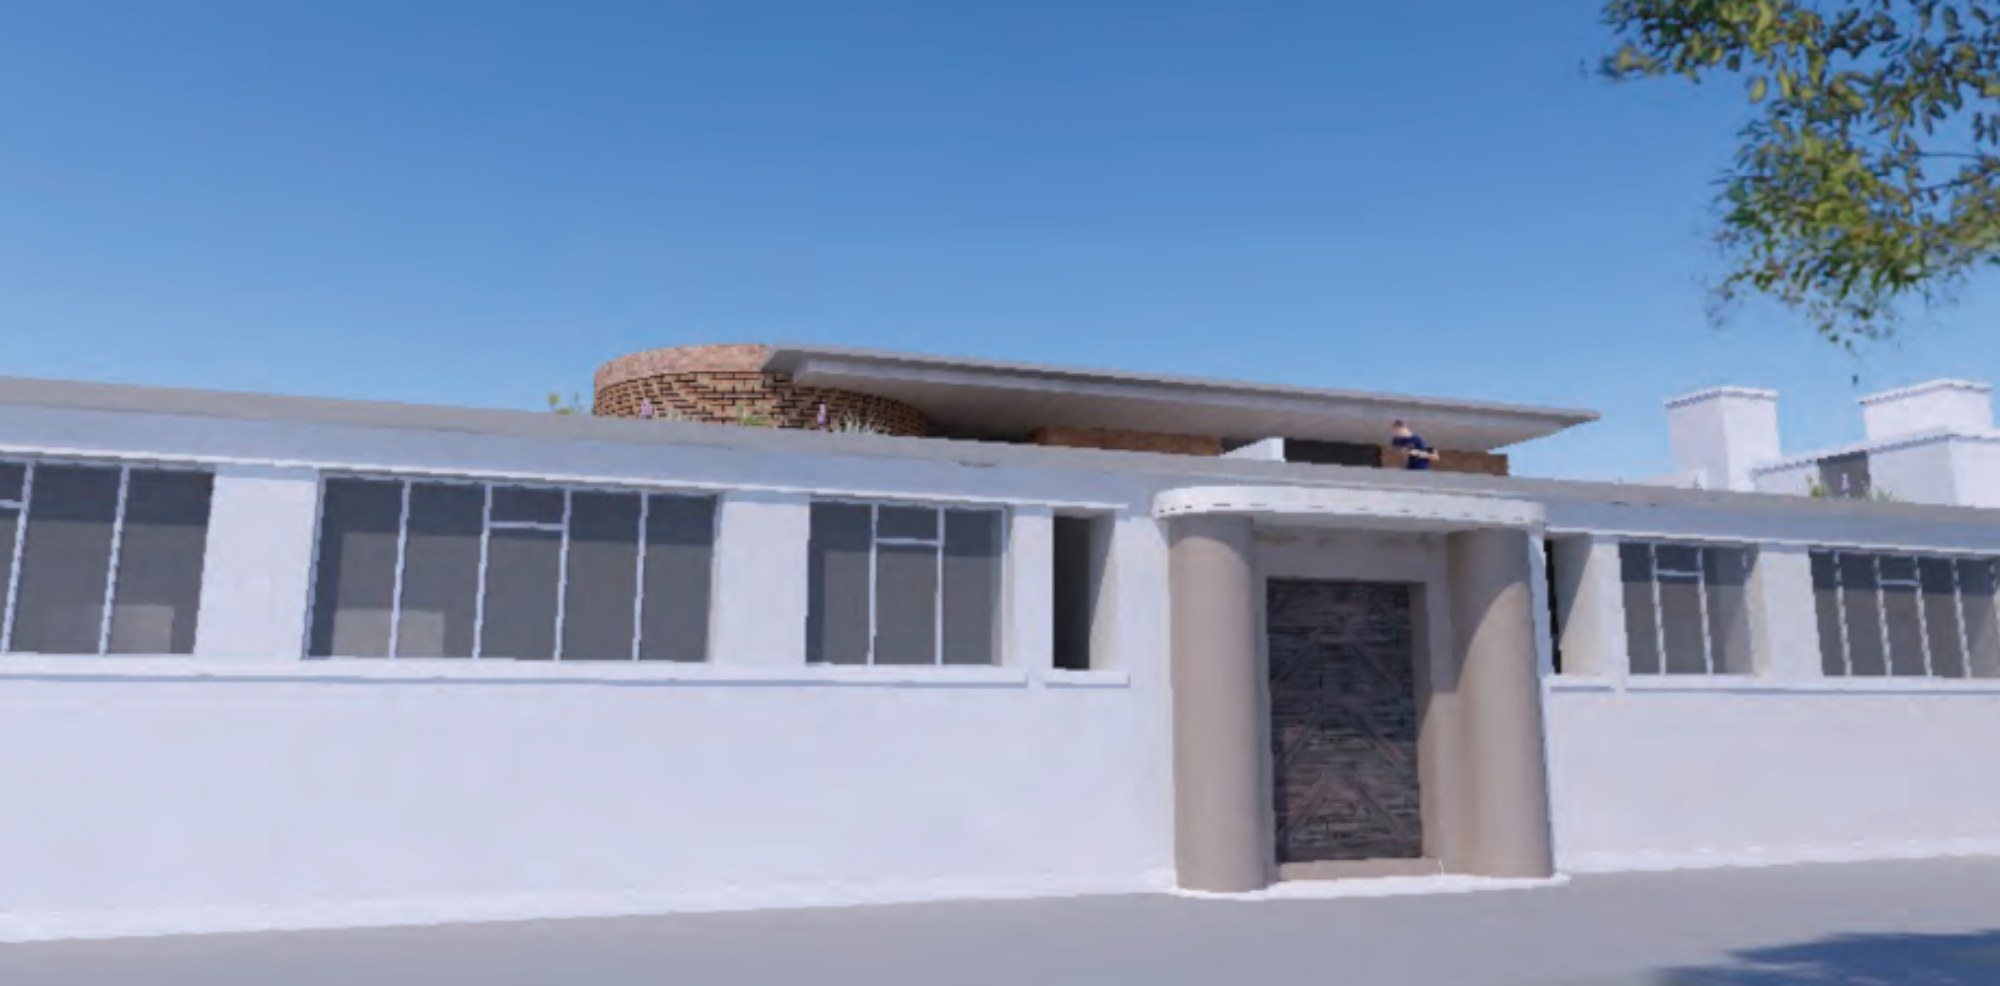
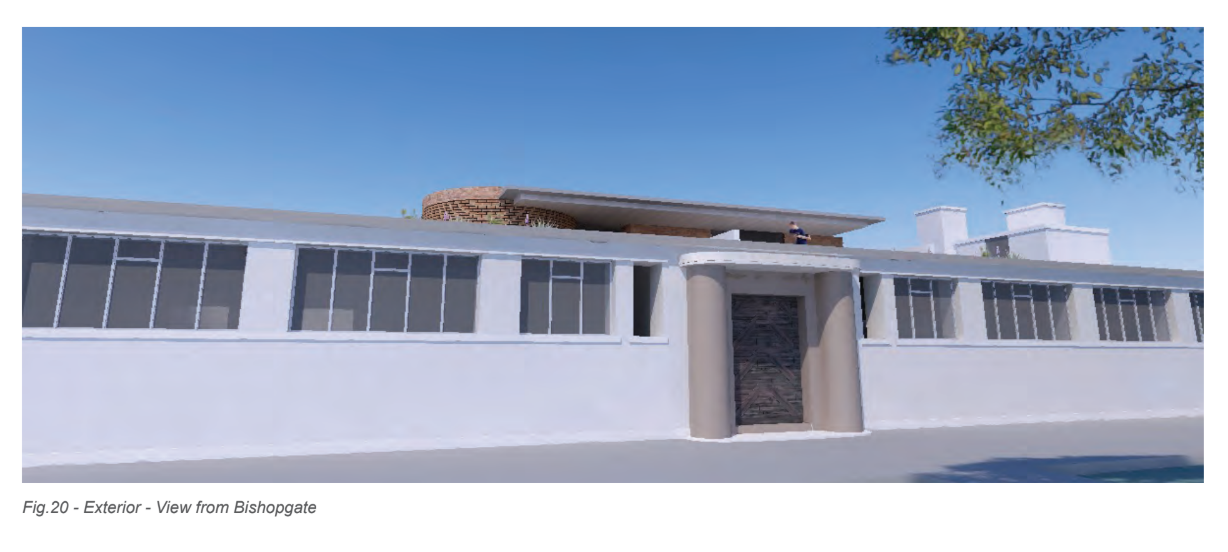
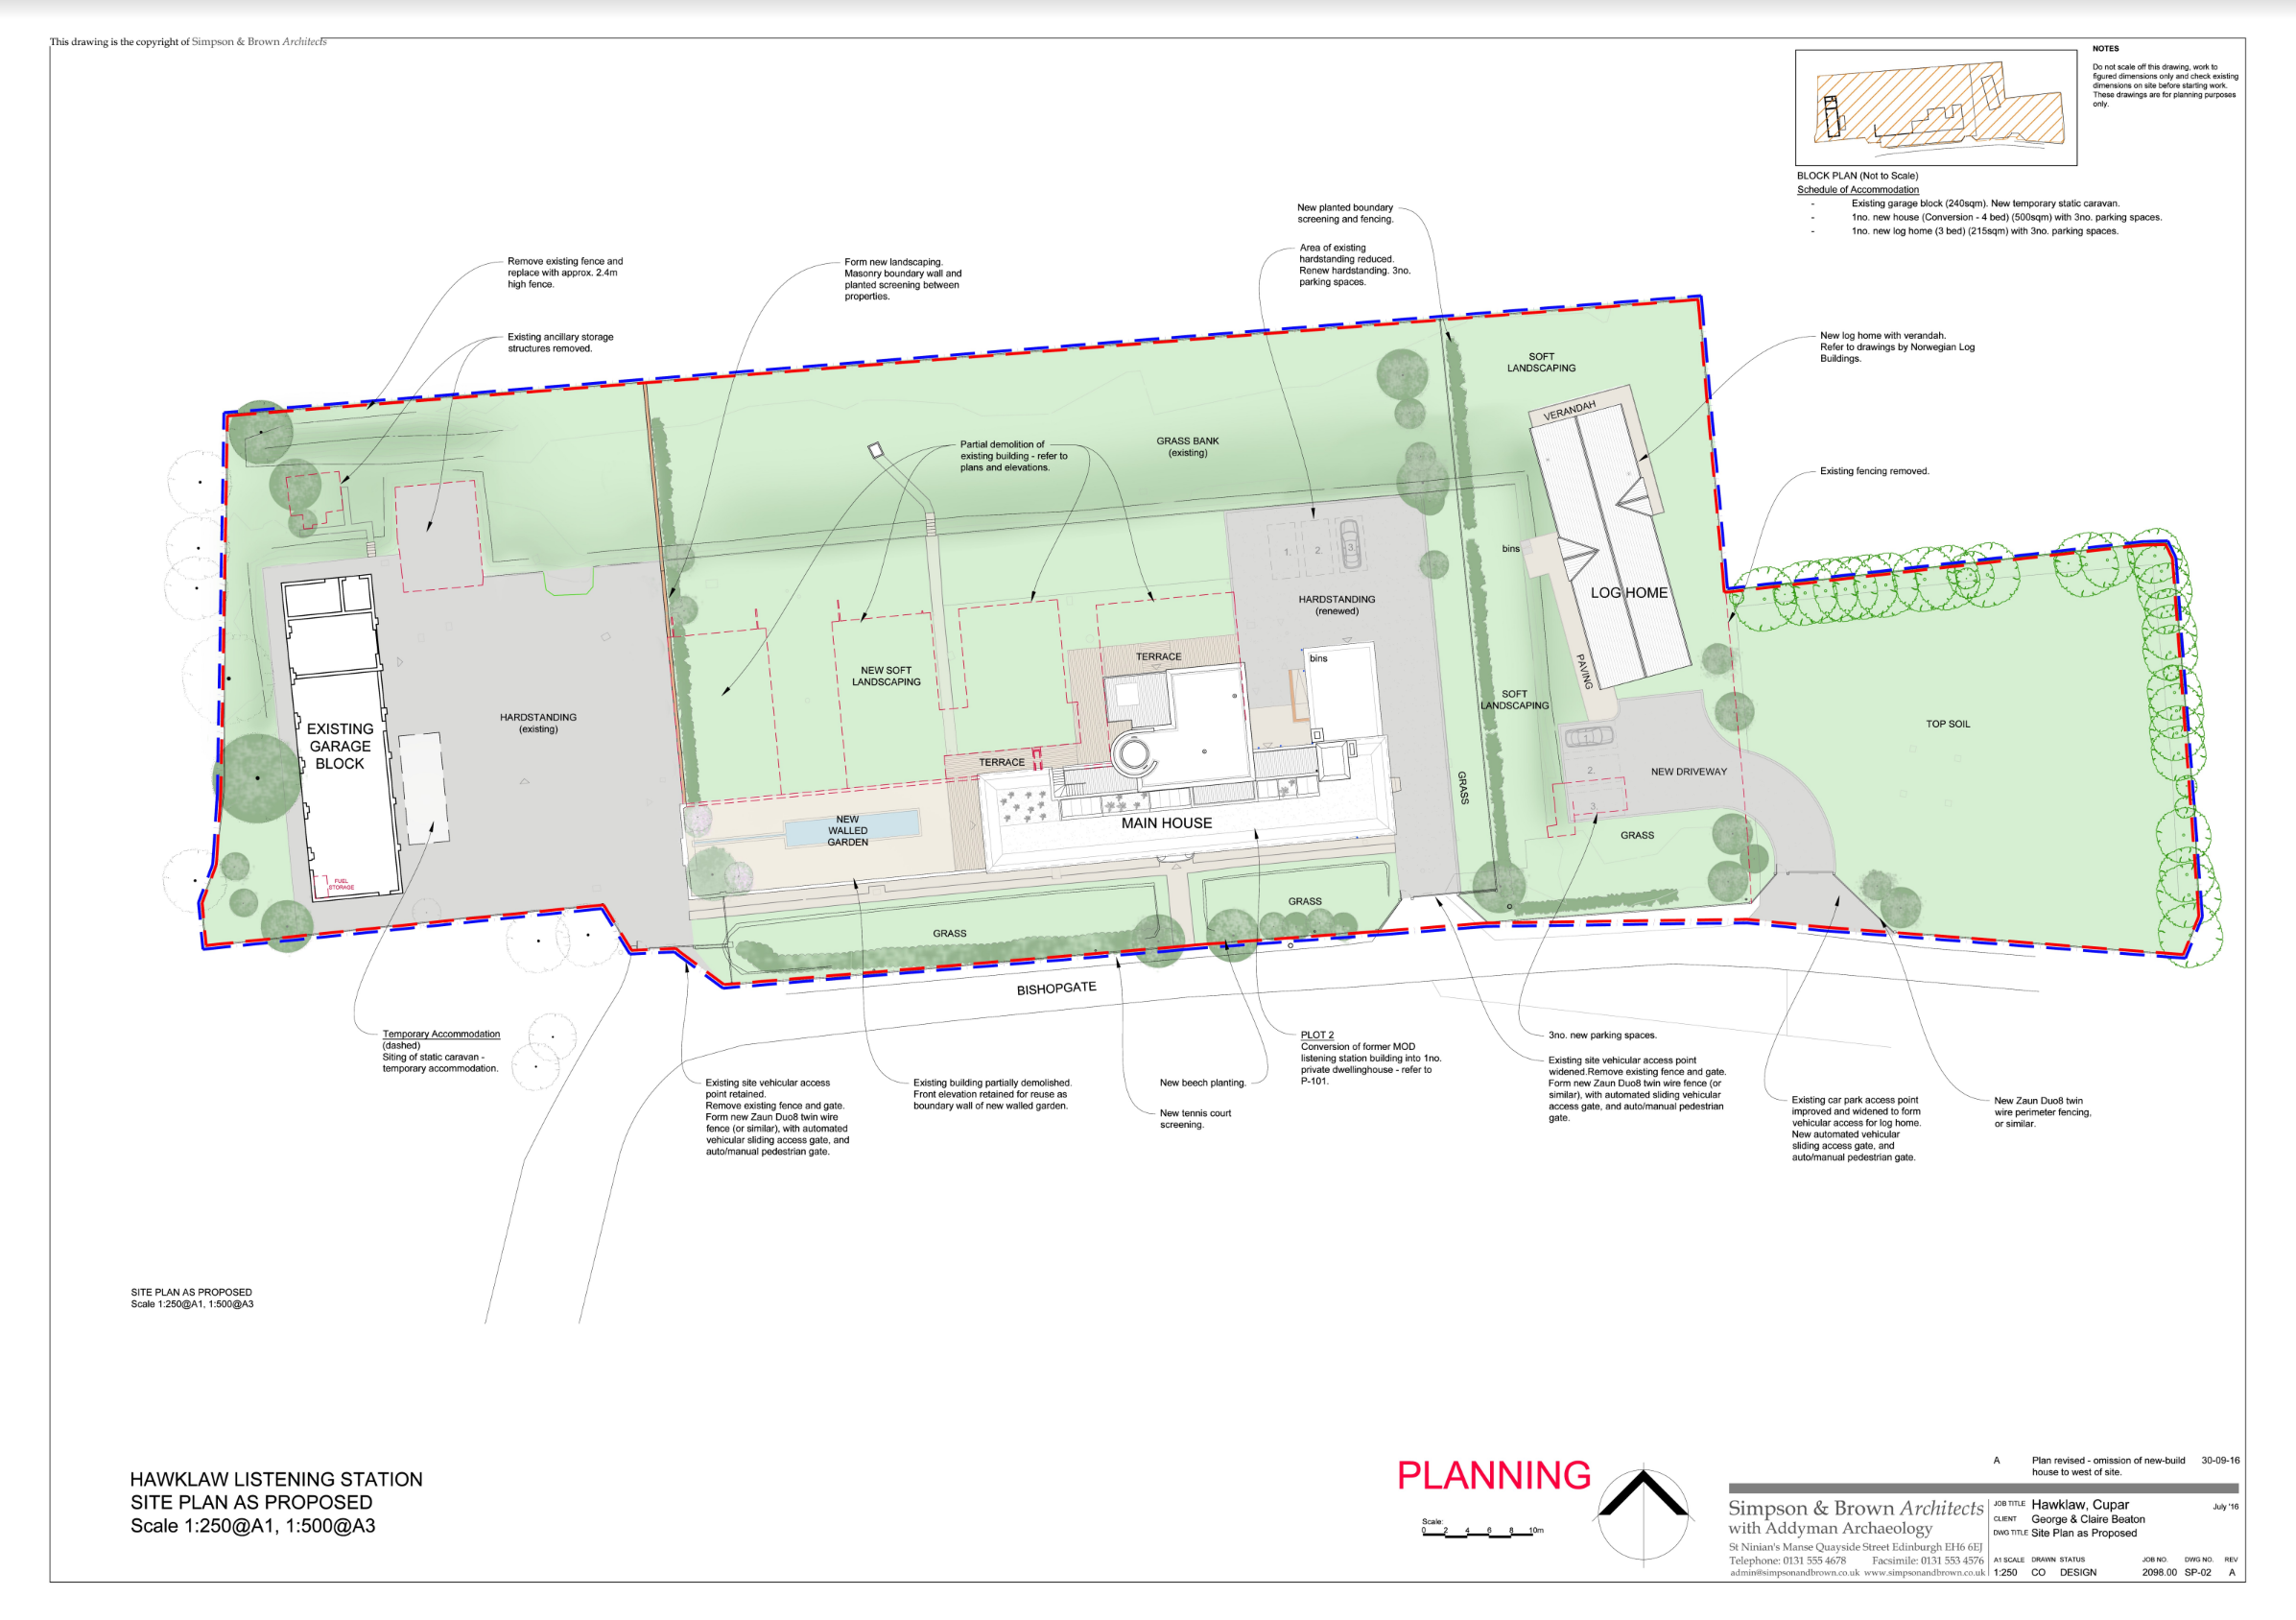
Following our presentation to Cupar’s Community Council on the 29th April 2014, we are now able to share our plans for the Old Listening Station at Hawklaw.
At long last, we have some real pictures to look at and our strategy for the site is starting to come together. From day 1, we were keen to maintain as much of the site as we possibly could, and to ensure that the previous secrets of the station gained their rightful place in history. What we have finally settled on is a sympathetic design for the whole site which preserves its look and heritage while ensuring a financially viable home and business which is not over developed.
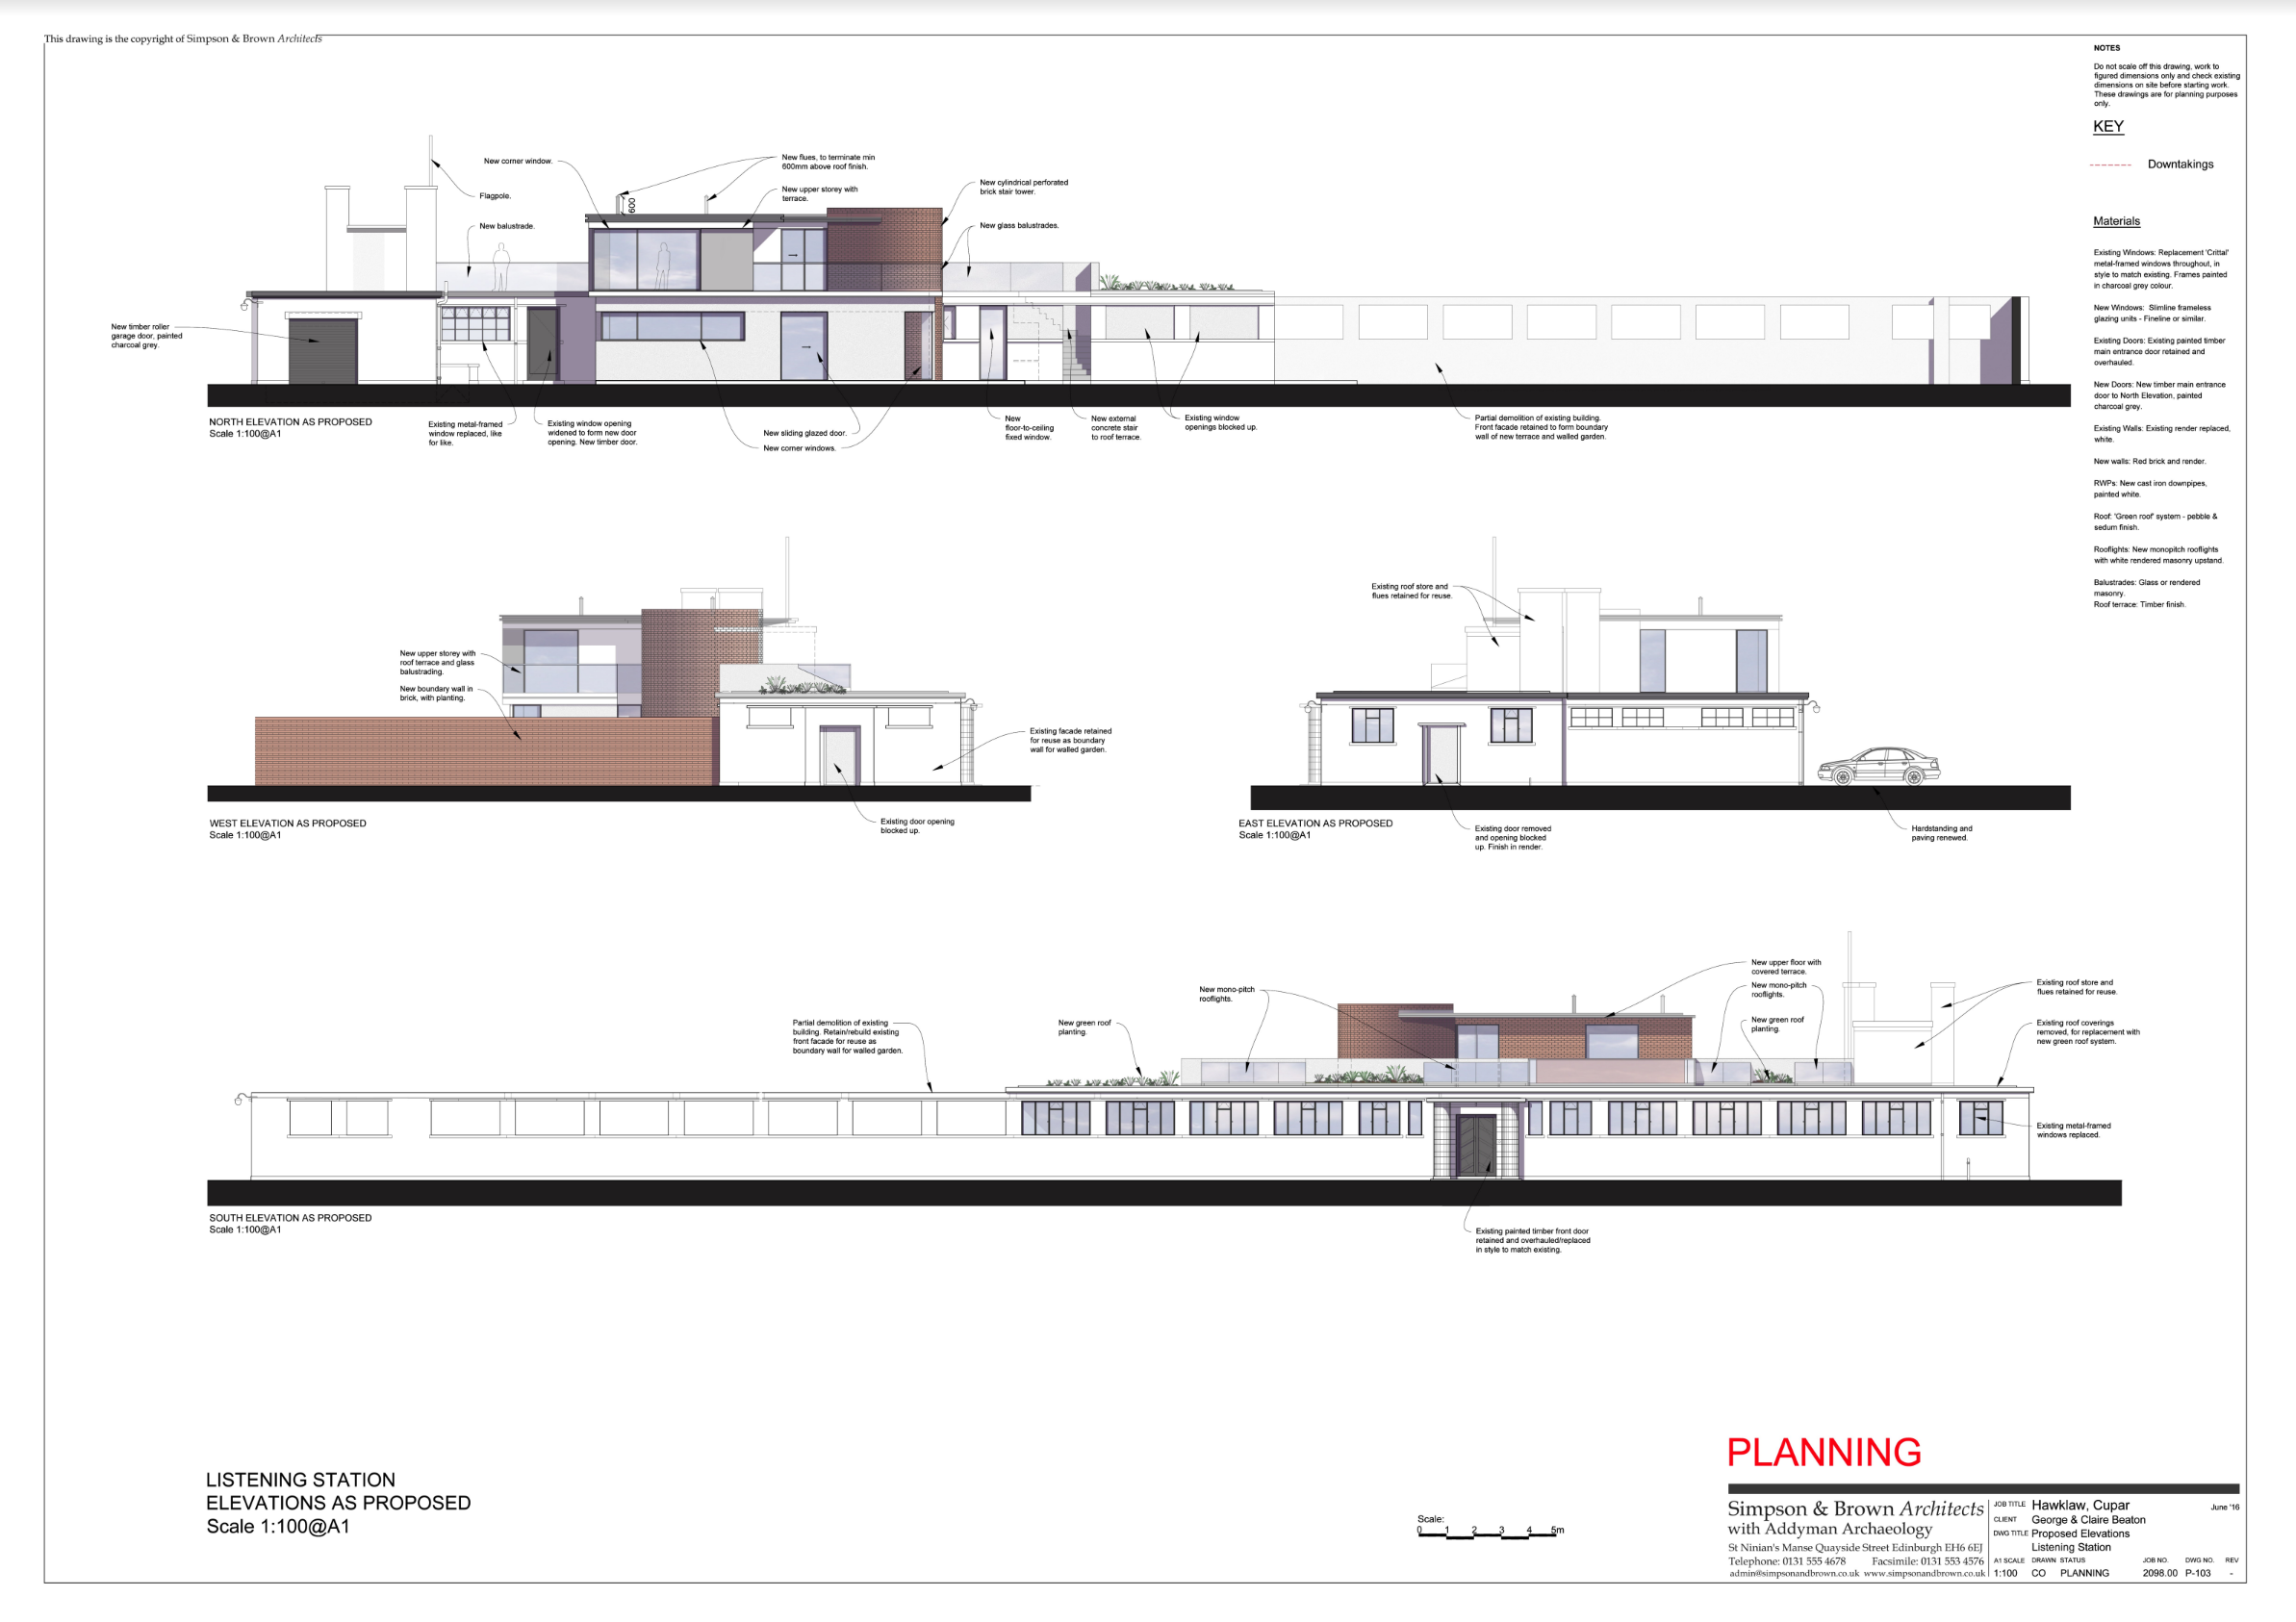
Our architects (Simpson and Brown, based in Edinburgh) were given a fairly challenging brief. We asked them to design two high quality self catering holiday lets which were both to be self contained and not to impact or overlook any other property. For the main building, we asked them to retain the front façade (all 65 meters of it) and design a contemporary family home which utilised as many of the existing features of the building as possible. The plans still need a bit of finesse, but we’re not far away from the final design now.
The inspiration behind the putting green was the desire for the holiday lets to appeal to the type of holiday maker who might be attracted to the St Andrews golf courses. Cupar misses a trick on this front as we are well situated to capitalise on the overspill from that world famous holiday destination. Our thoughts now are that appealing only to golfers might narrow our potential market a bit, however, a nicely landscaped garden, doubling as a putting green seemed a sensible compromise.
The plans will no doubt go through a few more iterations, but I doubt there will be any changes to the footprint or heights of the proposed buildings.
The New Hawklaw Blog is Live
After some negotiations, and a little bit of luck, we’ve now managed to secure the hawklaw.com domain. It took a while to transfer over, but we’ve got it now and it’s sitting safely with my normal domain registrar.
So now, we can start the process of documenting our progress at this historic site and sharing our experiences with you.