Stripping back the Vestibule – Part 1

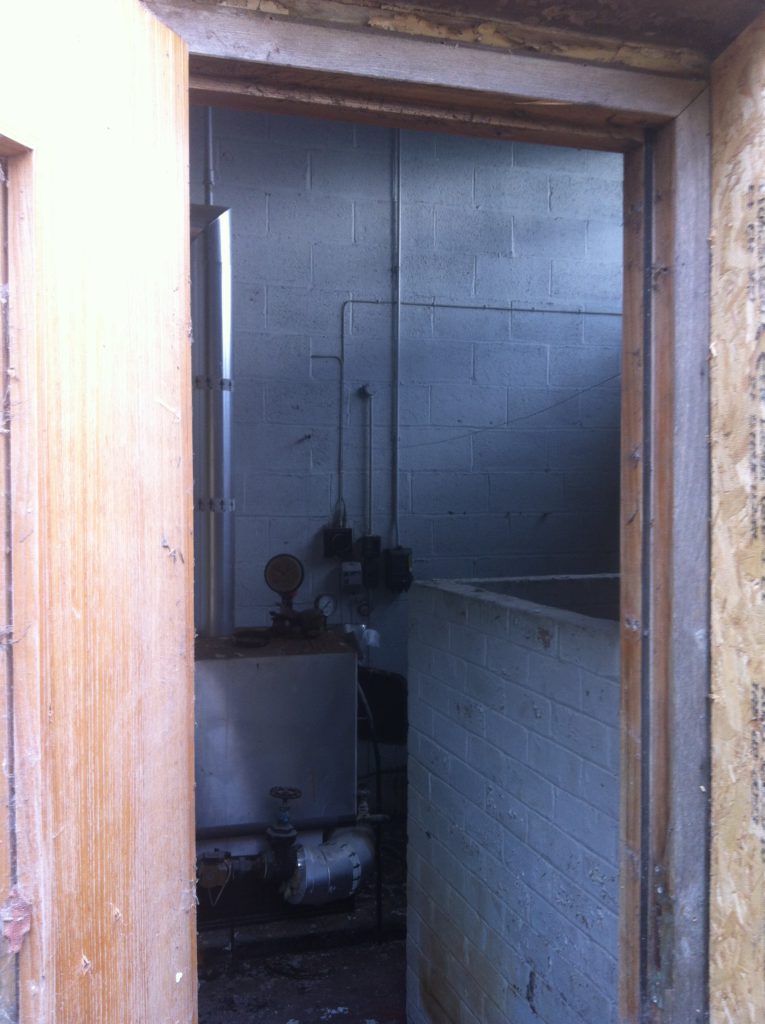
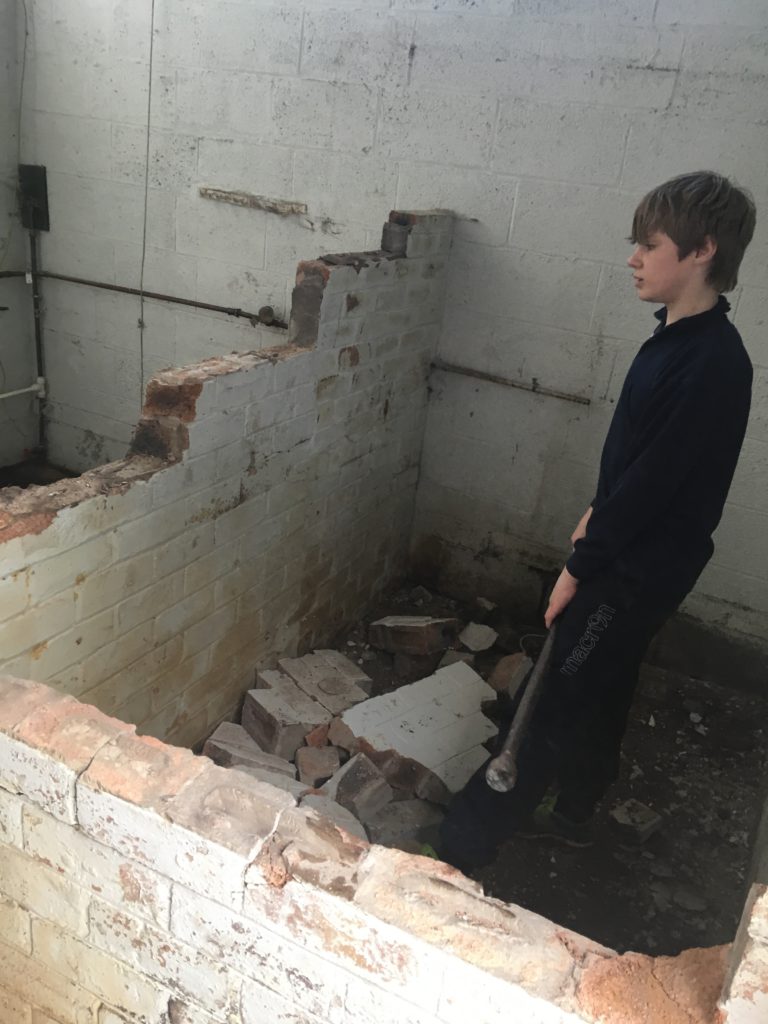
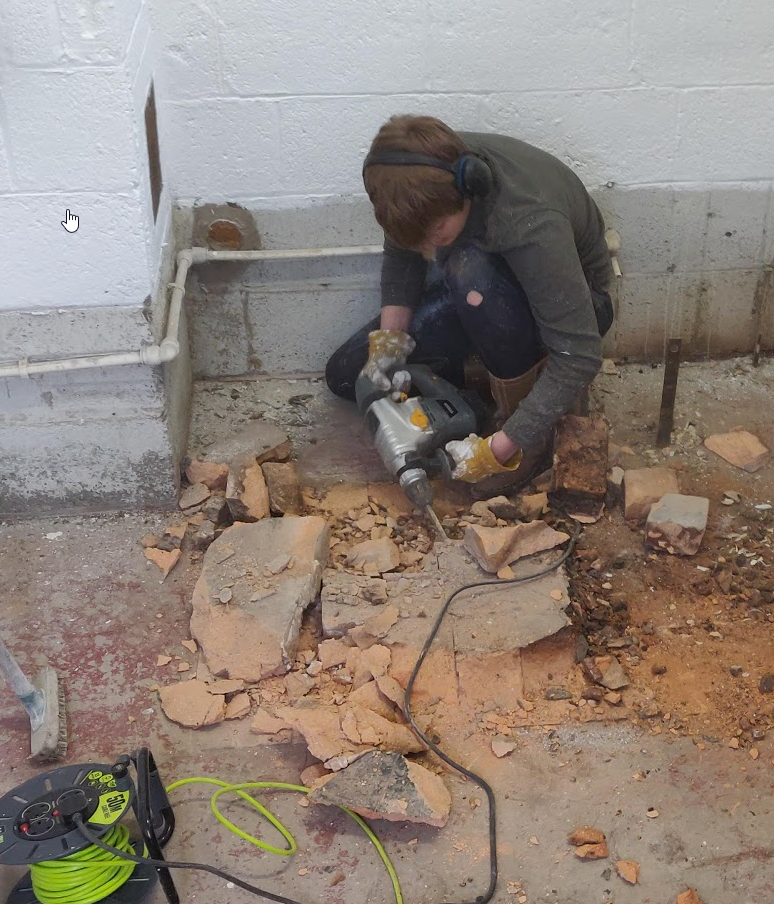
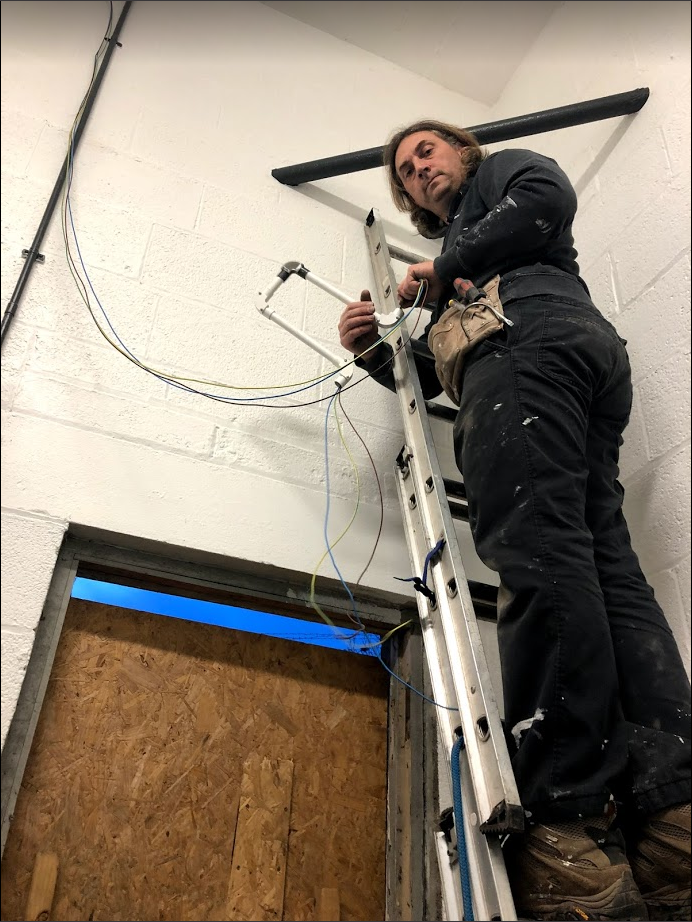
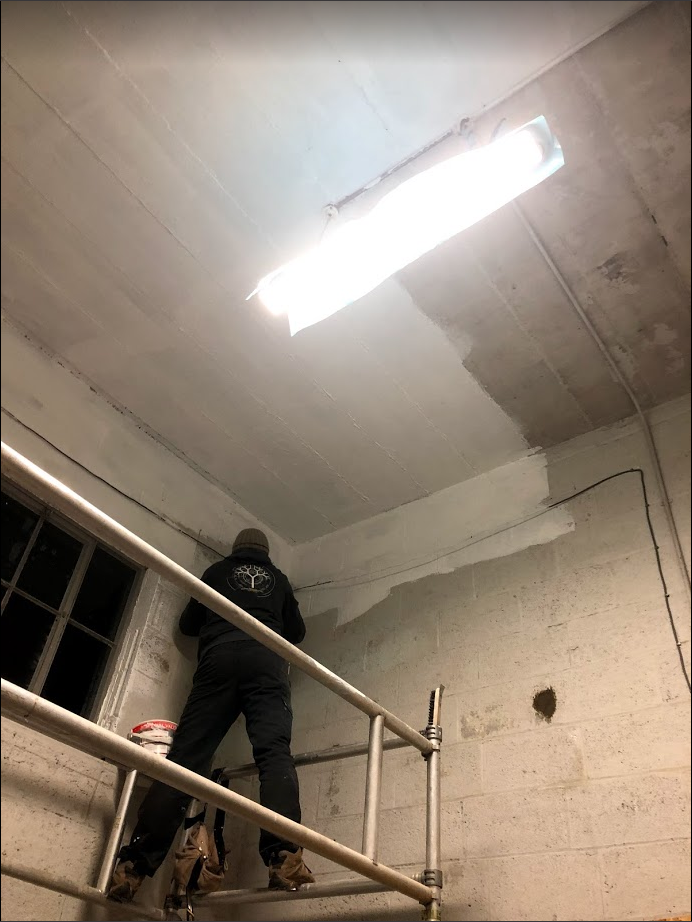
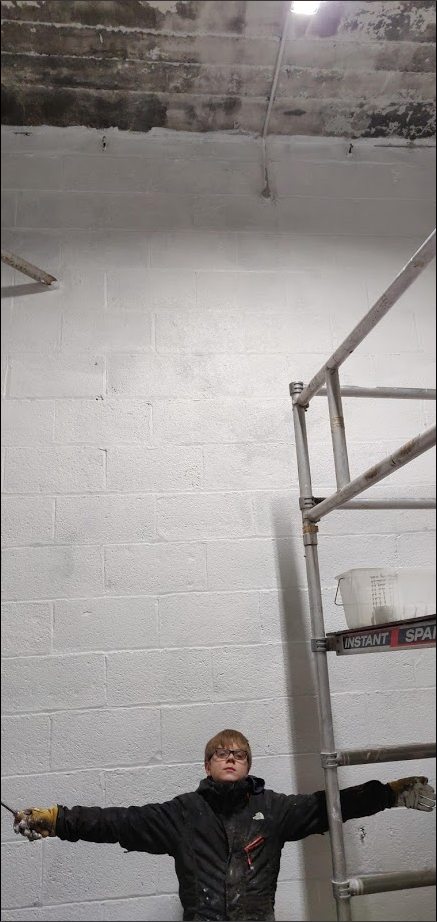
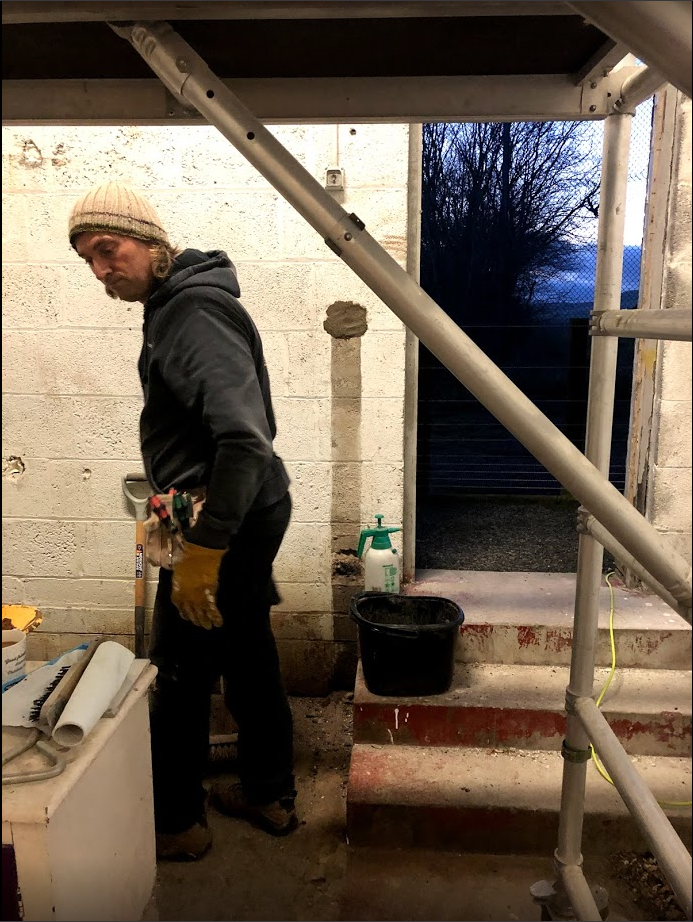
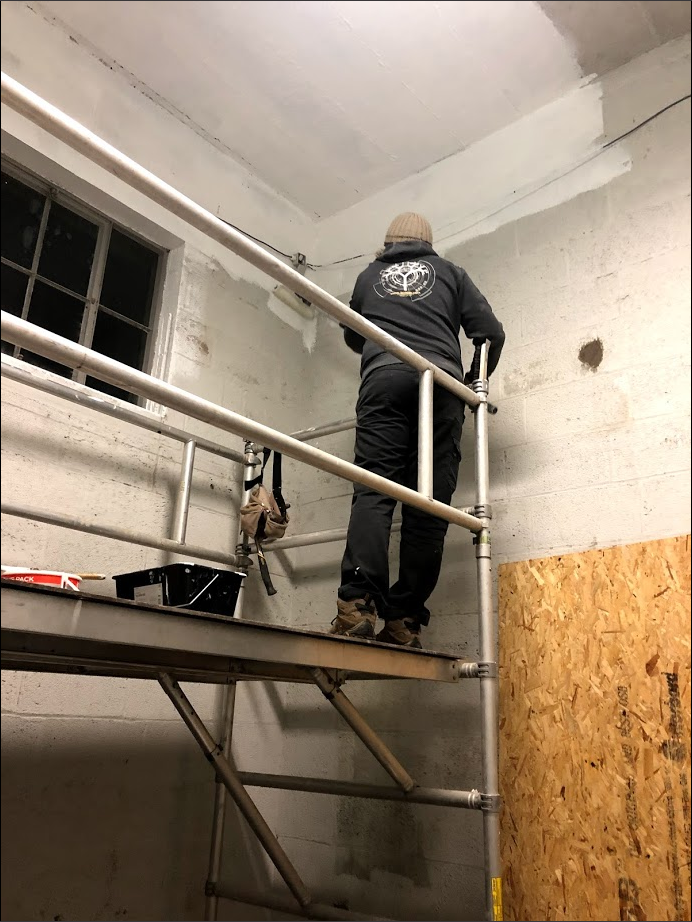
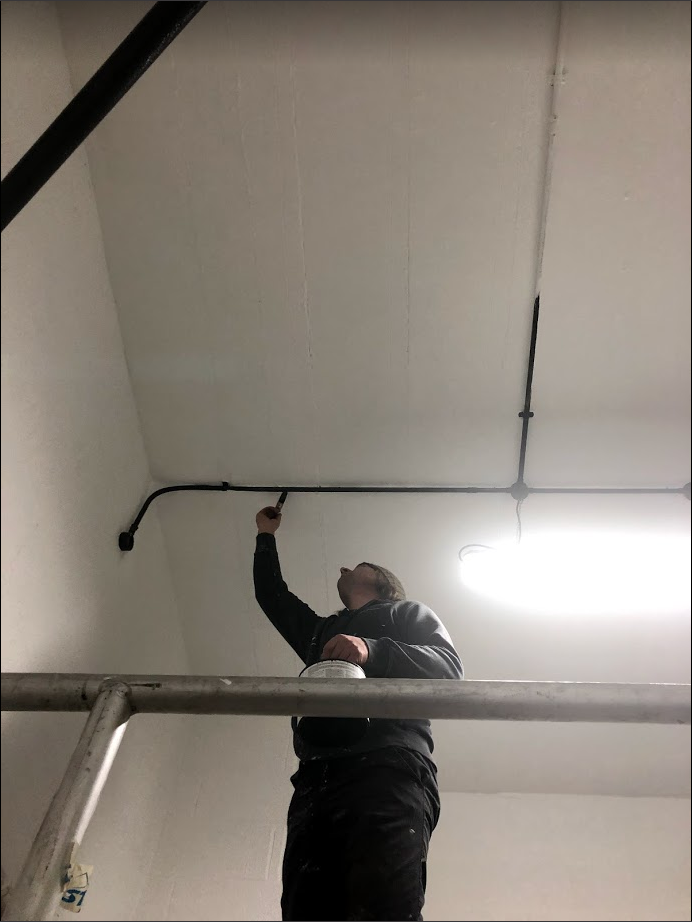
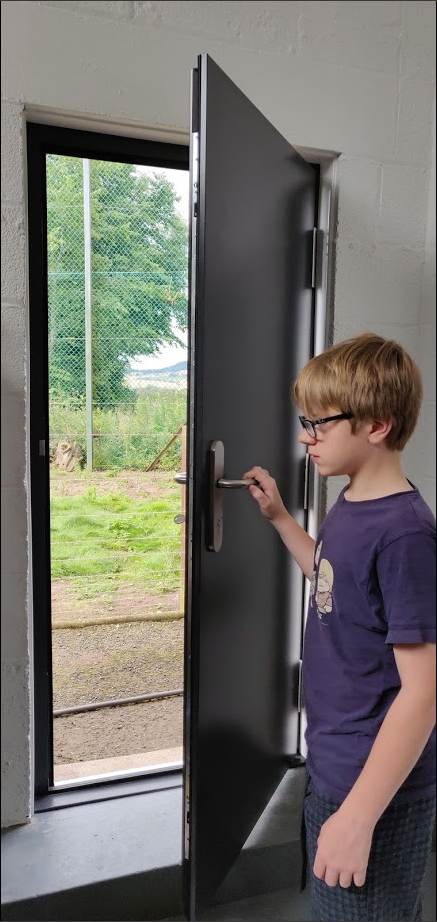
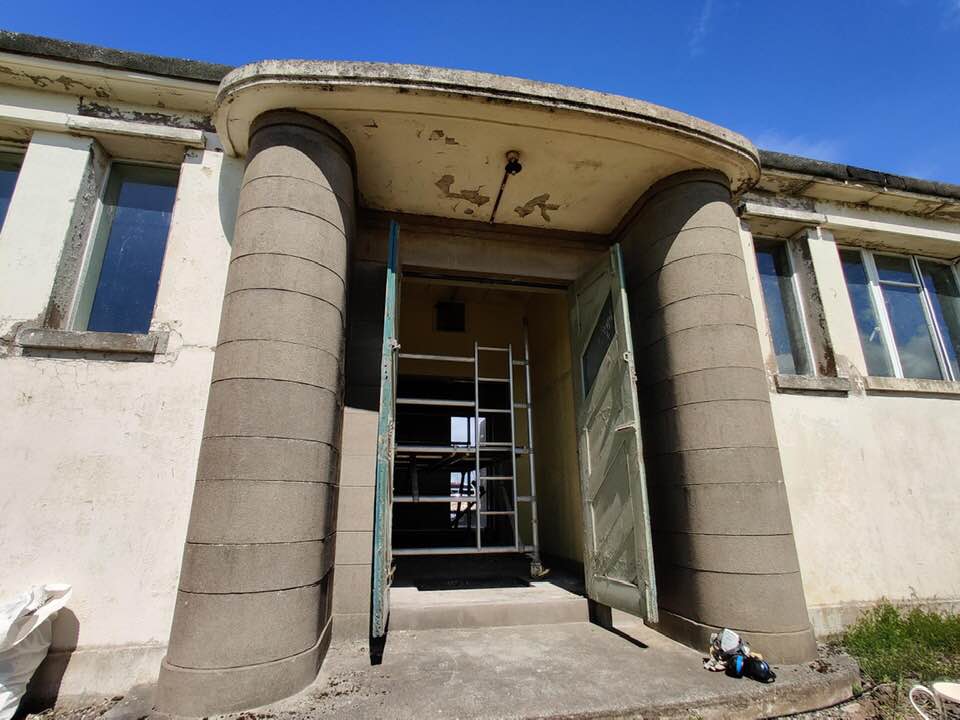
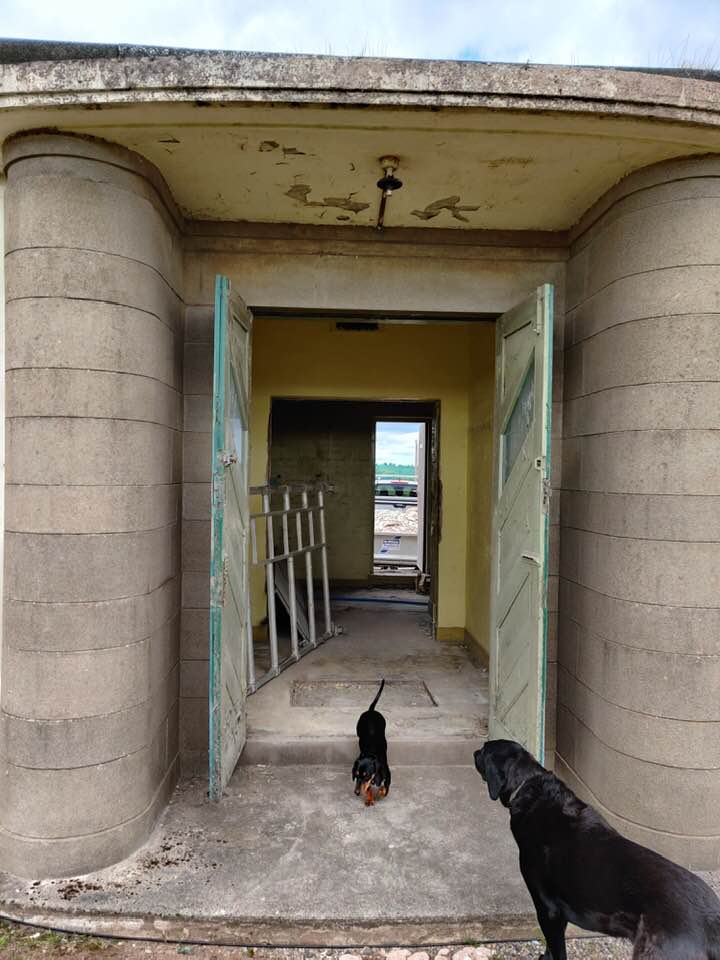
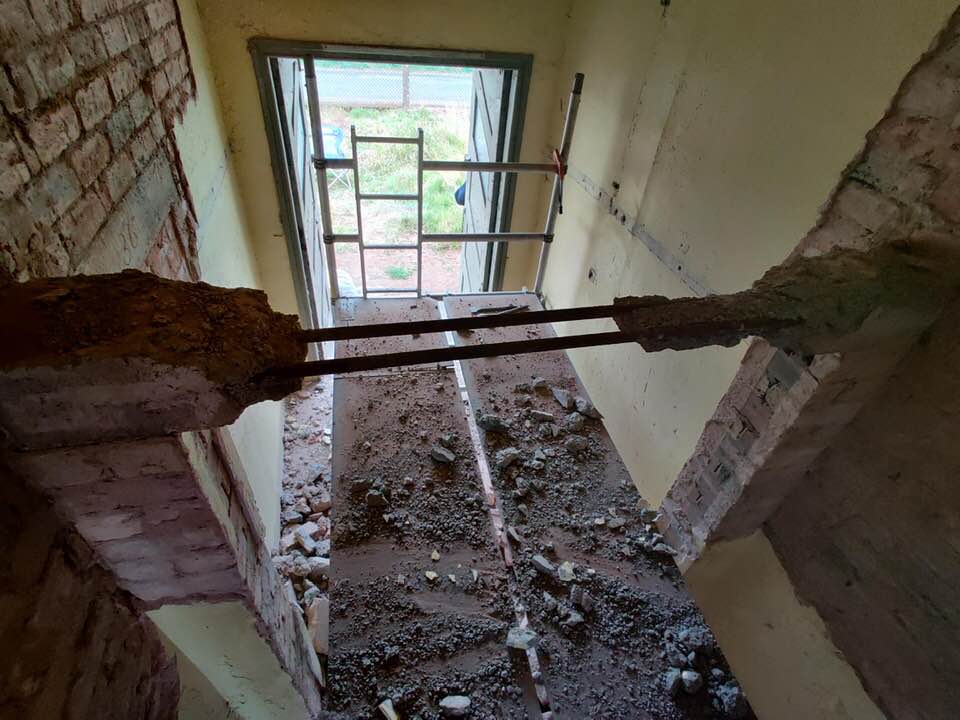
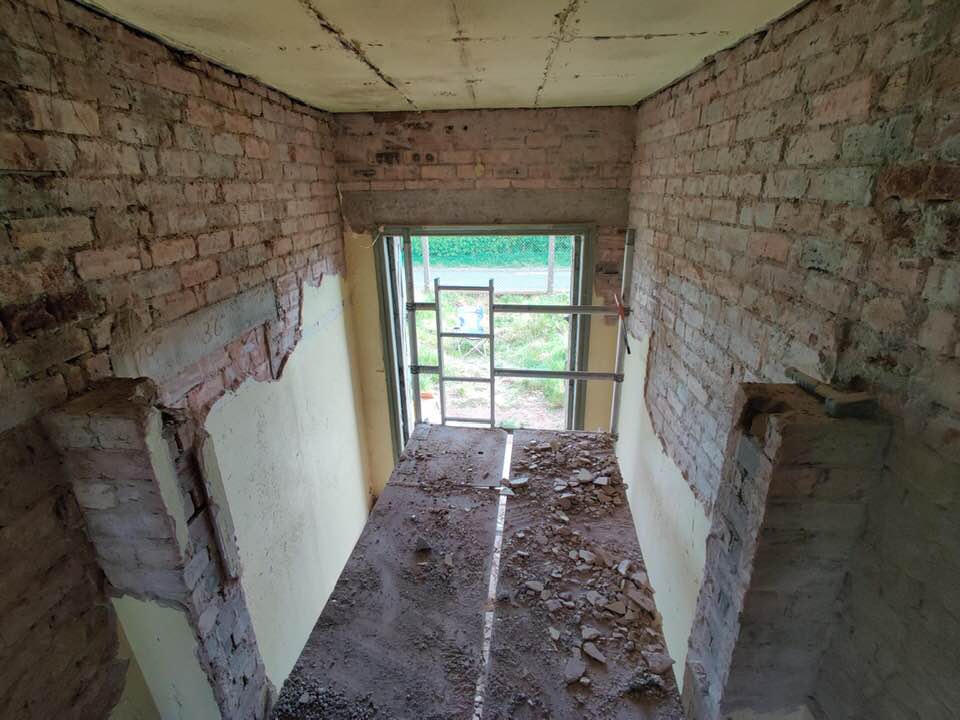
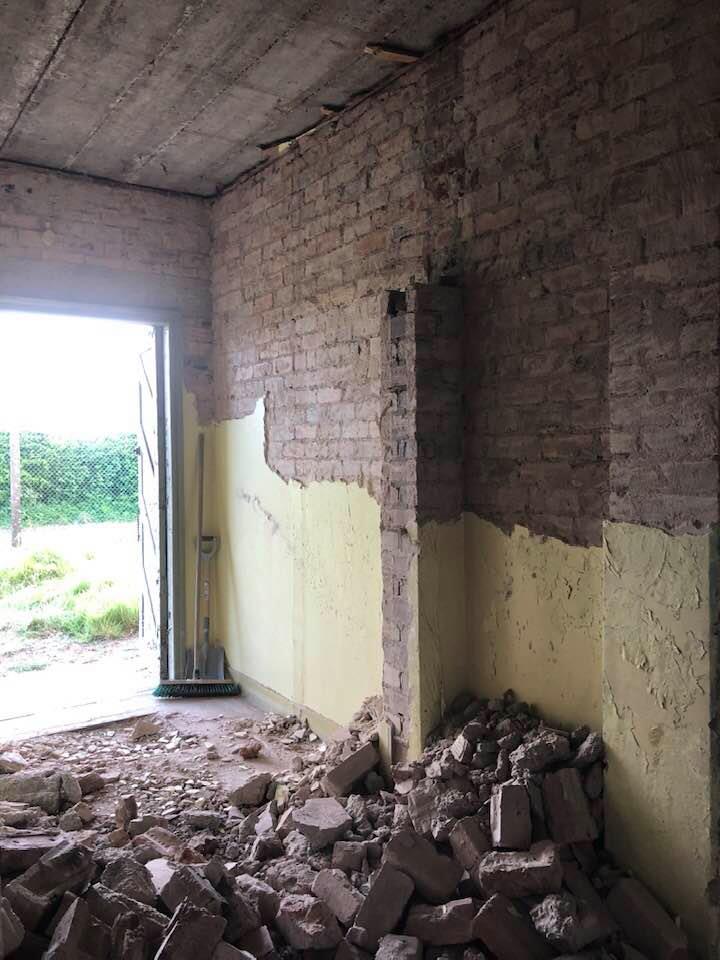
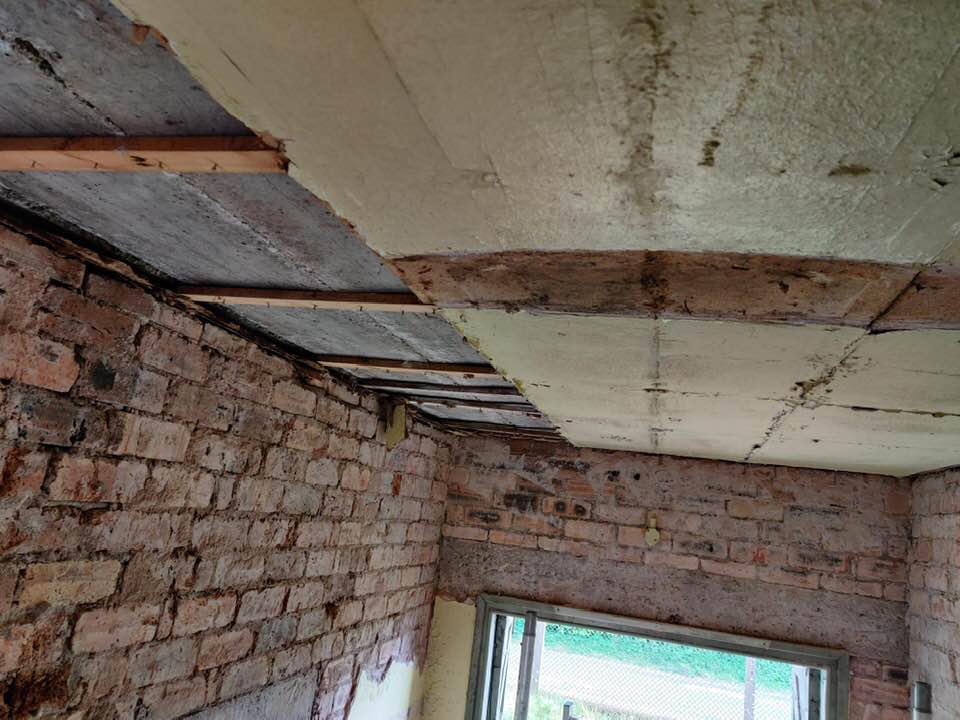
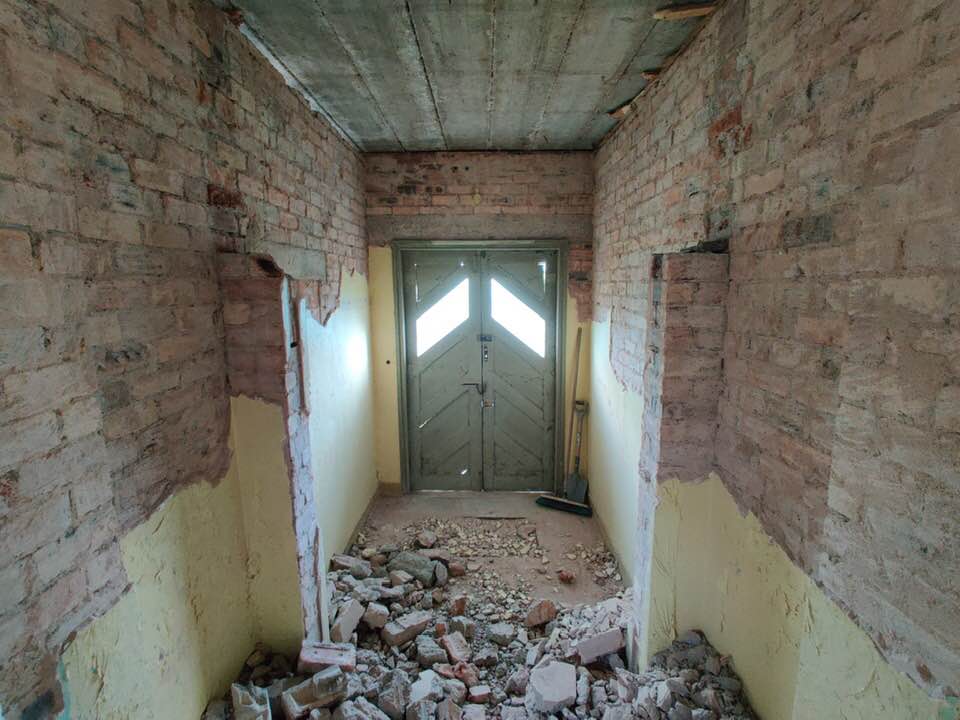
We spent this weekend stripping the original vestibule back to the brick ready for redevelopment into the formal entrance at Hawklaw.

Behind the doors. The original main entrance to Hawklaw

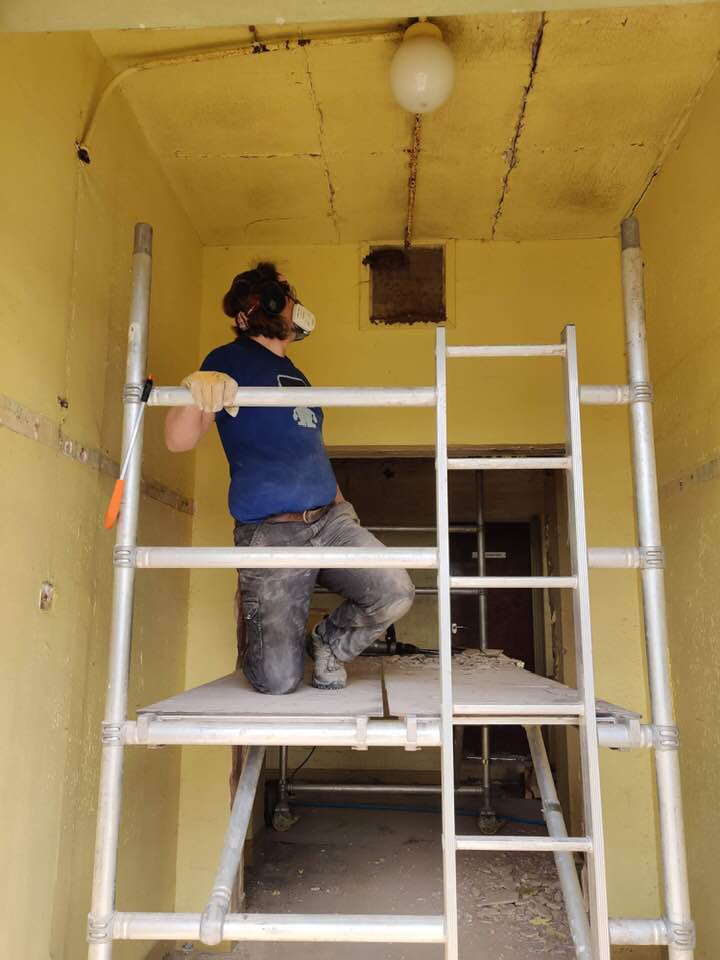
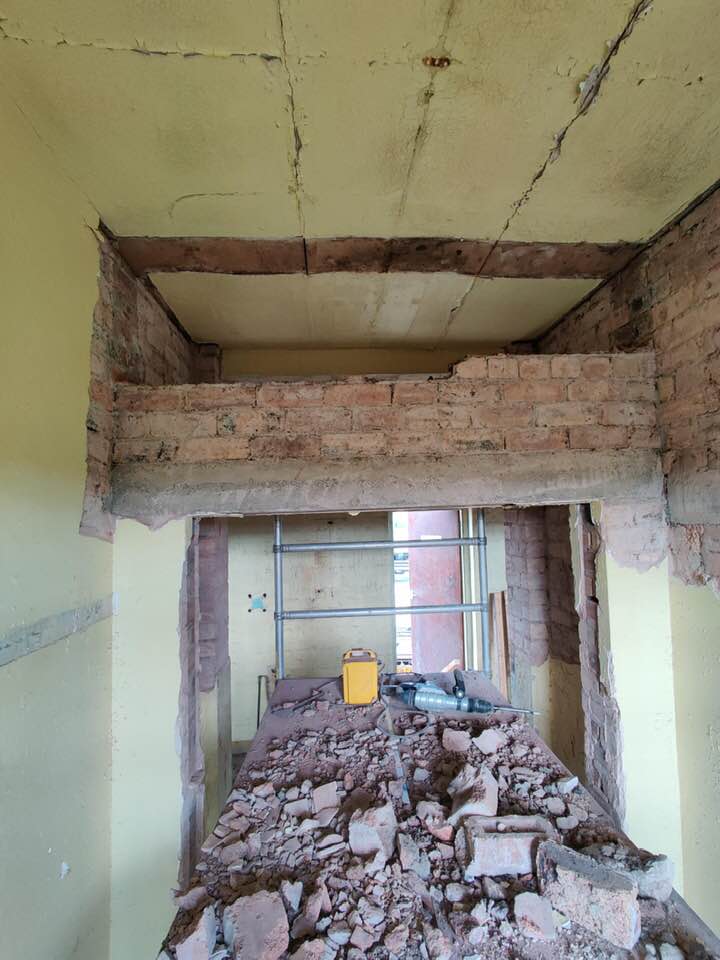
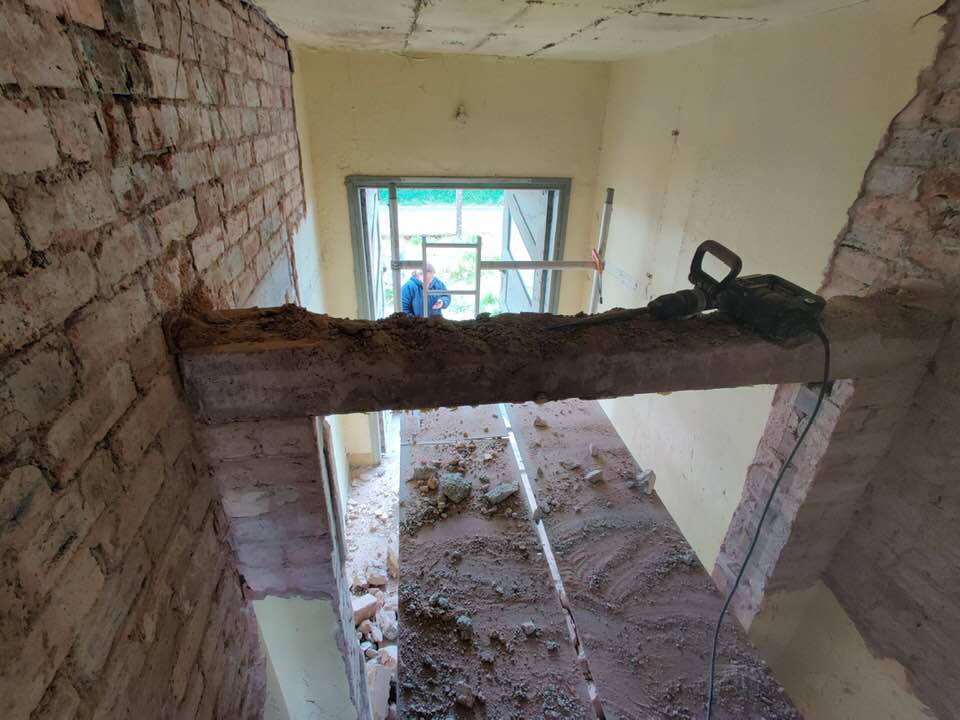
Pretty pleased with progress in the vestibule yesterday. Seven hours in and the job is over half way there.

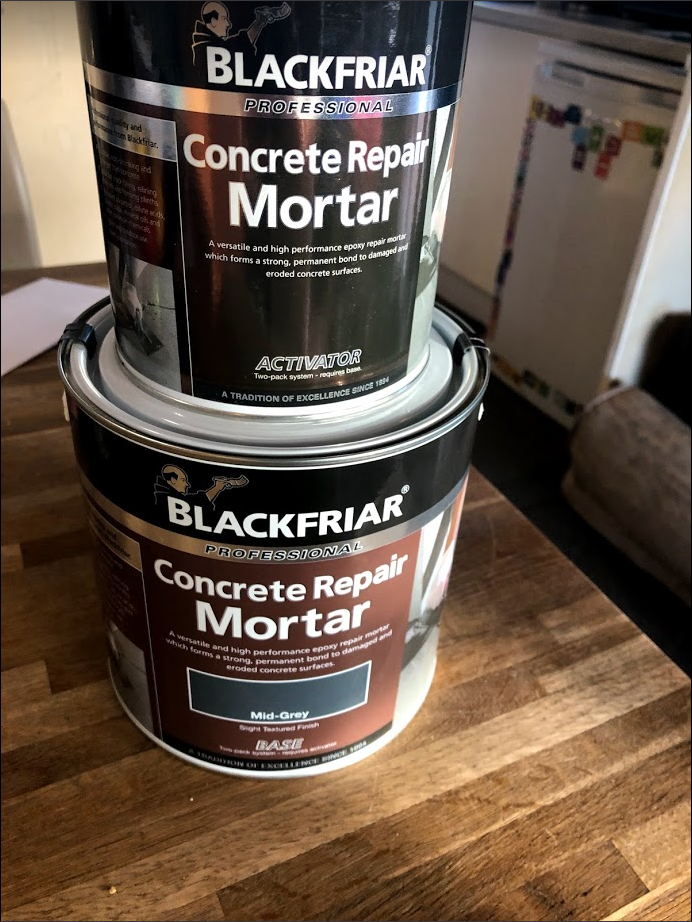
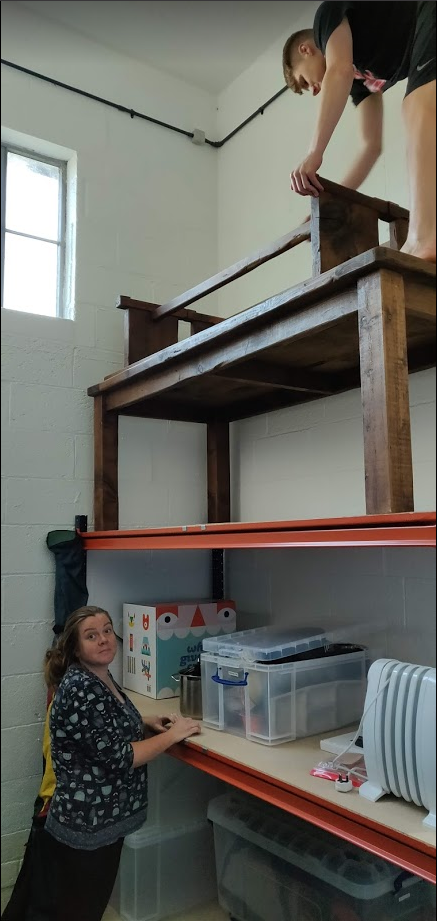
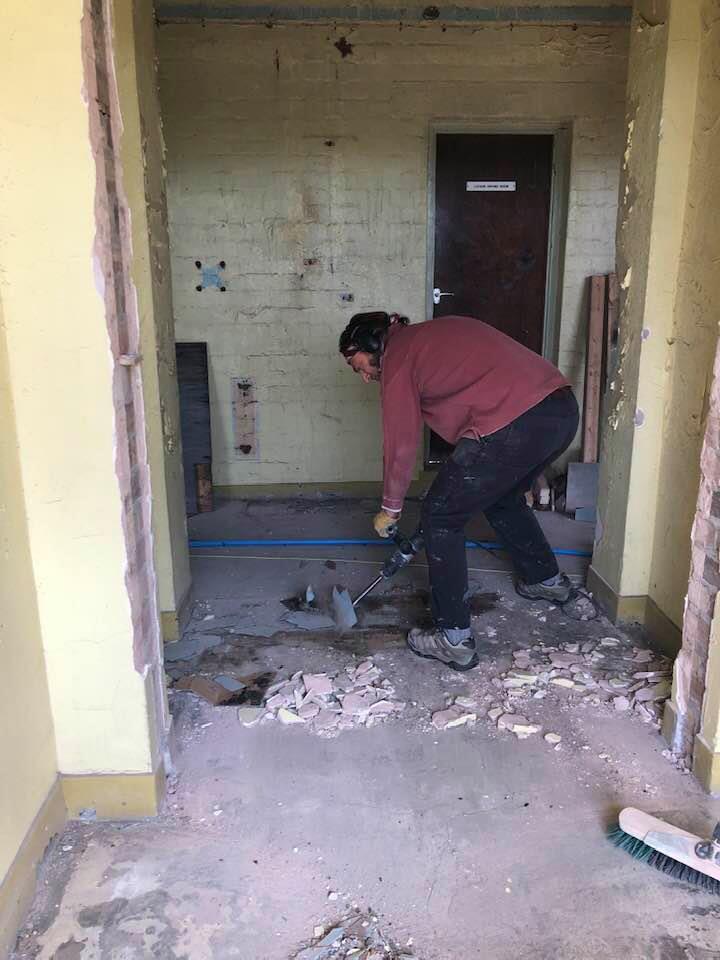
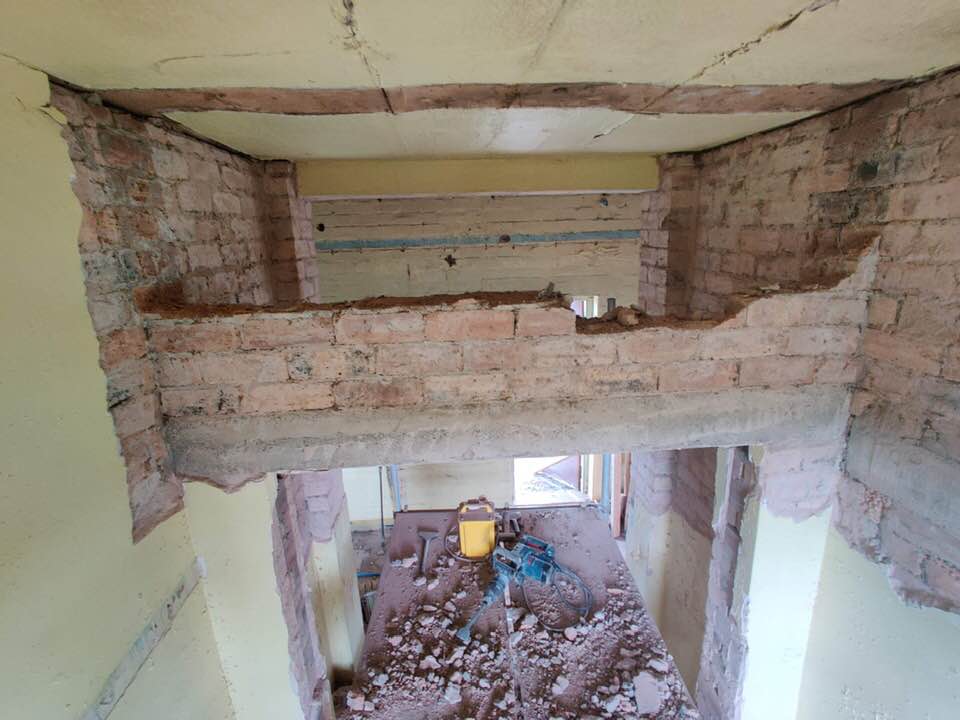
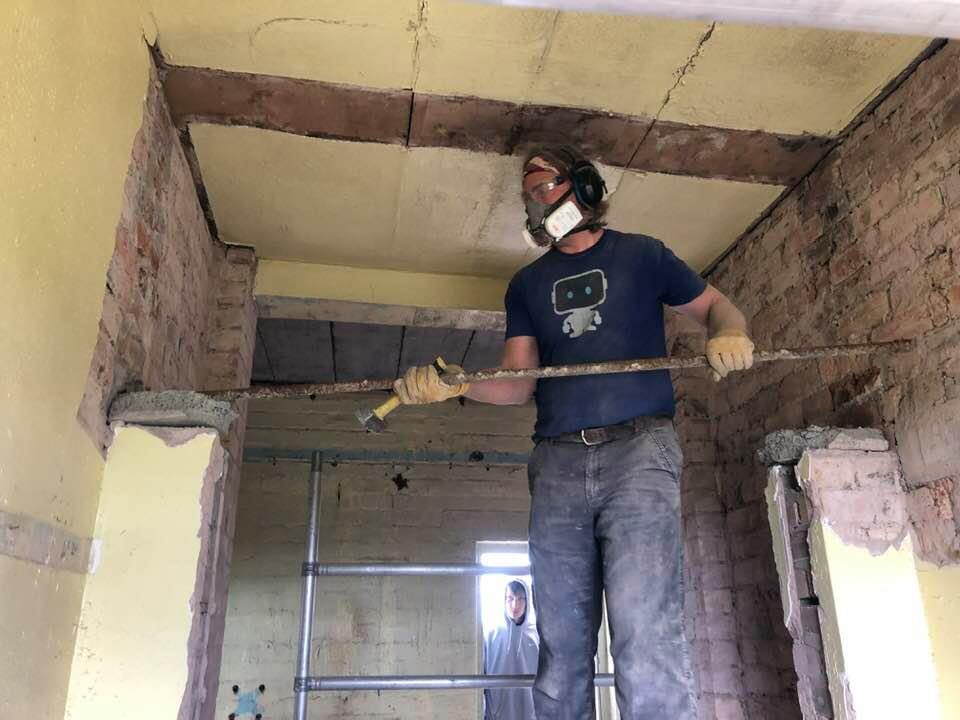
The double skinned wall took quite a bit of effort to demolish, especially the header bonded courses ( where the ends of the bricks are on show). George used the demolition hammer for most of the day. A wide chisel bit lifted the linoleum tiles and removed plaster. A point chisel bit broke the cement bonds between bricks and the concrete lintel into small chunks.

Asbestos

It’s worth mentioning asbestos at this point. Asbestos was widely used in 1940’s construction, our building being no exception. Owners of buildings such as ours have a legal obligation to ensure any building undergoing extensive refurbishment or demolition has all forms of asbestos identified by means of a destructive demolition asbestos survey.

Our demolition asbestos survey identified many obvious and some surprising asbestos containing materials (ACM’s).

Linoleum tiles and their adhesive can often contain asbestos, so too can toilet seats and sink pads ( the pad under your stainless steel sink that acts as sound deadening).

Tens of samples were taken throughout the building and black crosses were marked on the areas sent for analysis. I spotted one of the black crosses today on the linoleum tiles we were lifting in the vestibule. The tiles and adhesive tested negative for ACM.

Linoleum tiles and adhesive tested in the girls toilets and locker drying room tested positive for ACM’s. Those tiles were safely removed and the adhesive painstakingly scraped away by specialist contractors back in 2016 ahead of the administration block demolition.

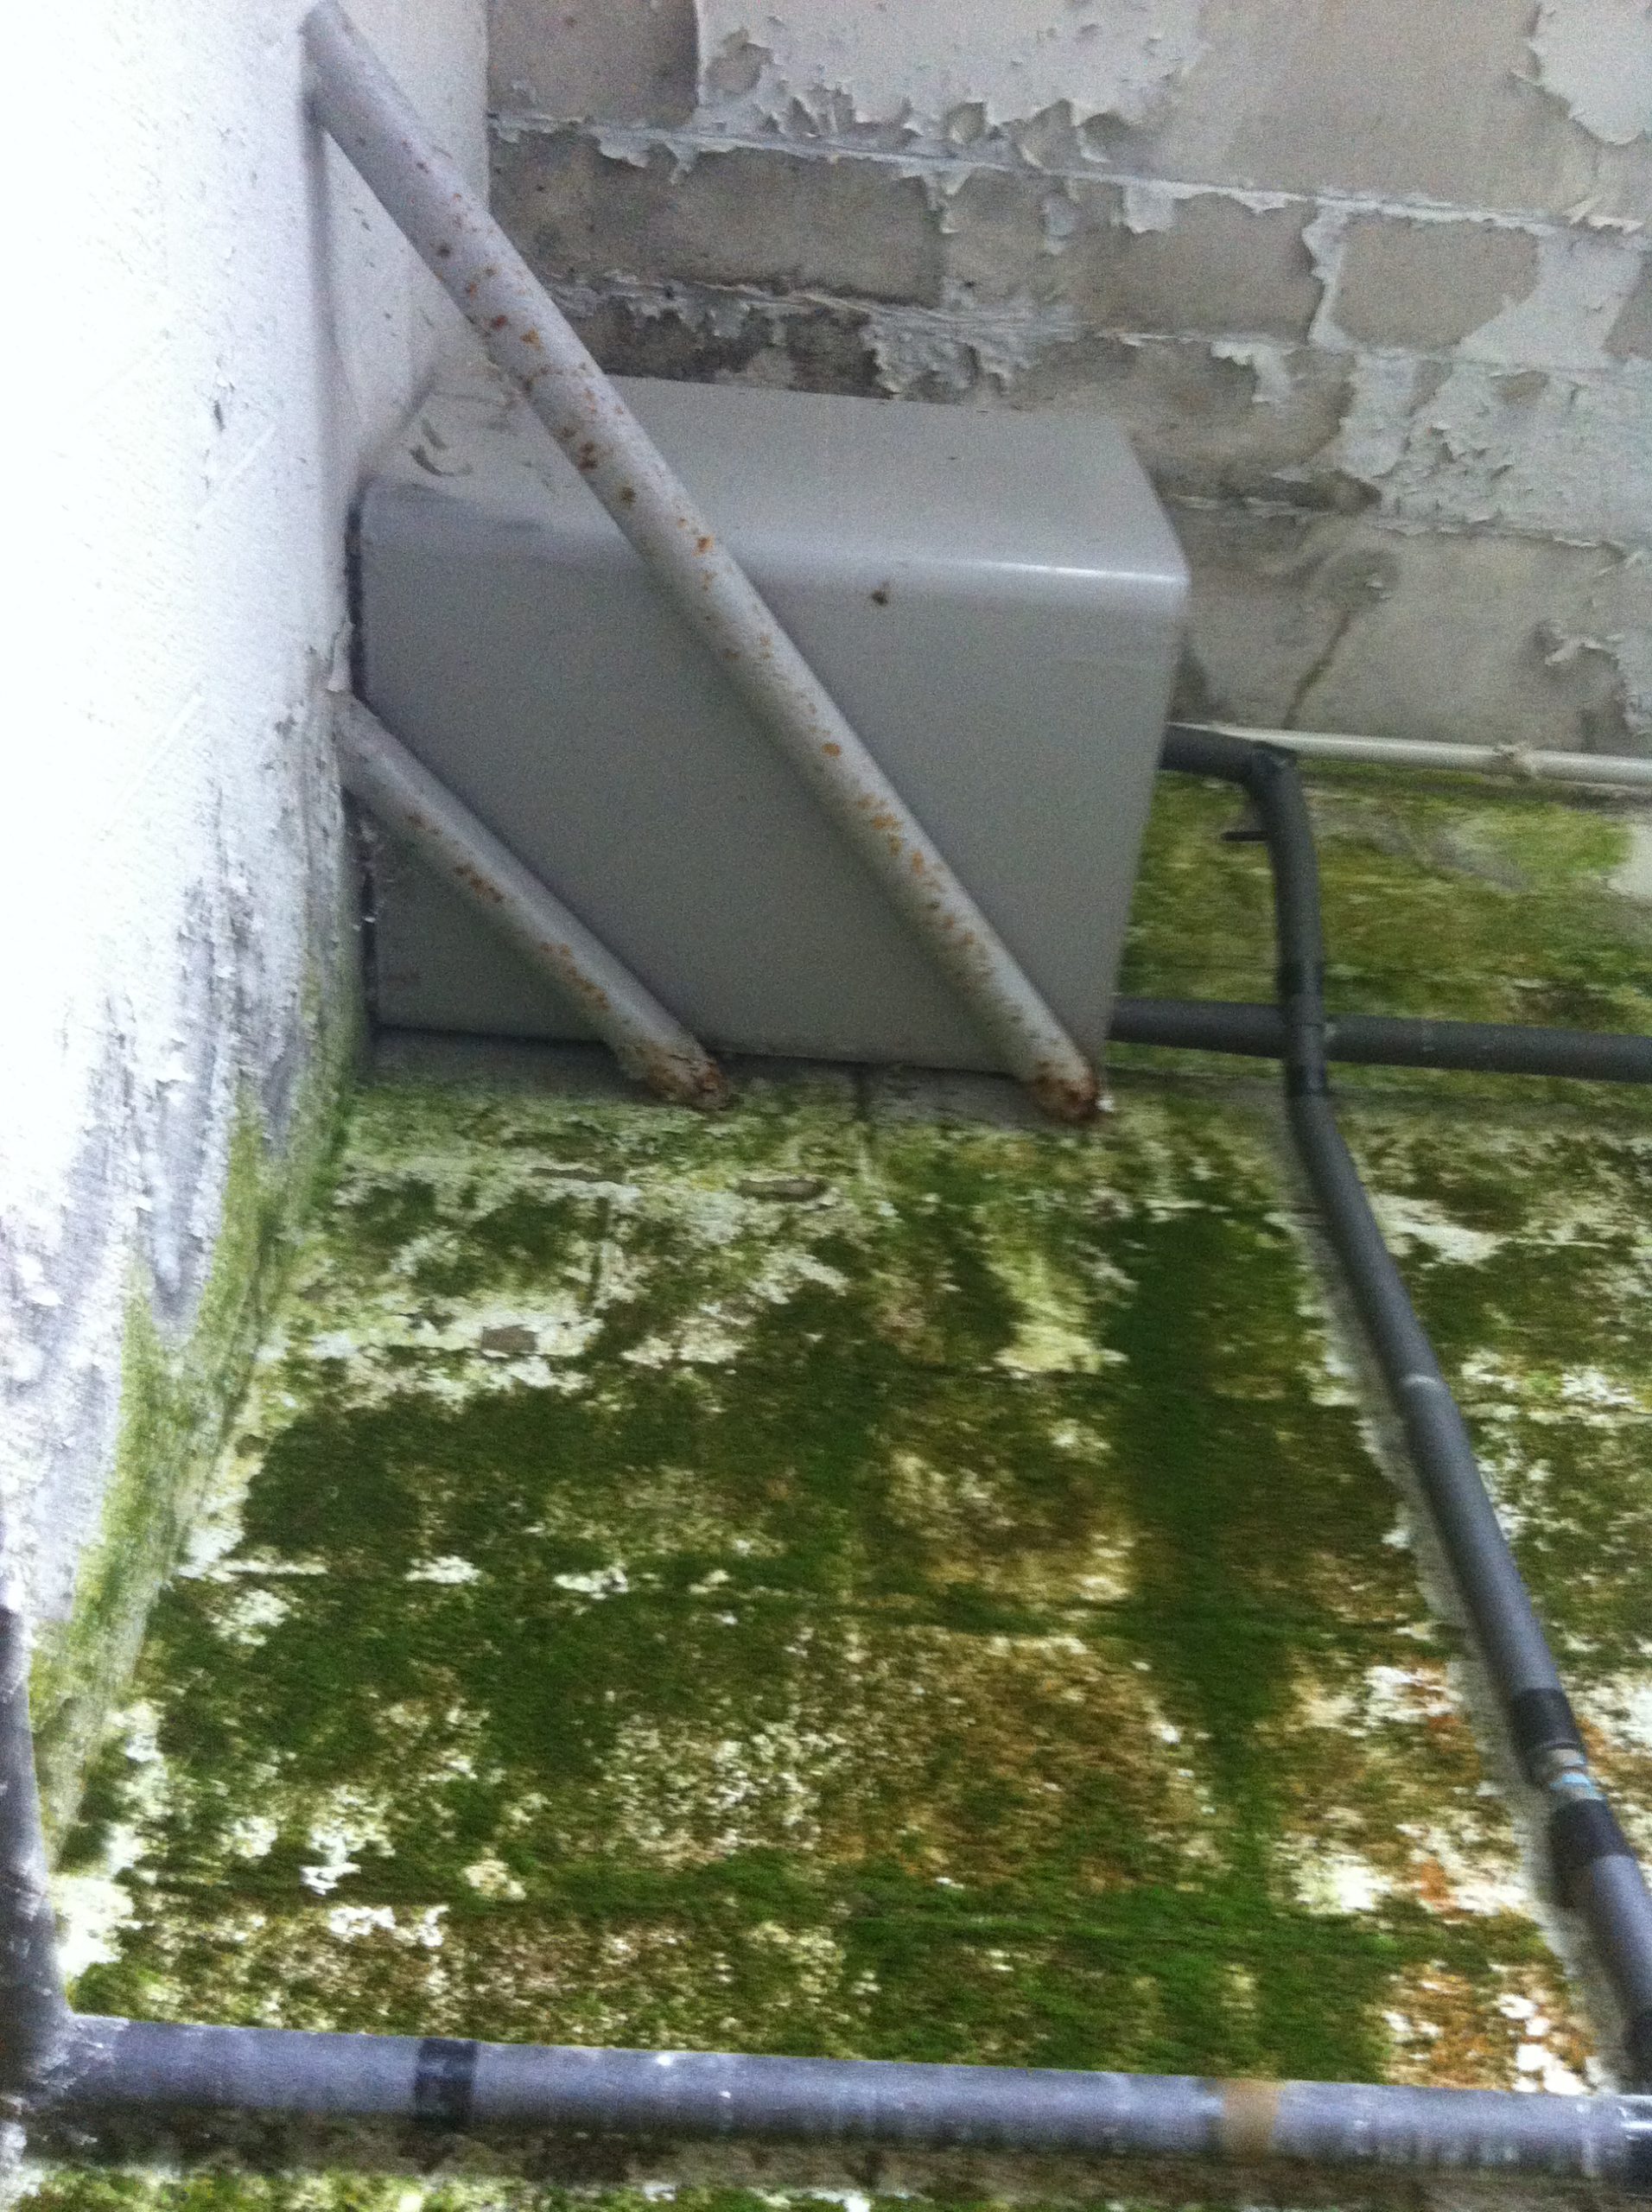
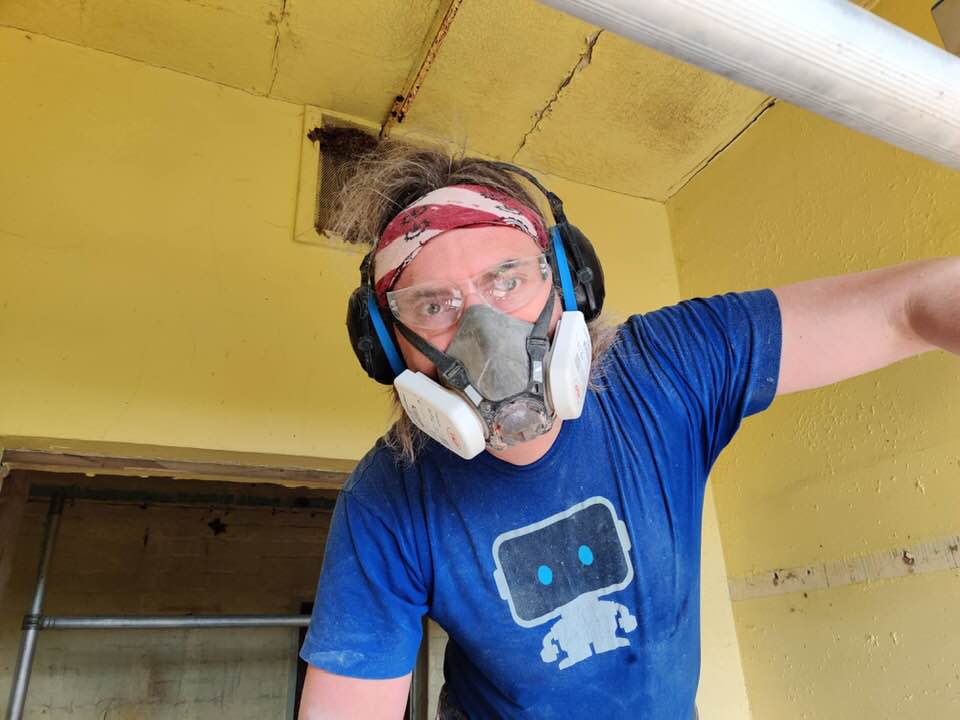
Asbestos cement is one form of asbestos that we’ve found can reasonably be removed by householders. Thoroughly soaking the cement, being careful not to damage or break the sheets and using well fitting masks are sensible precautions even although the risk of fibre release, for undamaged asbestos cement, is fairly low.

We’ve literally disposed of tonnes of asbestos cement from the site over the years (a sheet of corrugated asbestos is surprisingly heavy). The double garage and both incinerator buildings demolished had asbestos cement roofs and some of the more modern extensions to the rear had asbestos cement guttering and downpipes.

We were fortunate that until a few years ago our local recycling centre accepted double wrapped asbestos cement for disposal. A form detailing the type and quantity, its origin and the person disposing of it were recorded by the council which was subsequently audited by SEPA.

More recently we’ve paid £300/ tonne to dispose of our asbestos cement and a further £25 for the required SEPA certificate. Little wonder asbestos is found fly tipped.

Asbestos has been one of the many, many things we’ve had to learn about over the years we’ve owned Hawklaw. Every day is a learning day with a self build project.

Hoping to finish in the vestibule later today, update and photos to follow

Renovating the Robin Hood Room

During the winter of 2018-19 we converted the boiler room in the Engineer’s Garage into a secure storage room.

History

We believe the engineer’s garage was built in the early 1960’s as a place to store and maintain the vehicles that were used by the engineers responsible for the upkeep of the aerial network above Cupar. The building also housed a diesel back up generator and an 11KW electricity sub station. There were 4 giant roller doors for vehicle access. The building was eventually converted into a heated store room with 3 out of the 4 roller door openings being bricked up.

The boiler room housed a Robin Hood General boiler that had been converted to run on kerosene. There is no evidence that the boiler ever ran on coal.

The room itself was in a dire state when we bought the site in 2012. The north wall was covered in green moss, paint was flaking off the walls and the place smelled heavily of kerosene. The door into the room was broken and had been boarded up by the previous owners.

Stripping Out

Our asbestos survey had picked up that the boiler contained asbestos rope, asbestos cement and possible asbestos insulation. For those reasons, the Robin Hood boiler itself was removed and disposed of by our specialist asbestos contractors. I’d have dearly loved to keep it but I have no idea what I would have done with it.

Removal of the kerosene retainer wall.

The kerosene tank was removed by another set of specialist contractors who were able to provide safe disposal certificates so we could achieve our site decontamination certificate. The rest of the pipework, electrical fittings and metal were stripped out by me over a couple of weekends.

The brick wall acting as a bund for the kerosene tank was removed by my eldest son who is most happy when swinging a 10lb sledgehammer!

We also removed the lighting, wiring, plumbing and residual pipe and metalwork from the room.

Lifting the boiler’s plinth

The firebrick plinth that the boiler was sitting on came up relatively easily using a demolition hammer with a broad chisel head, leaving a completely bare room ready for rewiring, filing and painting.

Rewiring

Since we bought Hawklaw in 2012 we have steadily replaced and upgraded the wiring over the entire site. The new garage lighting circuit was waiting just to be brought into the room and the existing external corner lights just needed to be put into conduit and routed around the top of the room.

The new light in the room is a low wattage LED light that responds to both light levels and movement. Technically, the Crabtree toggle switch is redundant, but it’s nice to have something original still in the room.

Decorating

Before we could decorate, the room needed the holes in the block work filled (eg, where the heating and oil pipes entered and exited the room). I brushed the room, including the ceiling with a stiff brush to remove loose paint then hosed the entire room with water. The entire floor slopes gently to a drain so washing the room caused no water issues.

In all, the room took 4 coats of Dulux Weathershield exterior masonry paint. Exterior metal fittings were painted first with red oxide paint before we painted them over with our trademark ‘Hawklaw Grey’ colour. The concrete floor was filled where required with Blackfriar’s concrete repair mortar and lastly, I painted the floor with two coats of Leyland heavy duty floor paint.

The last thing to do was to find a new door for the room.

Selecting a New Door

As we’ll eventually be living on the East side of the site and this room is the furthest away building we have to the West of the site we wanted to select a secure door for this room. This building also gets the brunt of the Westerly winds so a good quality door with multi point locking and excellent seals was essential. After much searching, we selected a Hormann KSi steel security door

The Hormann KSi steel security door fitted and functioning.

Initially, we thought we wanted an outward opening door as we thought it made sense to have the West wind blow the door against its seal, rather than away from it. We got excellent advice from our door supplier (Oliphant Garage Doors, Cupar, Fife) who assured us that this door would not have any issues with leaking and so far, we’ve been more than happy with it.

The room was without an effective door for nearly eight years so we were very happy to have this fitted and have a functional room once again.

Finishing and Furnishing

We finished the renovation in late January 2019, but didn’t actually get the door fitted until August 2019. It wasn’t long before we’d fully furnished the room with the neatly catalogued contents of our attic.

In all, the renovations cost in the region of £2,500 (including the door) and took me most of my 2018/19 Christmas holidays and a few additional weekends to complete.